FC8600-UM-251-9370 7-23
7 ADJUSTMENT
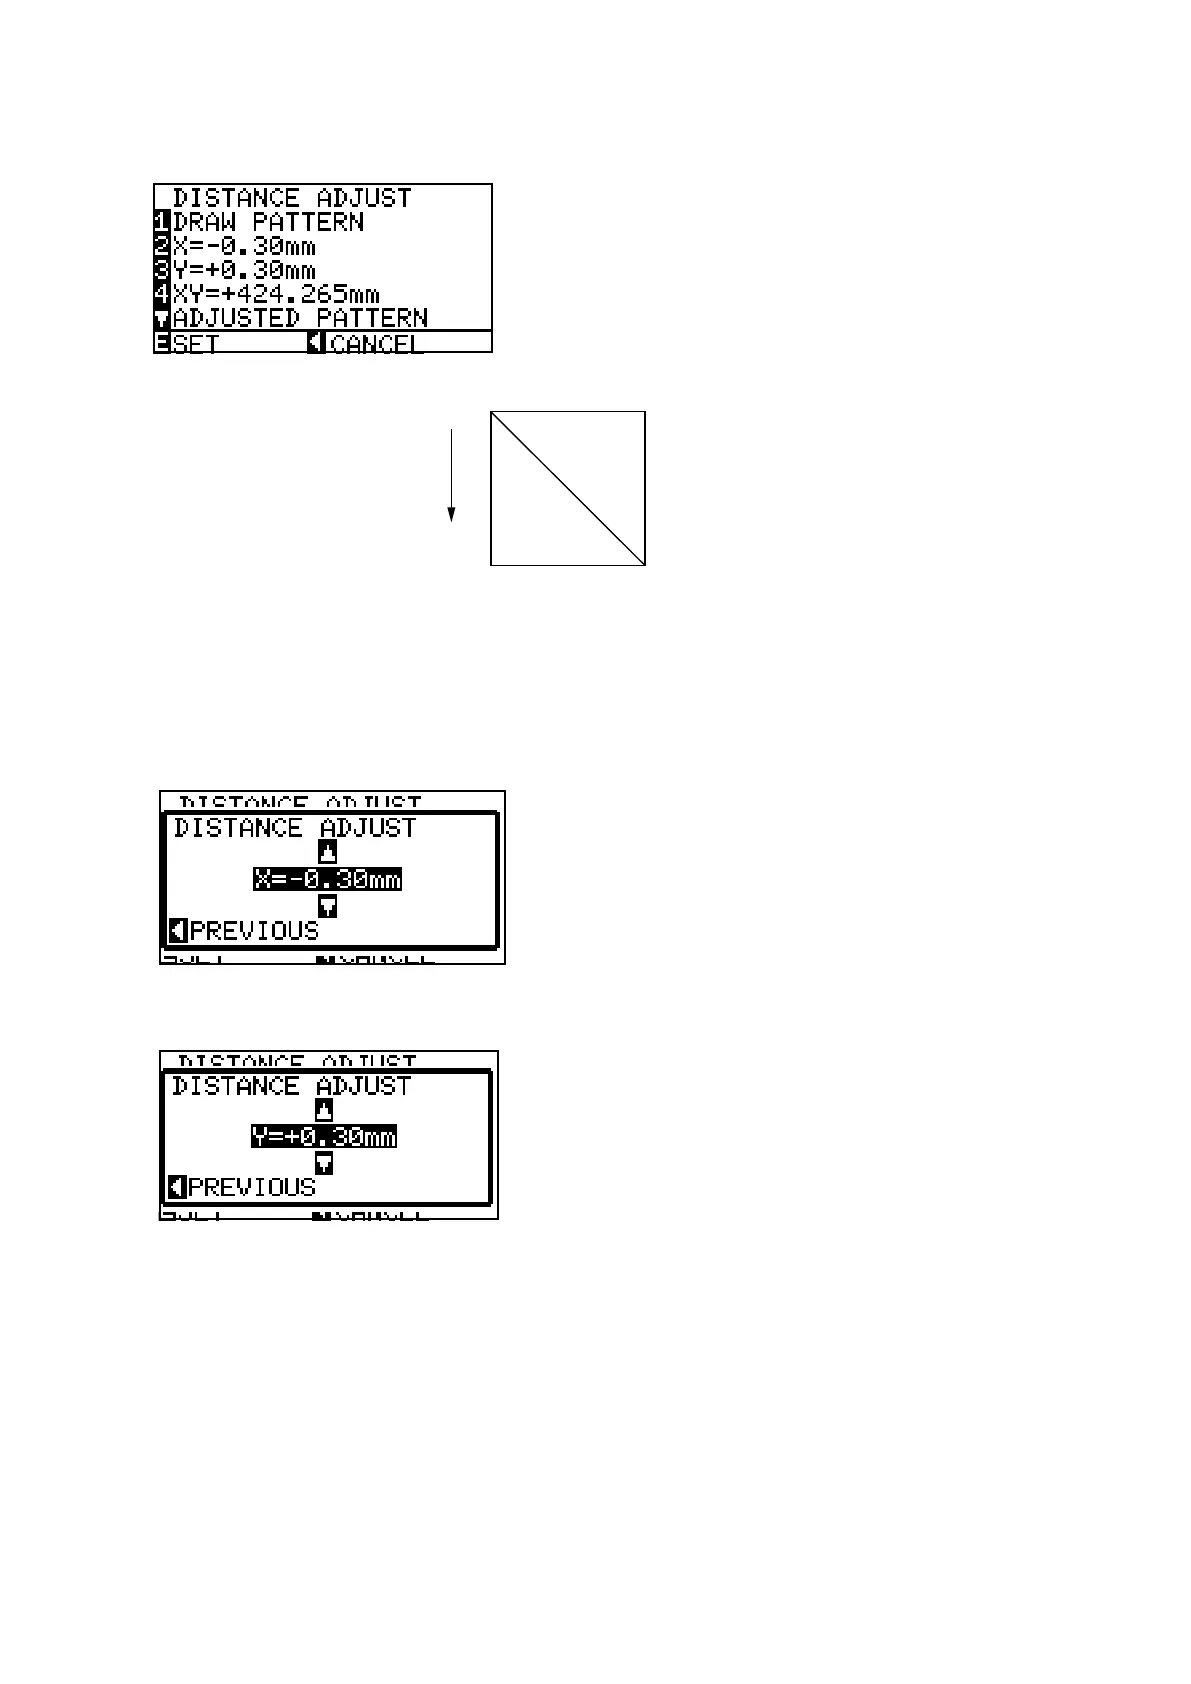
(10) Press the F1 key (DRAW PATTERN) to start to draw the adjustmen pattern. The plotter immediately
plots the adjustment pattern, and the following menu appears.
+X
Y=300 mm
X=300 mm
Media feeding direction
Carriage moving direction
XY=Diagonal distance
(11) Remove the paper and measure the X -axis distance, Y-axis distance and the diagonal distance.
If you have replaced the main board only, use the recorded values. And then input the recorded values.
(12) Press the F2 key to display the menu shown below if you want to adjust the X-axis distance, and then
input the value for the X-axis distance.
Press the F3 key to display the menu shown below if you want to adjust the Y-axis distance, and then
input the value for the Y-axis distance.
To Input the values using the POSITION keys:
The UP and DOWN ARROW keys are used to change the Y-axis or X-axis adjustment value.
If you input the measured value use the following formula to calculate the input value.
The formula of the input value is as follows:
Input value for X-axis = 300 mm - measured X distance
Input value for Y-axis = 300 mm - measured Y distance
For example:
If you measured 299.0 mm for the X-axis then input +1.00 mm for the adjustment value.
Adjustable range: -3.0 mm to +3.0 mm