4. Assembly and Installation
46 PNEG-1156ETL Design III Series Grain Stir-Ator CSA
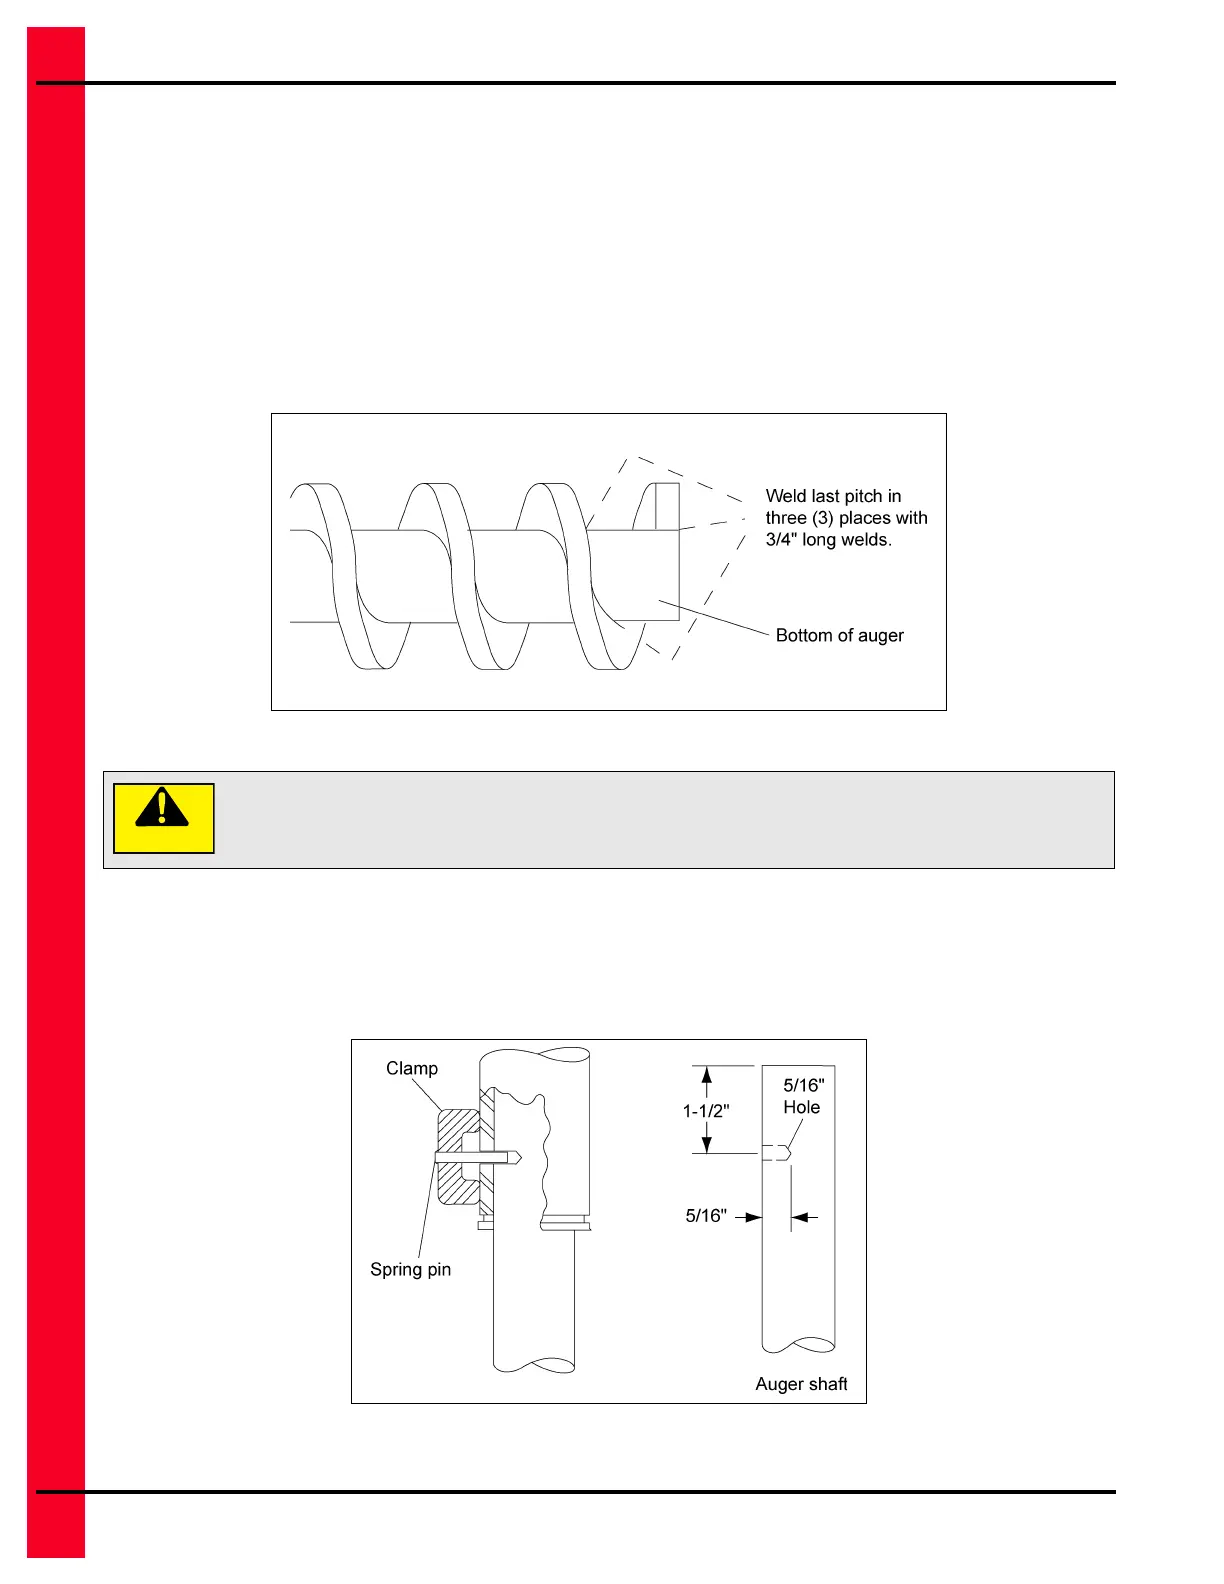
Cutting Augers
NOTE: When shortening a down auger, cut from the bottom and be sure the flighting is re-welded properly
before cutting the auger. Cutting the auger from the top will void the warranty.
1. Stir-Ator down augers are manufactured to allow them to be cut to the required length by cutting them
from the bottom end instead of the top. All augers have flighting to within 8" from the top and
hard-surfaced augers will have all but the top pitch of flighting hard-surfaced.
2. Lay the auger down and mark where the auger will be cut off. Weld the flighting to the shaft in
three (3) places within the first pitch just above this mark before cutting off the bottom part of the
auger. (See Figure 4AV.)
Figure 4AV Auger Cut-Off Diagram
Assembling Augers into Stub Shaft
DMC augers have factor drilled holes. If your auger does not have this hole, drill a 5/16" diameter hole
about 5/16" deep into the auger shaft, 1-1/2" from the top. (See Figure 4AW.)
Figure 4AW
Do not for any reason, weld flighting to the shaft at the top of the auger. To do so
voids warranty. The flighting and the shaft must remain unwelded to minimize
distortion and weakening of the shaft.
 Loading...