It will be necessary to perform tasks within the TympStar enclosure while
power is applied to the instrument. Do not touch electrical circuitry, wir-
ing or complements. Voltages are present inside the enclosure that can
cause severe personal injury or death!
CAUTION
Verify that the probe tip is clean and the probe tubes are clean and un-
damaged before attempting calibration.
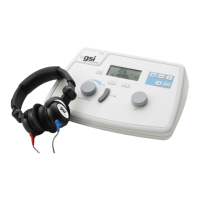
The tools and equipment required for calibration includes:
• Type 1 sound level meter
• 2 cc HA-1 coupler
• Electronic manometer
• Philips screwdriver
• Small straight edge screwdriver
To ensure calibration accuracy, it is essential to clean the probe tip and
Contra phone prior to calibration.
Step 1
Remove the probe eartip and tygon tubing at-
tached to the three metal probe tubes at the rear
of the probe tip.
CAUTION
Do not alter the length of the tubing by cut-
ting it. When reconnecting the tygon tubing
to the probe tubes, ensure that there are no
sharp edges or burrs on the probe tubes that
could cut the tygon tubing.
Step 2
Using the cleaning floss shipped with your instrument, remove debris from each tube
by pushing the floss through the tube from the back to the front of the probe tip.
CAUTION
Avoid getting the probe moist. Place a new single-use eartip on the probe for each
patient.
Grason-Stadler
 Loading...