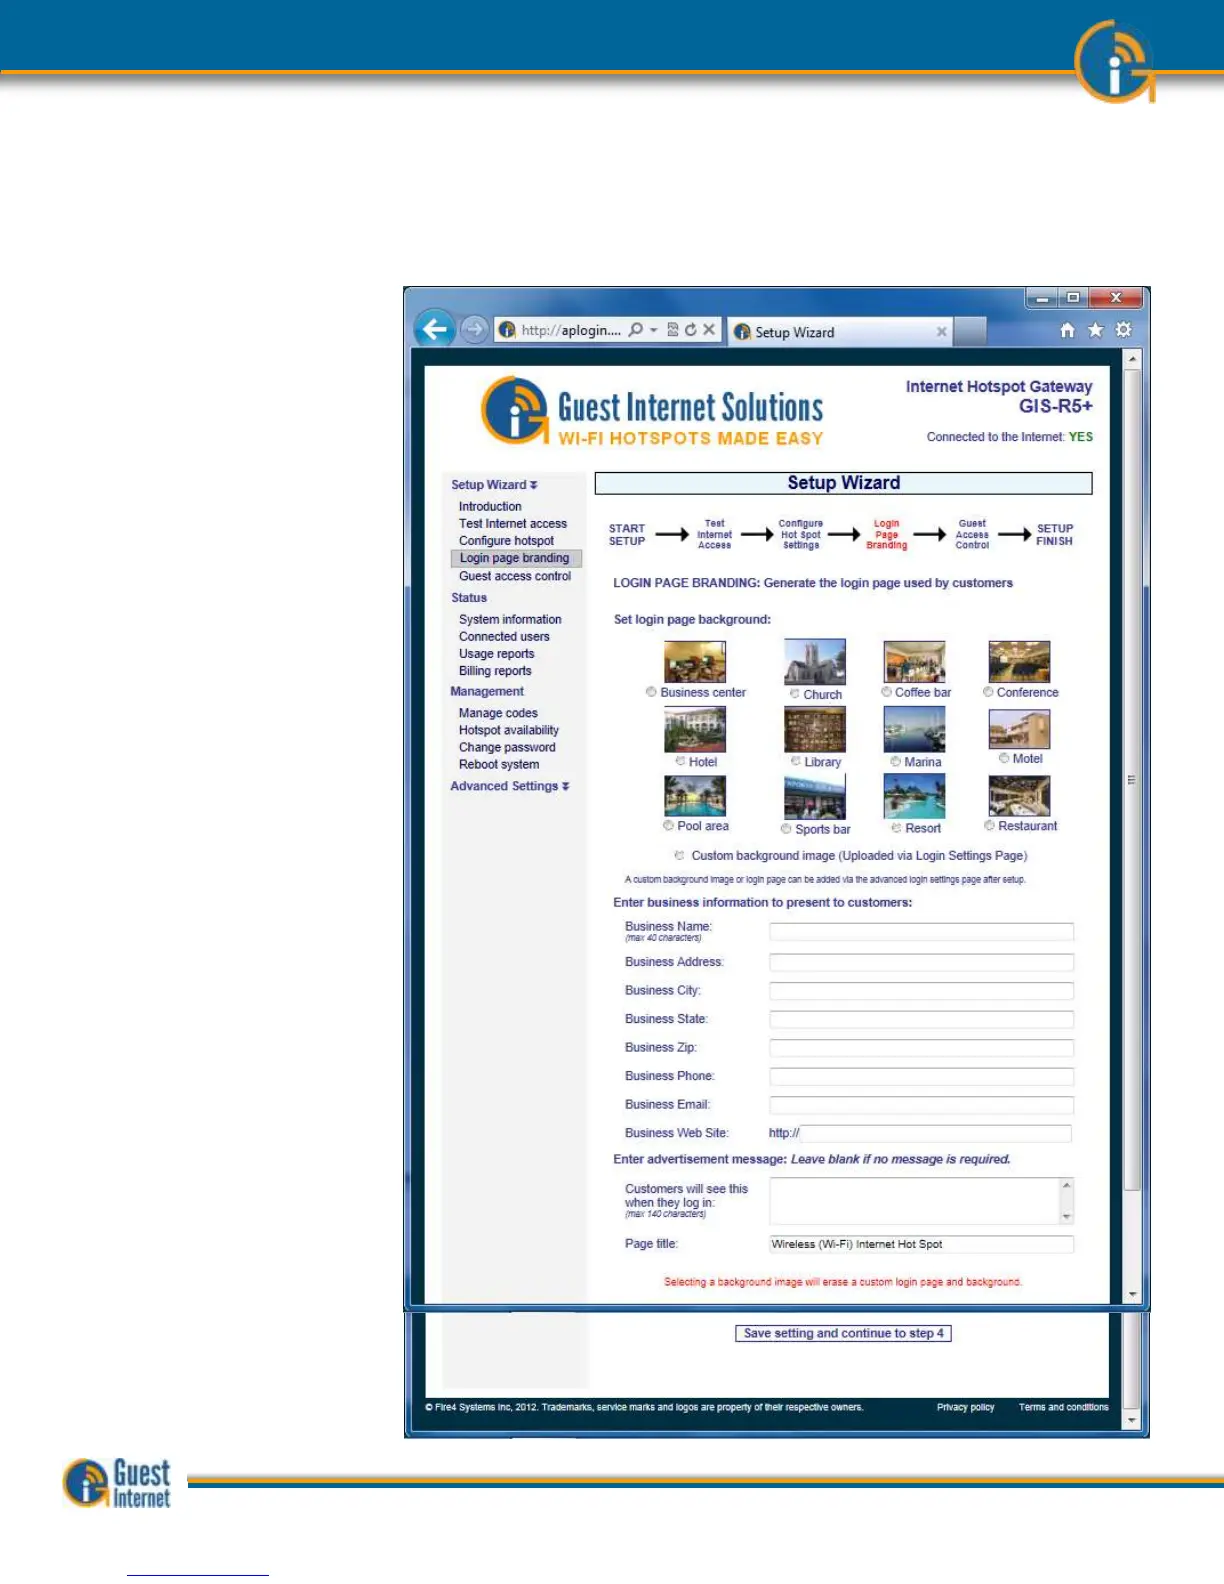
The next step in the setup process is the creation of the login page. Your guests will see
this page when they connect to your Internet service. Your guests have to click on the
disclaimer or enter a code to access the Internet.
The first option you select is the
category that describes your
venue. This selection determines
the login page background
image. The information you type
into the boxes will be displayed
on your login page. It is
important that you provide
guests with the information they
need to email to friends or make
a return reservation. In addition
to your business information you
can also type in an advertising
message so that you can
promote a product or service.
You may not want your guests
to see all the information listed
on this page. Type in only the
business information that you
want your guests to see on your
custom login page. Ignore the
boxes where you do not wish to
provide the information. When
you have completed this screen
click on the button to proceed to
step 4.
 Loading...