2-23
Power supply
model
Available power source Connection procedure reference
240 V high-voltage DC power source
PSR180-56A/PSR360-56A/PSR720-56A/
PSR1110-56A
Connecting the power cord for a PSR75-12A/PSR150-A1
power supply
The power cord connection procedure is the same for the PSR75-12A and the PSR150-A1. This
section uses a PSR150-A1 power supply as an example.
To connect the power cord for a PSR150-A1 power supply:
1. Wear an ESD wrist strap and make sure it makes good skin contact and is reliably grounded.
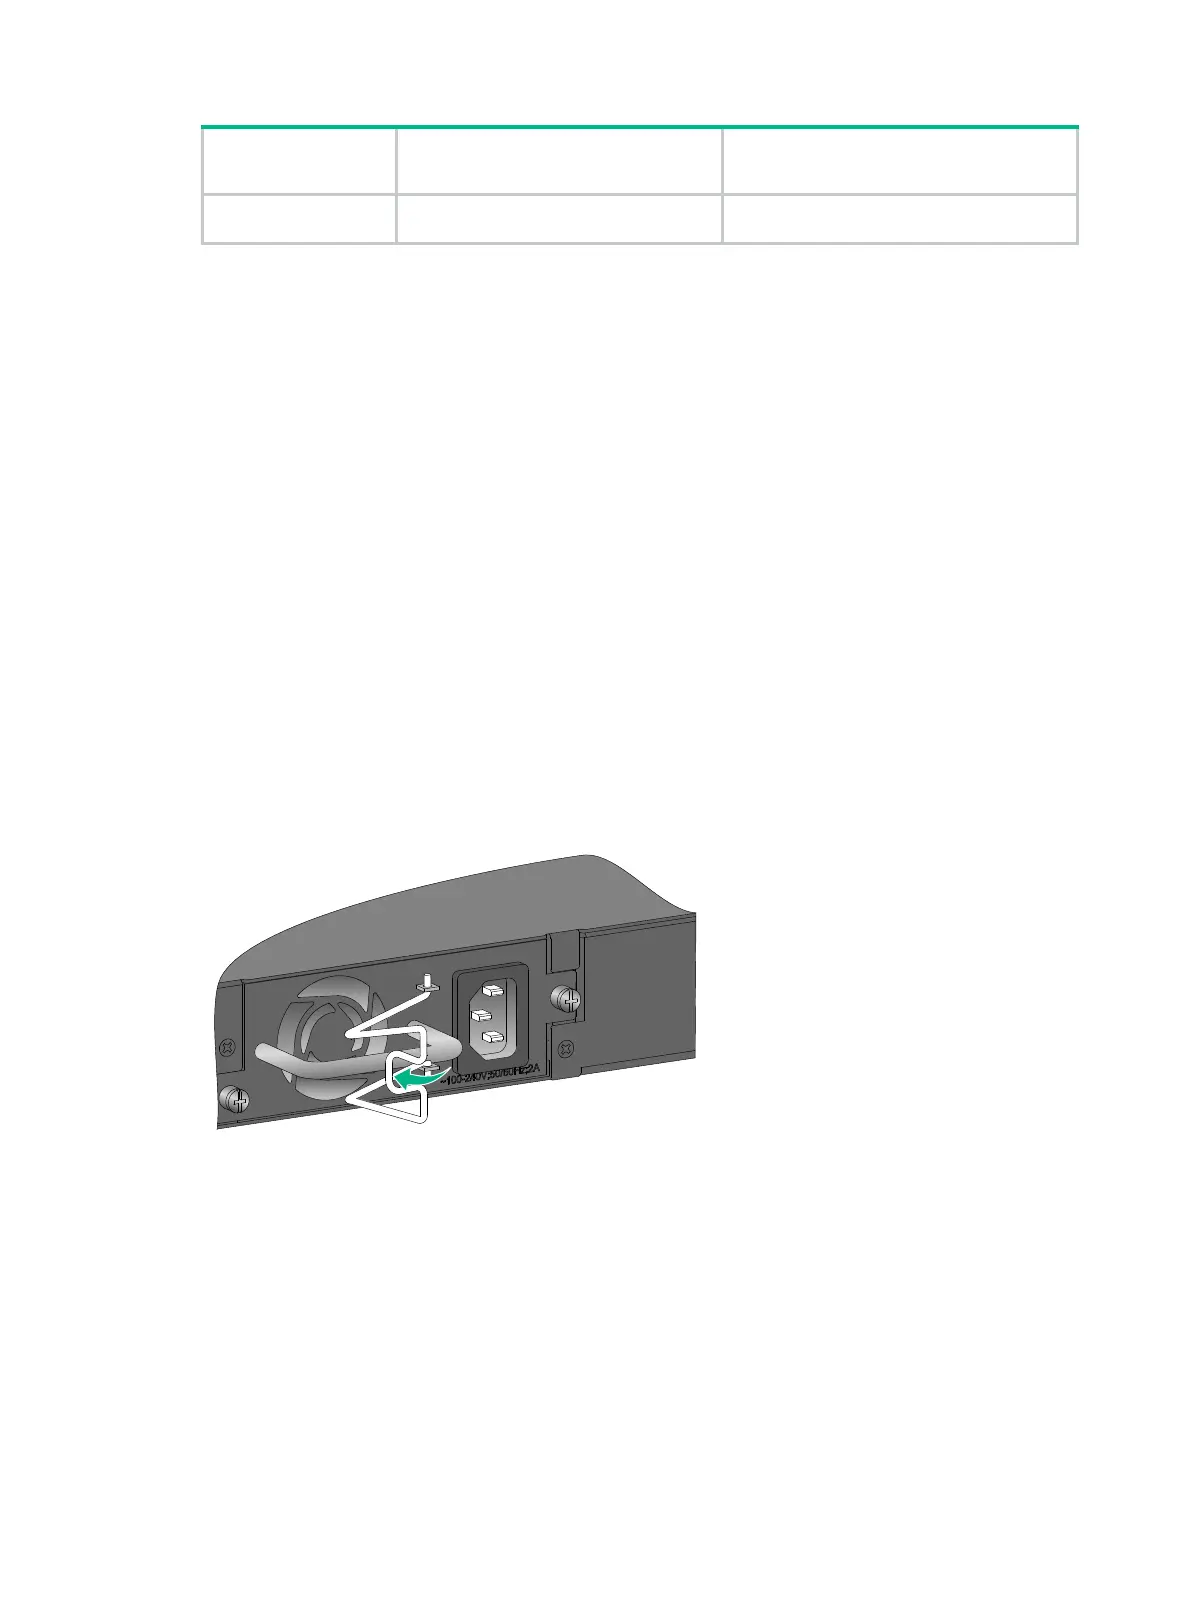
2. Install the power cord retainer clip. Insert the two ends of the clip into the holes in the brackets
on the left of the power receptacle.
3. Pull the power cord retainer clip leftwards (see Figure 2-27).
4. Connect the female connector of the power cord supplied with the power supply to the power
receptacle (see callout 1 in Figure 2-28).
5. Pull the power cord retainer clip rightwards to secure the plug to the power receptacle (see
callout 2 in Figure 2-28).
6. Connect the other end of the power cord to an external power source.
For a PSR150-A1 power supply, connect the power cord to an AC power source. For a
PSR75-12A power supply, connect the power cord to an AC power source or a 240V
high-voltage DC power source.
Figure 2-27 Connecting the power cord for a PSR150-A1 power supply (1)

 Loading...


