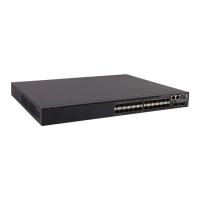
35
The S9850-4C switch provides four expansion slots. For the available expansion modules, see
"Appendix B FRUs."
The installation and removal procedures are the same for expansion modules. This section installs
and removes an LSWM18CQ interface module on the S9850-4C switch.
Installing an expansion module
1. Wear an ESD wrist strap and make sure the wrist strap makes good skin contact and is reliably
grounded.
2. (Optional.) If the target expansion slot has a filler panel installed, remove the filler panel, as
shown in Figure 57.
a. Use your thu
mb and forefinger to hold the filler panel through the two holes.
b. Push right the metal tab in the left hole and pull out the filler panel along the guide rails.
Figure 57 Removing the filler panel from the expansion slot
Keep the removed filler panel secure for future use.
3. Unpack the expansion module.
4. Press the latch on the expansion module to release the ejector lever.
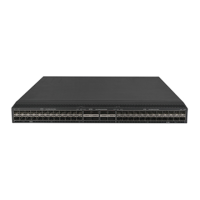
Figure 58 LSWM18CQ interface module
(1) Ejector lever (2) Latch
5. Insert the expansion module slowly into the slot along the guide rails, as shown by callout 1
in Figure 59.
6. Rotate in
ward the ejector lever as shown by callout 2 in Figure 59 until the latch
locks the
ejector lever in place.
 Loading...