10
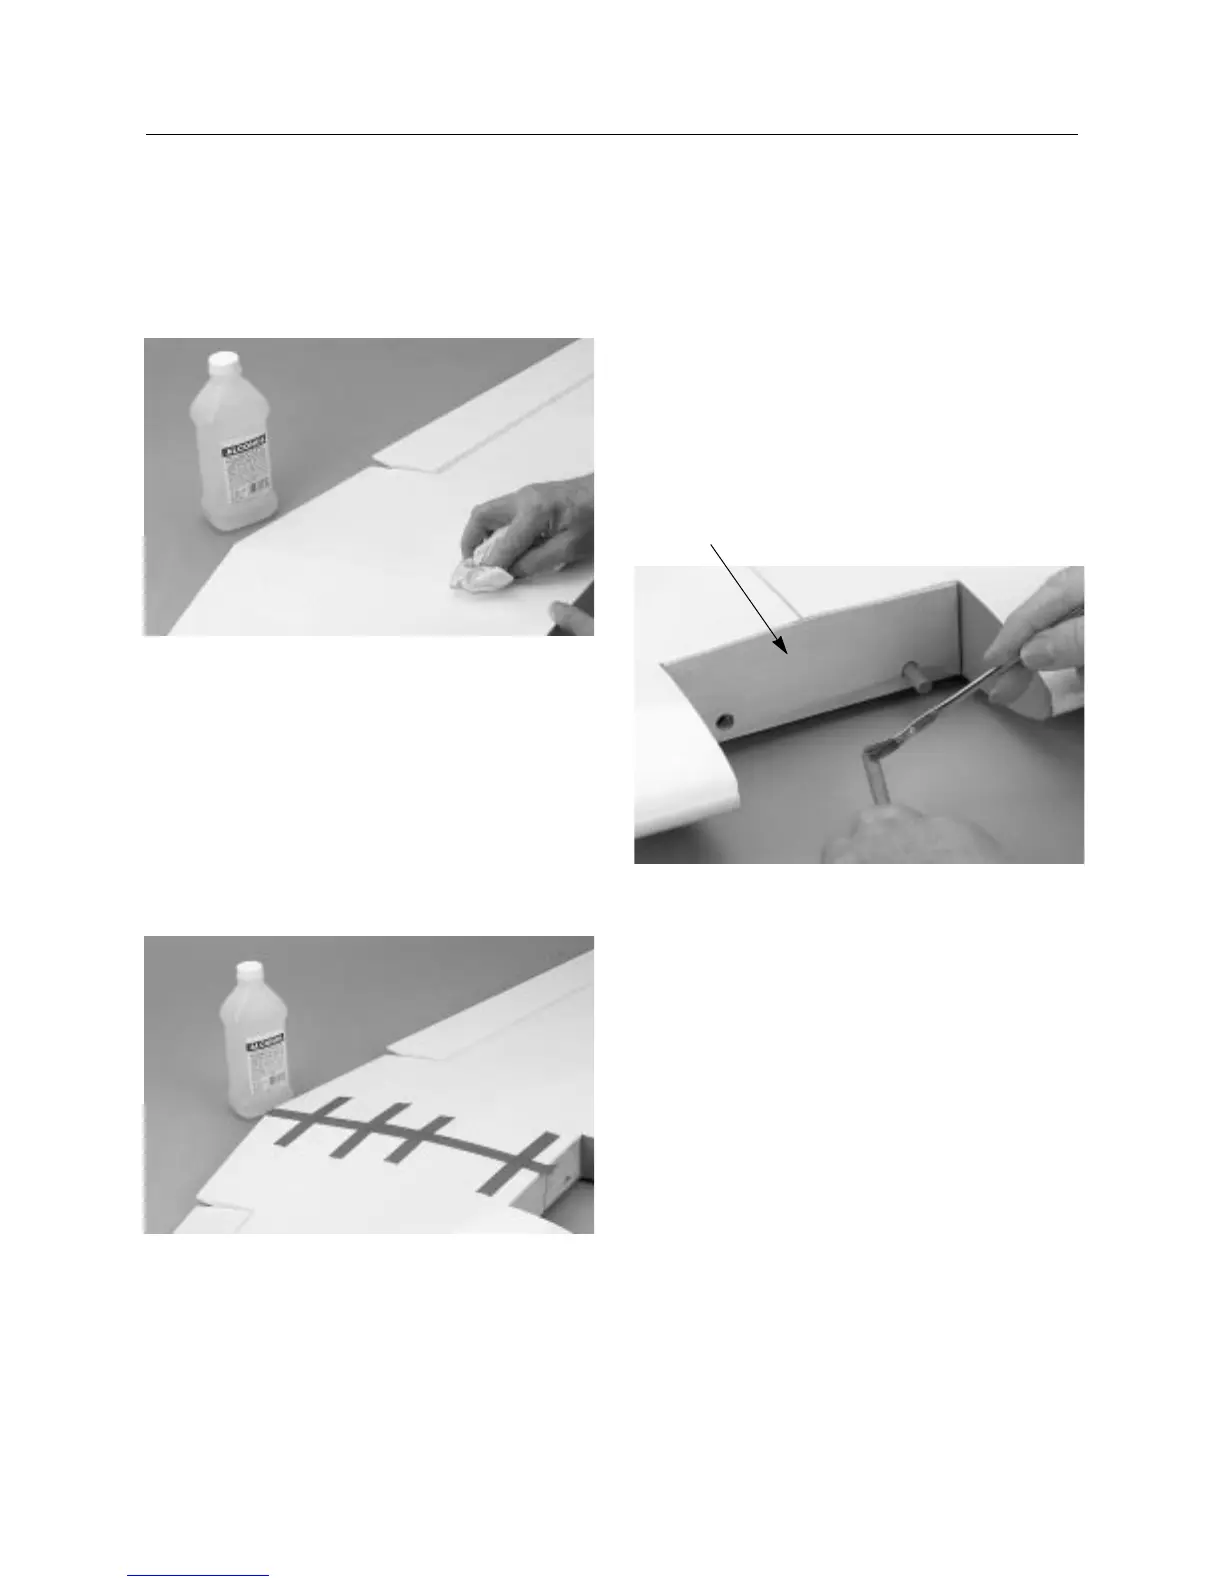
Step 10. Carefully slide the two wing halves together and firmly
press them together, allowing the excess epoxy to run out. There
should not be any gap in the wing halves. Use rubbing alcohol
and a paper towel to clean up any excess epoxy.
Step 11. Apply masking tape at the wing joint to hold the wing
halves together securely. Place the wing on a flat surface. With
one wing panel lying flat on the surface, the opposite wing tip
should be propped up so it is 3′′ from the surface. Apply more
masking tape to the center wing joint and recheck the 3′′
measurement. Allow the wing joint to dry overnight.
Note: It is helpful to use wax paper underneath the wing
center while the epoxy is curing so the excess epoxy
does not adhere to the work area’s surface.
Step 12. Allow the wing center joint to completely cure, then
remove the masking tape.
Step 13. Locate the plywood wing dowel plate and use 6-
minute epoxy to epoxy it in place on the front of the wing. When
installing the plywood dowel plate, care should be given to line
up the holes in the wing and the plate as closely as possible. The
holes will need to be trimmed out to allow the dowels to fit.
Step 14. Using 6-minute epoxy, epoxy the two wood dowels in
place such that 1/2′′ is exposed.
CONTINUED
Section 2: Joining the Wing Halves
plywood wing dowel plate