Chapter 2 Installing the ProStream 9100
© 2016 Harmonic Inc. All rights reserved. 33 ProStream 9100 Release 17.5, Rev A
Cabling ProStream 9100
Connecting the Power
The device is customized with either an AC or DC power supply. This section describes how to do
the following:
Connecting the AC Power Supply
Connecting the DC Power Supply
The chassis does not have a power switch. The unit powers on automatically when you plug it in.
Before you power-up the device, make sure that you have performed all of the cabling required
for each of the installed modules.
To power-up the device:
1. Connect the power cord to the power plug on the device back panel and connect the power
cord to the power outlet.
2. The boot sequence begins, as described in Local Control Panel Display Messages during Bootup.
Connecting the AC Power Supply
The device AC power supply uses autosensing to adjust to different incoming voltages. The AC
power plug accommodates standard IEC 120 VAC and 250 VAC power cords.
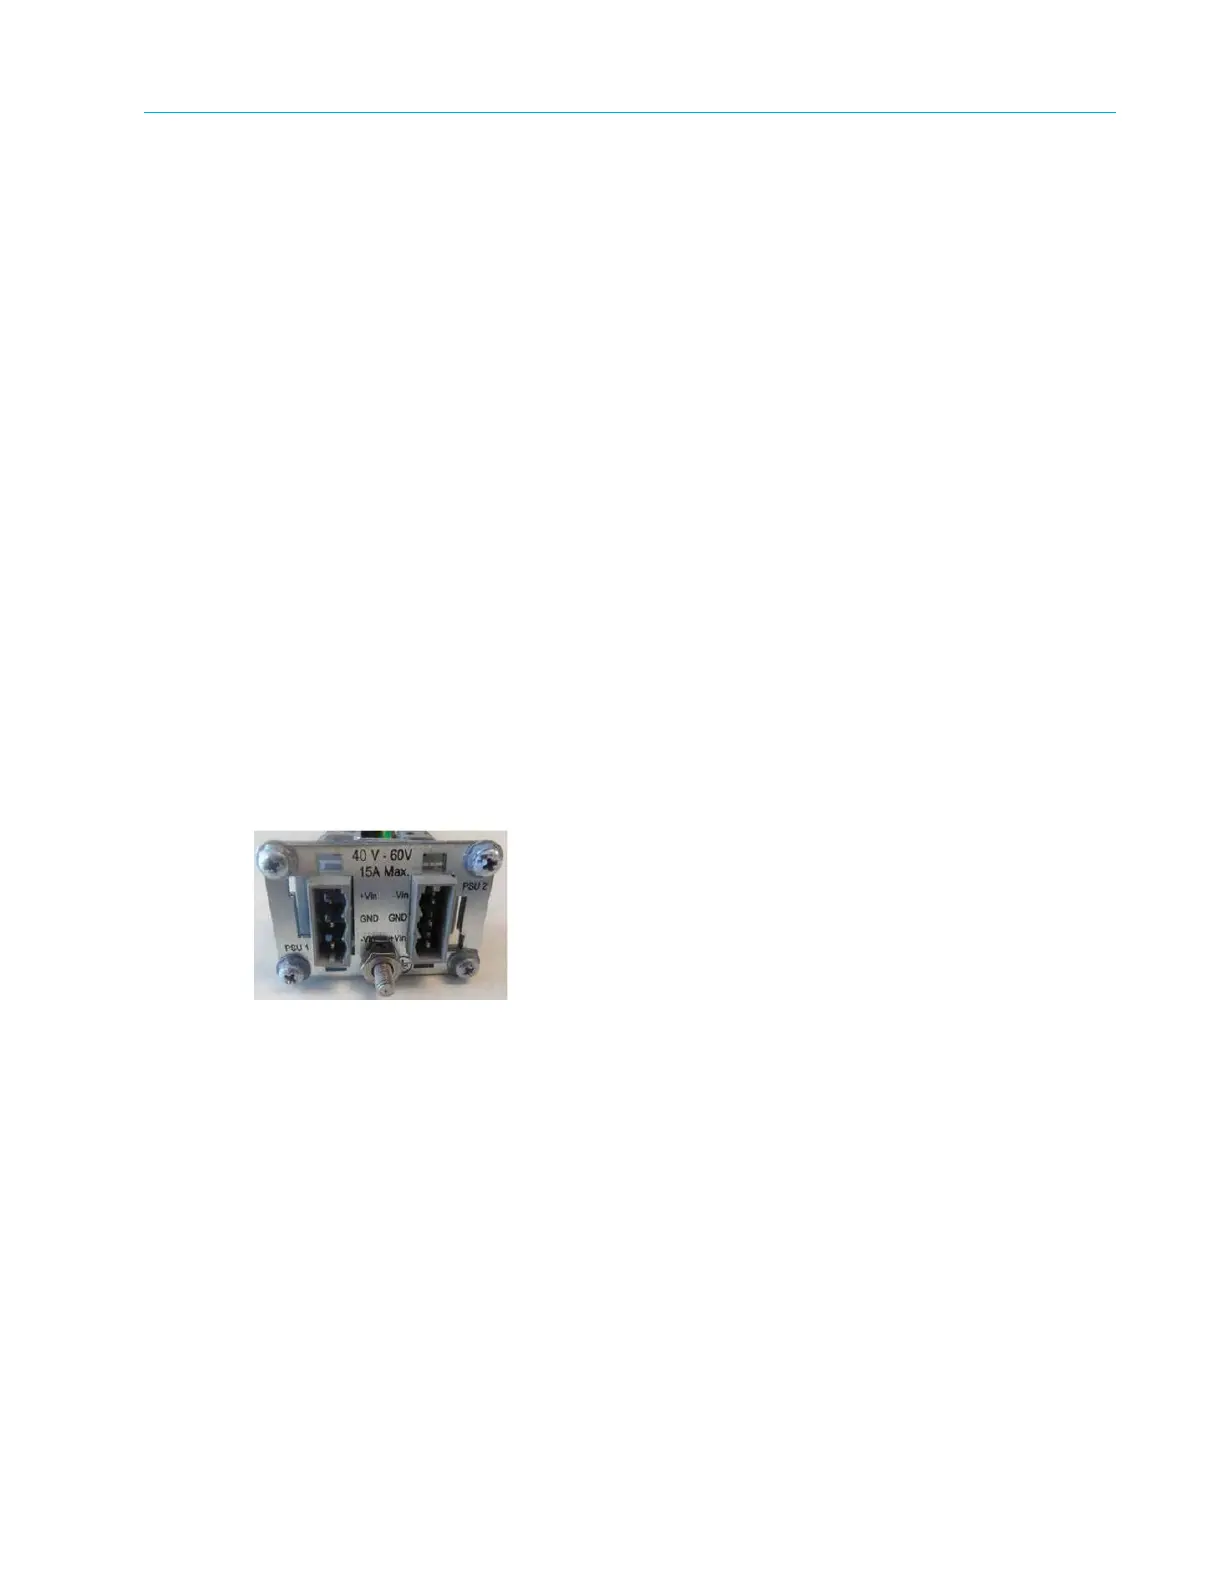
Connecting the DC Power Supply
If your device has the optional -40 VDC power supply, read the following to wire the power
supply. Figure 2–6 shows the DC power supply, which is located on the back panel.
Figure 2–6: DC Power Supply
Getting Started
Before you begin wiring the -40 VDC power supply, make sure you provide the necessary
overcurrent protection, wires, and power connector.
Power Source Specifications
The DC power source feeding the device must meet the following requirements:
Electrically isolated from any AC power source.
Positive ground. The Positive bus of the DC power source must be reliably connected to the
Ground bus.