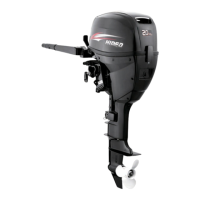
HD27872
Adjusting trim angle for manual tilt
models
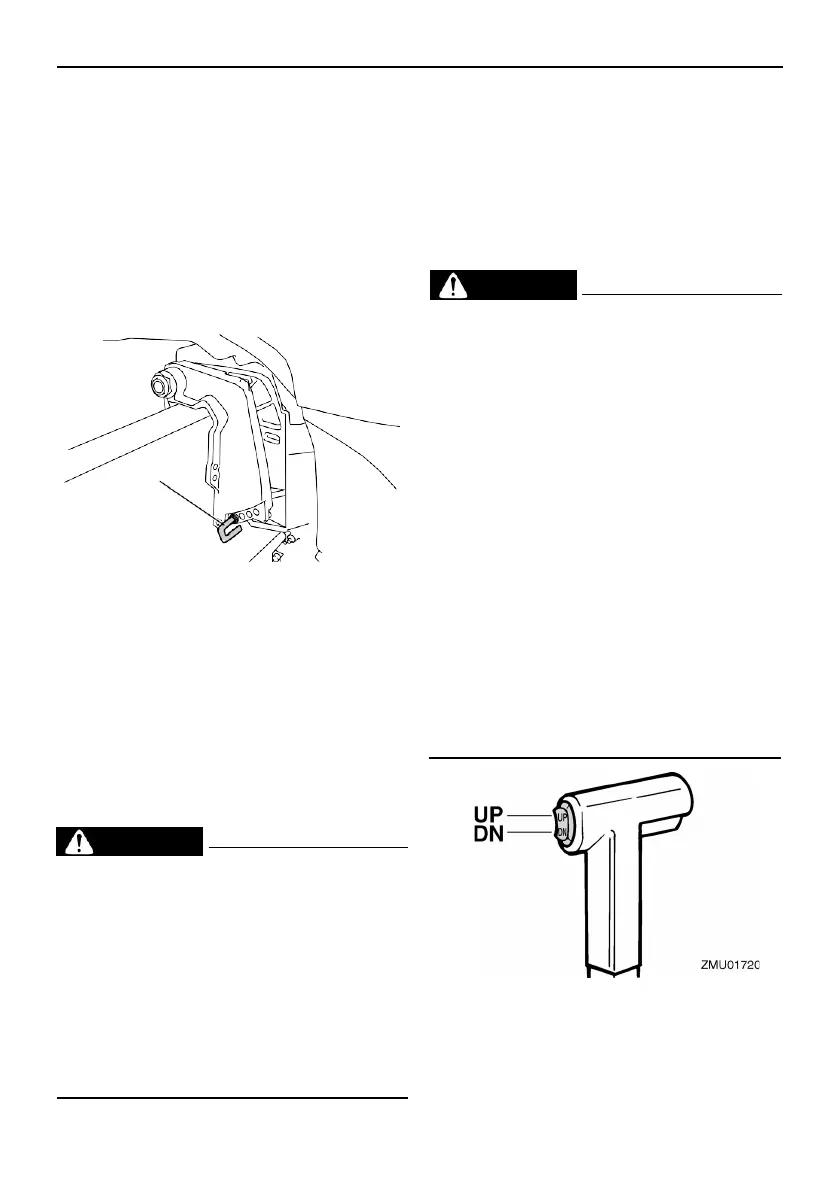
There are 4 or 5 holes provided in the
clamp bracket to adjust the outboard motor
trim an- gle.
1. Stop the engine.
2. Tilt the outboard motor up, and then re-
move the trim rod from the clamp
brack- et.
1. Trim rod
3. Reposition the rod in the desired hole.
To raise the bow (“trim-out”), move the rod
away from the transom.
To lower the bow (“trim-in”), move the rod
to- ward the transom.
Make test runs with the trim set to different
angles to find the position that works best
for your boat and operating conditions.
EWM00400
TIP:
The outboard motor trim angle can be
changed approximately 4 degrees by
shifting the trim rod one hole.
HD27904
Adjusting trim angle (power tilt
models)
EWM00753
Be sure all people are clear of the
out- board motor when adjusting the
trim angle. Body parts can be crushed
be- tween the motor and the clamp
bracket when the motor is trimmed or
tilted.
Use caution when trying a trim
position for the first time. Increase
speed gradu- ally and watch for any
signs of instabil- ity or control
problems. Improper trim angle can
cause loss of control.
If equipped with a power trim and
tilt switch located on the bottom
cowling, use the switch only when the
boat is at a complete stop with the
engine off. Do not adjust the trim angle
with this switch while the boat is
moving.
Tilt the engine to the desired angle using the
power tilt switch.
Stop the engine before
adjusting the trim angle.
Use care to avoid being
pinched when removing or installing
the rod.
Use caution when trying a trim
position for the first time. Increase
speed gradu- ally and watch for any
signs of instabil- ity or control
problems. Improper trim angle can
cause loss of control.