CHAPTER 3
The Menu System
42 Studio Command Series User Manual
Scene Creation, Looping and Playback Example
Step-by-Step Scene Creation
Use the following example to create a sample scene using the fixture’s menu system to choose
a value for each of the available parameters. For more information on available parameters, see
Appendix D: Menu Map.
Note: This example assumes a Studio Command 1200/700 model. The DIM
option will not be functional in Studio Command H fixtures.
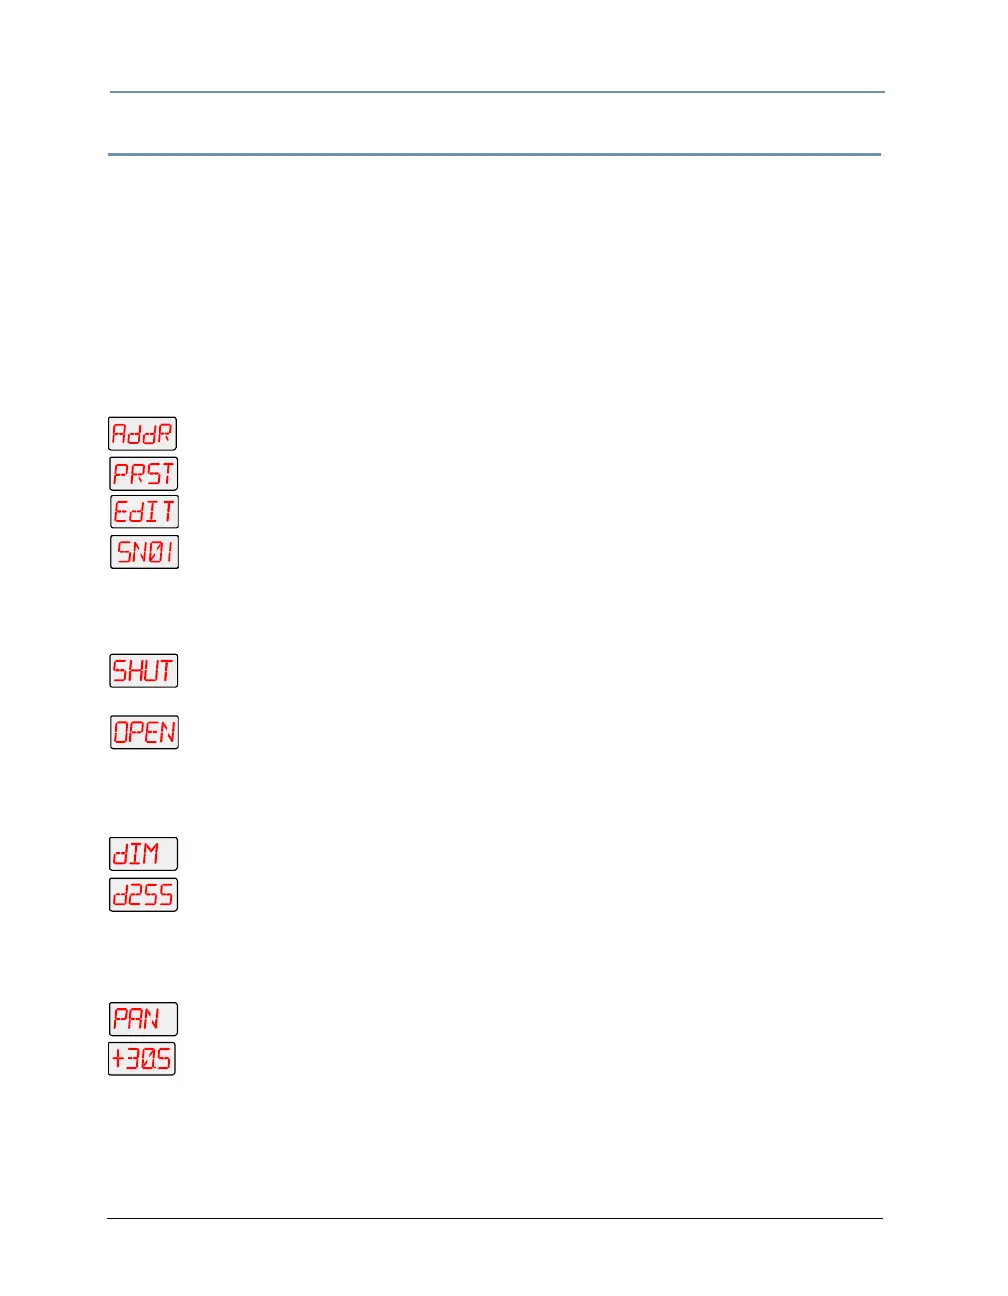
Choose a Scene to Create/Edit:
1. Press and hold <Menu> until AddR appears on the LED display.
2. Scroll to the PRST menu. Press <Enter> to select.
3. Scroll to the EdIT menu. Press <Enter> to select.
4. Scroll to the scene you want to create (in this example, SN01).
5. Press <Enter> to store the selection.
Select a Shutter Value (SHUT):
1. Scroll to the SHUT parameter (this will be the first parameter displayed). Press
<Enter> to select.
2. Scroll to the desired shutter value (in this example, OPEN).
3. Press <Enter> to store the selection.
Select a Dim Value (DIM):
1. Scroll to the dIM parameter. Press <Enter> to select.
2. Scroll to the desired dim value (in this example, d255).
3. Press <Enter> to store the selection.
Select a Pan Value (PAN):
1. Scroll to the PAN parameter. Press <Enter> to select.
2. Scroll to a pan value from -49.9 to +49.9 (in this example, +30.5).
3. Press <Enter> to store the selection.