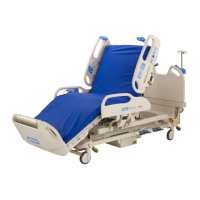
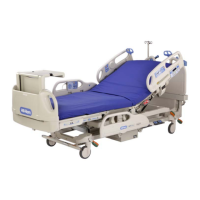
4.9 Control Pod P.C. Board
Chapter 4: Removal, Replacement, and Adjustment Procedures
4.9 Control Pod P.C. Board
Tools required: T20 Torx®
1
screwdriver
T15 Torx® screwdriver
7/64" drill bit
Drill
#6-32 tap
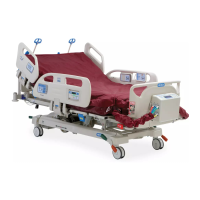
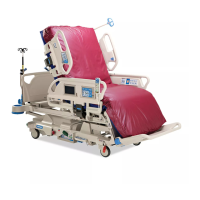
Removal
1. Set the brakes.
2. Raise the bed to the high position.
3. Raise the appropriate siderail to the up and locked position.
SHOCK HAZARD:
Unplug the bed from its power source. Failure to do so could result in
personal injury or equipment damage.
4. Unplug the bed from its power source.
5. Drill a hole in the center of each screw cover (A) (see figure 4-12 on page
4-28).
6. Using the tap, remove the screw covers (A).
7. Remove the 12 screws (B).
8. Remove the siderail cover (C) from the siderail (D).
9. Place the siderail cover (C) on the bed.
10. Remove the hinge pin (E) from the inside of the siderail cover (C).
11. Remove the bushing (F) from the inside of the siderail cover (C).
12. Remove the control pod (G) from the siderail cover (C).
13. Remove the label (H) from the control pod (G).
14. Remove the five screws (I) from the control pod (G).
15. Remove the upper half (J) of the control pod (G) from the lower half (K).
1. Torx® is a registered trademark of Textron, Inc.
4
VersaCare™ Bed Service Manual (MAN333 REV 2) Page 4 - 27
 Loading...