LAB-X5000 Series User Guide
3.1 Powering Up the LAB-X5000
3.2 User Access and PINs
3.3 How to Use the Software
3.4 Analyze a Sample
3.5 Analysis Results
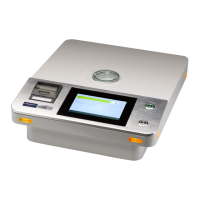
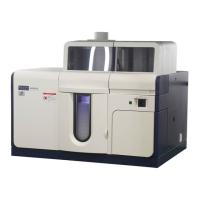
All of the operations of the LAB-X5000 are controlled by the built-in touch-screen computer. All
calibrations, methods, settings, and standards are available through this touchscreen interface.
The computer is controlled through a series of taps and gestures that are intuitive and easily
learned.
The X-ray fluorescence technique is a comparative, rather than an absolute, method of analysis.
Therefore, a calibration curve must first be established before routine analysis can be carried out.
Once a calibration has been created and stored, it will remain accessible for routine analysis from
the main pull-down menu. It is a simple operation to restandardize an existing calibration.
3.1.
Powering Up the LAB-X5000
A single rocker switch on the left side of the instrument powers the instrument and computer. The
[0] position is the OFF position (no power) and the [l] position is the ON position (powered).
To power the instrument on, insert the key into the round lock on the right side of the 3.1.1.
instrument and turn it to “X-RAY ENABLE”
Toggle the rocker switch under the left-hand side to the [l] ON position. 3.1.2.
The computer will automatically load the software after a brief pause. 3.1.2.1.
When the software is ready and the instrument is initialized, the front button ring 3.1.2.2.
will glow green to indicate READY.
The screen will show an X-Ray safety warning and a PIN is required to operate the 3.1.2.3.
instrument and software.
To power the instrument off, choose logout from the pull-down menu. 3.1.3.
The software will progress to the log-in screen. 3.1.3.1.
 Loading...