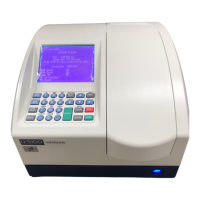
LAB-X5000 Series User Guide
visible damage. Remove the small boxes/polyethylene bags containing accessories
and spares.
Place the instrument on a flat-topped work surface, away from direct sunlight, where 2.1.2.
changes in ambient temperature are minimal.
Insert the power cord into the receptacle on the left underside of the instrument; insert 2.1.3.
the other end into an appropriately-grounded wall outlet. Mains cable must be applied
in such a way which allows easy disconnection of the wall plug. If original mains cable
needs replacement, it must be replaced only with cable which has same electric
ratings. See Section 2.3.2 for details of power requirements.
2.2.
Each LAB-X5000 comes complete with a comprehensive accessories kit 2.2.1.
(PartNo.LX5K-PACK1) which comprises the following items:
USB with user manual and
factory database backup
Safety window assembly tool
Silica gel desiccant 601-057
SUS transit warning label
2.3.
This instrument must be connected to a grounded mains supply. If you are in any 2.3.1.
doubt about your power supply, consult a qualified electrician before proceeding.
The LAB-X5000 is operated from a single-phase supply in the range of 100-240 V and 2.3.2.
47 - 63 Hz.
The instrument can be switched on at the power switch, with is situated on the lower 2.3.3.
left side of the instrument.
2.4.
Printer paper will be in the box containing the instrument’s accessories. 2.4.1.
Lift the printer cover on the left front of the instrument using the tab on the top. 2.4.2.
Place the roll of paper inside with the paper unrolling from underneath the roll, as you 2.4.3.
pull it.
Press firmly on the front corners of the printer cover until it snaps closed. 2.4.4.
A small blue light flashes when the printer cover is not fully closed. It will remain 2.4.5.
solid blue when the cover is closed properly.
2.5.
 Loading...