OSD description
55
• DICOM SIM
This display mode simulates the grayscale/gamma performance of equipment used for “Digital
Imaging and Communications in Medicine” (DICOM).
Important: This mode should NEVER be used for medical diagnosis, it is for education/training
purposes only.
• User1, User2
Recalls the settings customized based on the current available picture modes.
Brightness
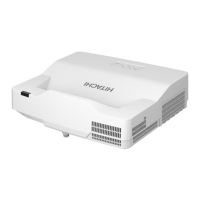
Press ◄► to adjust the brightness of the projected picture. You can connect the projector to an
external picture source to display an picture resembling the one shown (PLUGE: Picture Line-Up
Generation Equipment) for adjustment. Although there are numerous versions of PLUGE picture, they
are typically comprised of blocks of black, white and gray on top of a black background.
It is recommended that you adjust the picture to the following status:
• The darkest black bar of the picture should disappear into the
background.
• The dark gray area should be barely visible.
• The light gray area should be clearly visible.
• The white area should appear real and mellow.
• The picture should only display black, gray and white (with no
other colors).
Above Black
Note: Contrast, Brightness, Color and Tint are interrelated options that affect one another; when
you adjust one of them, you might have to ne tune other settings to get the best projection
results.
The picture Fig 4 illustrates the results of direct brightness adjustment using a random picture:
Contrast
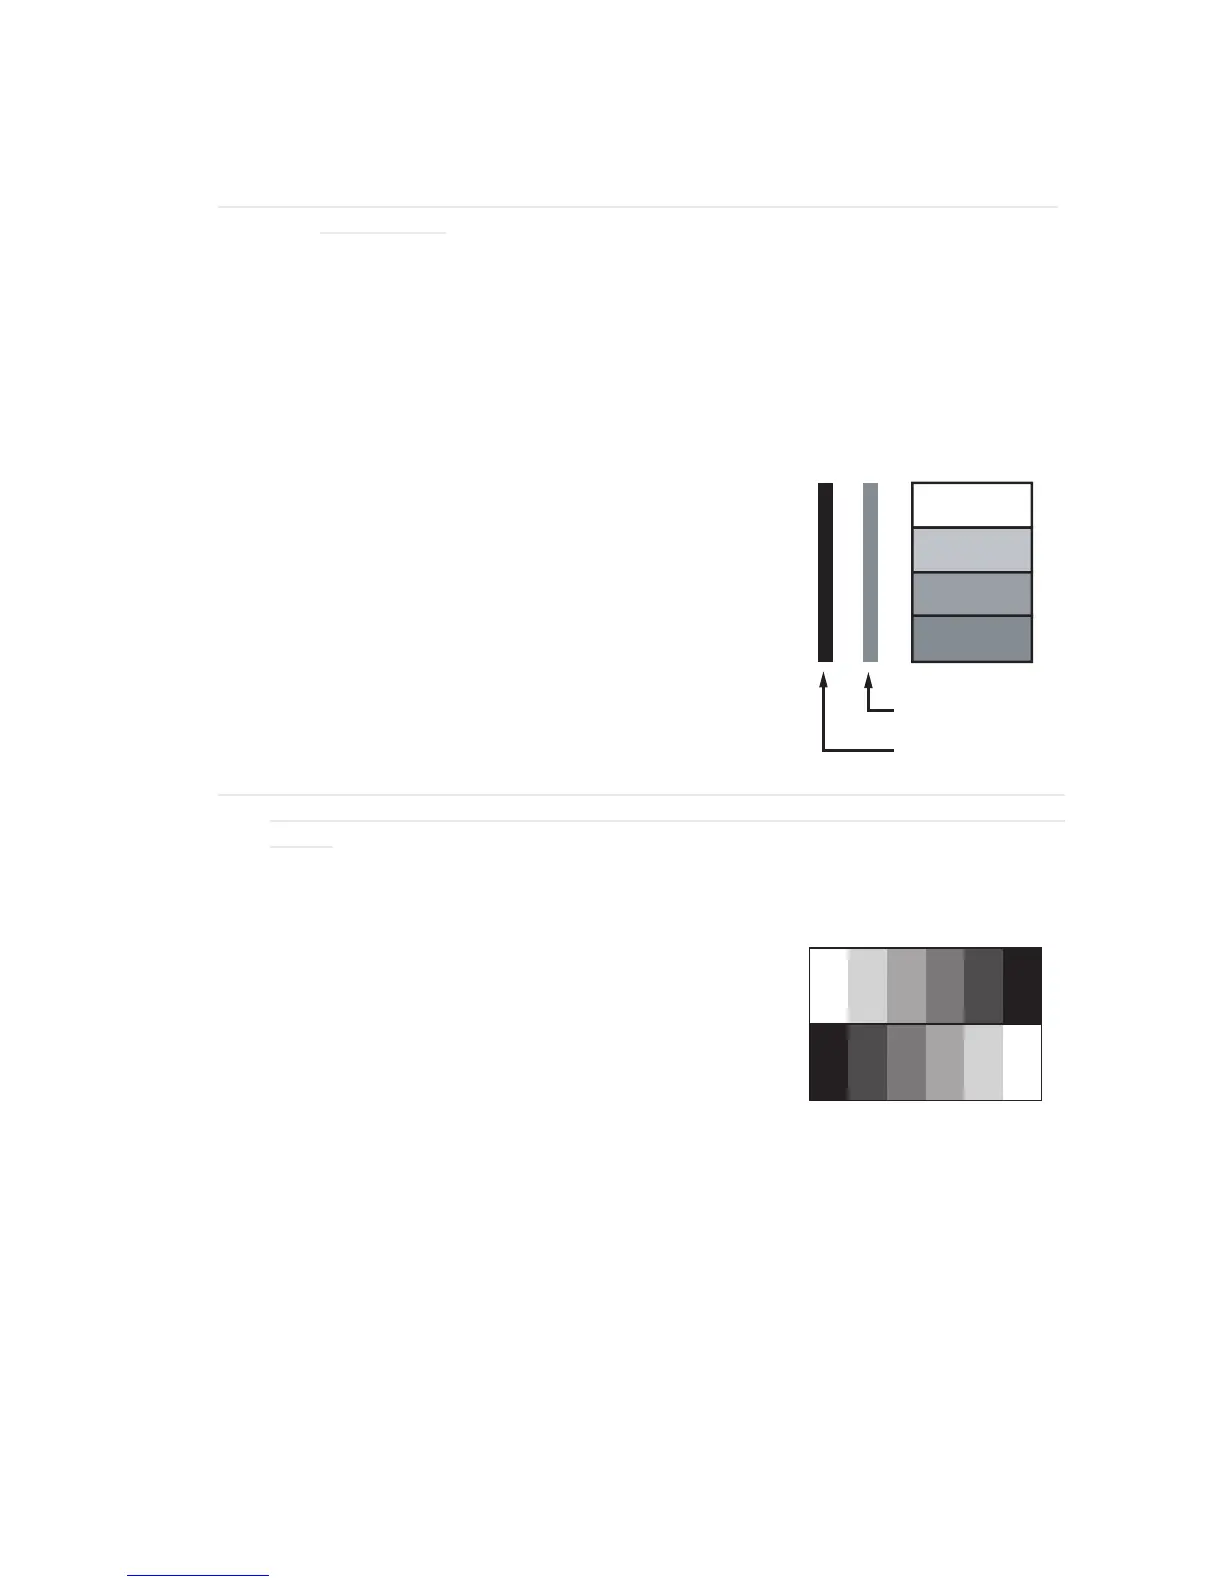
Press ◄► to adjust the contrast of the projected picture. You
can connect the projector to an external picture source to display
an picture resembling the one shown below for adjustment. It is
recommended that you adjust the projected picture according to the
results shown below so that the brightness of the spectrum remains
constant throughout and achieve maximum contrast between black
and white.
The picture Fig 5 illustrates the results of direct contrast adjustment using a random picture:

 Loading...