EQUIPMENT INSTALLATION
19
4.2.7 Walk Test for Best Transmission/Reception
Before permanently mounting the base station, do a walk test with the base station at various
locations until the best possible transmission/reception is found. To check transmission/reception, have
two people walk in the area where the headsets will be used. Use the headset’s B button to communicate,
and then walk past the menu board to test reception where speed-team takes place.
Note: If you need to extend the antenna coverage area, install a Remote Antenna Kit as described
below in Section 4.2.9 (below), but do not permanently mount the antenna. Repeat the walk test,
moving the antenna around the area to determine where the antenna improves transmission/
reception most.
4.2.8 Mount Base Station on Wall
When you have found the best location for transmission and reception,
unplug the power adapter and mount the base station at the desired location
as follows.
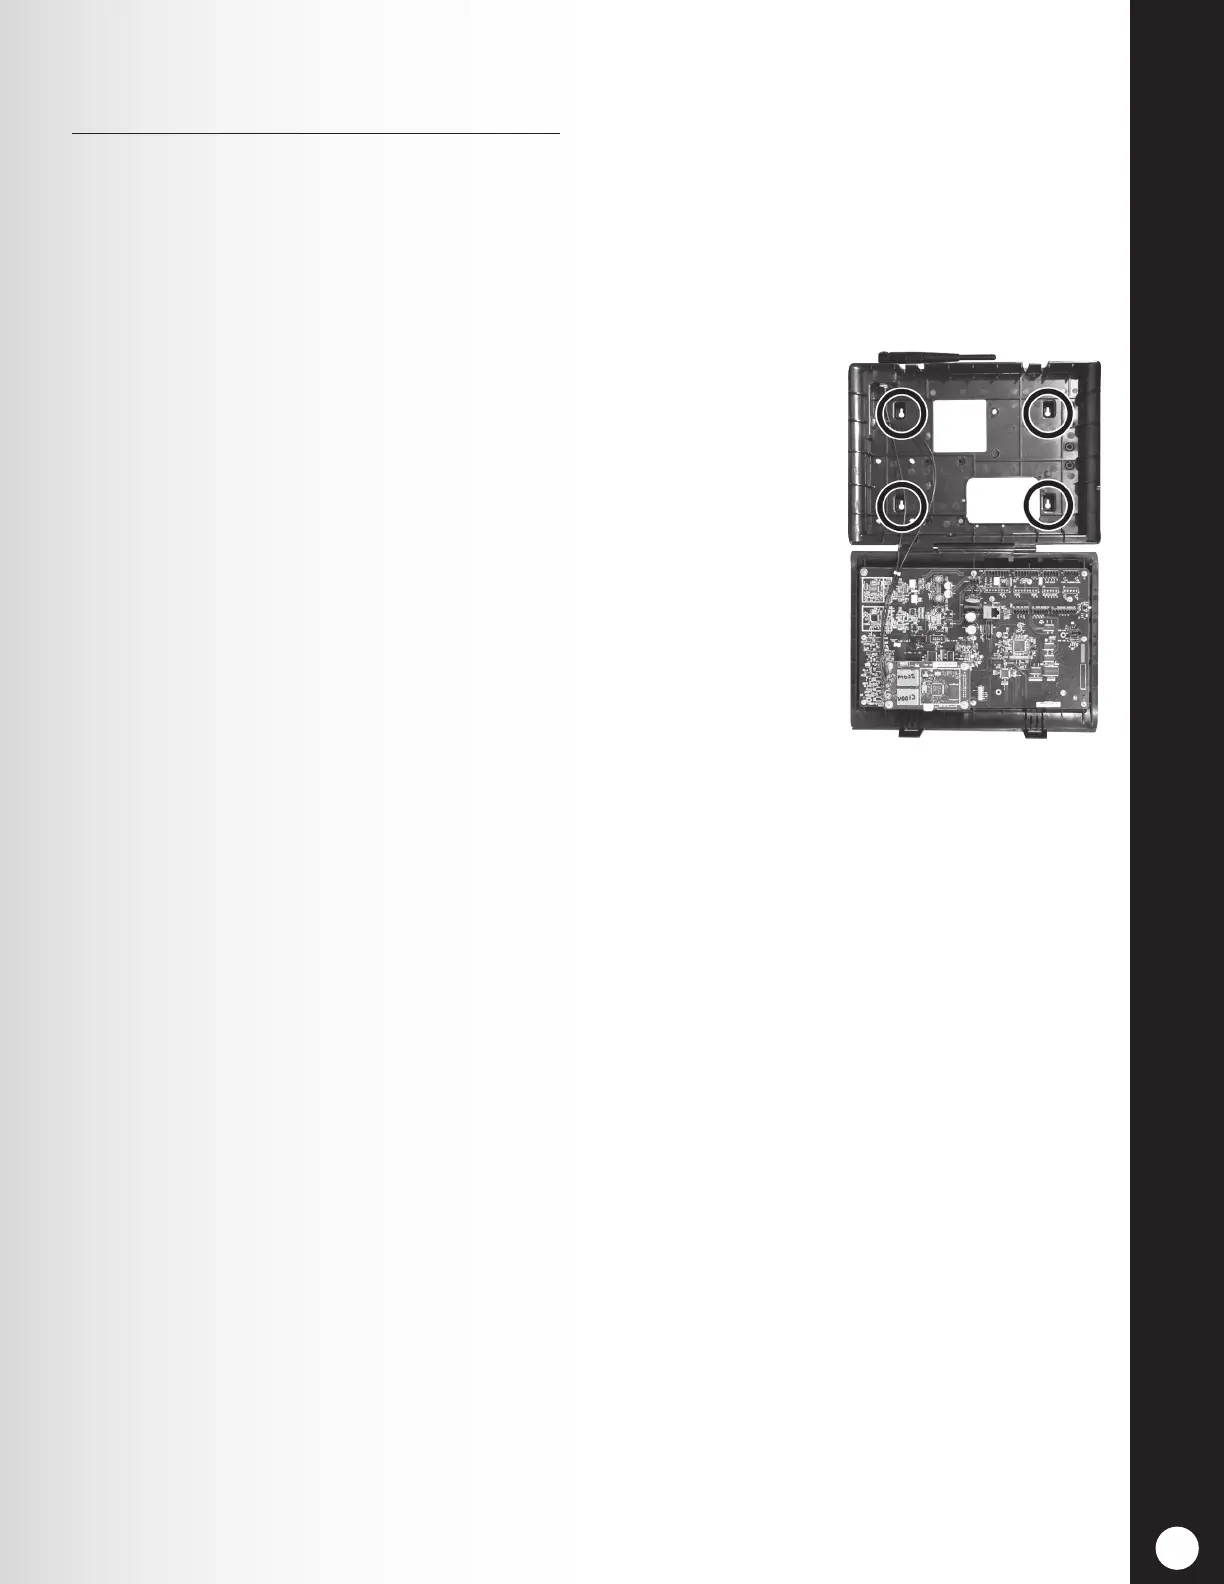
1. Hold the base station against the wall, with its door open, and mark
the wall through the four screw holes on the back of the cabinet,
shown in Figure 17.
2. Set the base station down and drill four 3/16 inch (4.76mm) holes
in the wall at the marked spots.
3. Insert the enclosed #6 screw anchors into the holes.
4. Screw the four enclosed screws into the anchors, leaving the screw
heads 1/8 inch (3.2 mm) away from the wall.
5. Mount the base station on the wall by aligning the four screw holes
in the back of the base station over the four screws. Rest the base
station on the screws, and then tighten the screws to secure the
base station in place.
6. Install optional switcher boards and vehicle detector boards after mounting base station on wall.
4.2.9 Install Remote Antenna Kit (if needed)
The remote antenna kit allows one of the antennas to be mounted up to 30 feet (9.14 meters) from the
base station for improved coverage. With an extension cable and mounting bracket, an antenna can be
mounted inside or outside to extend coverage for speed team operation. Install the remote antenna kit as
follows.
1. Lay out the enclosed 30 foot (9.14 meter) antenna cable with its female connector near the base
station and its male connector at the proposed area where the antenna will be mounted. Bend
and align the cable to the desired position.
2. Remove electrical power from the base station.
3. Remove (unscrew) the antenna from the top of the base station.
4. Screw the female antenna cable connector onto the base station antenna connector where the
antenna was removed.
Note: To minimize stress on the connector, bend the cable to line it up with the base station
antenna connector before connecting it.
5. Screw the antenna onto the male connector at the other end of the antenna cable.
6. Hold the enclosed antenna mounting bracket against the wall at the desired mounting location
and mark the wall through the two screw holes in the bracket. It may be necessary to mount the
antenna high enough to avoid a safety hazard or possible damage to the antenna.
Figure 17. Open base station
showing four screw holes
 Loading...