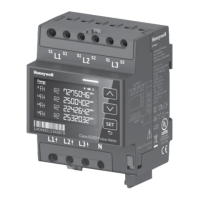
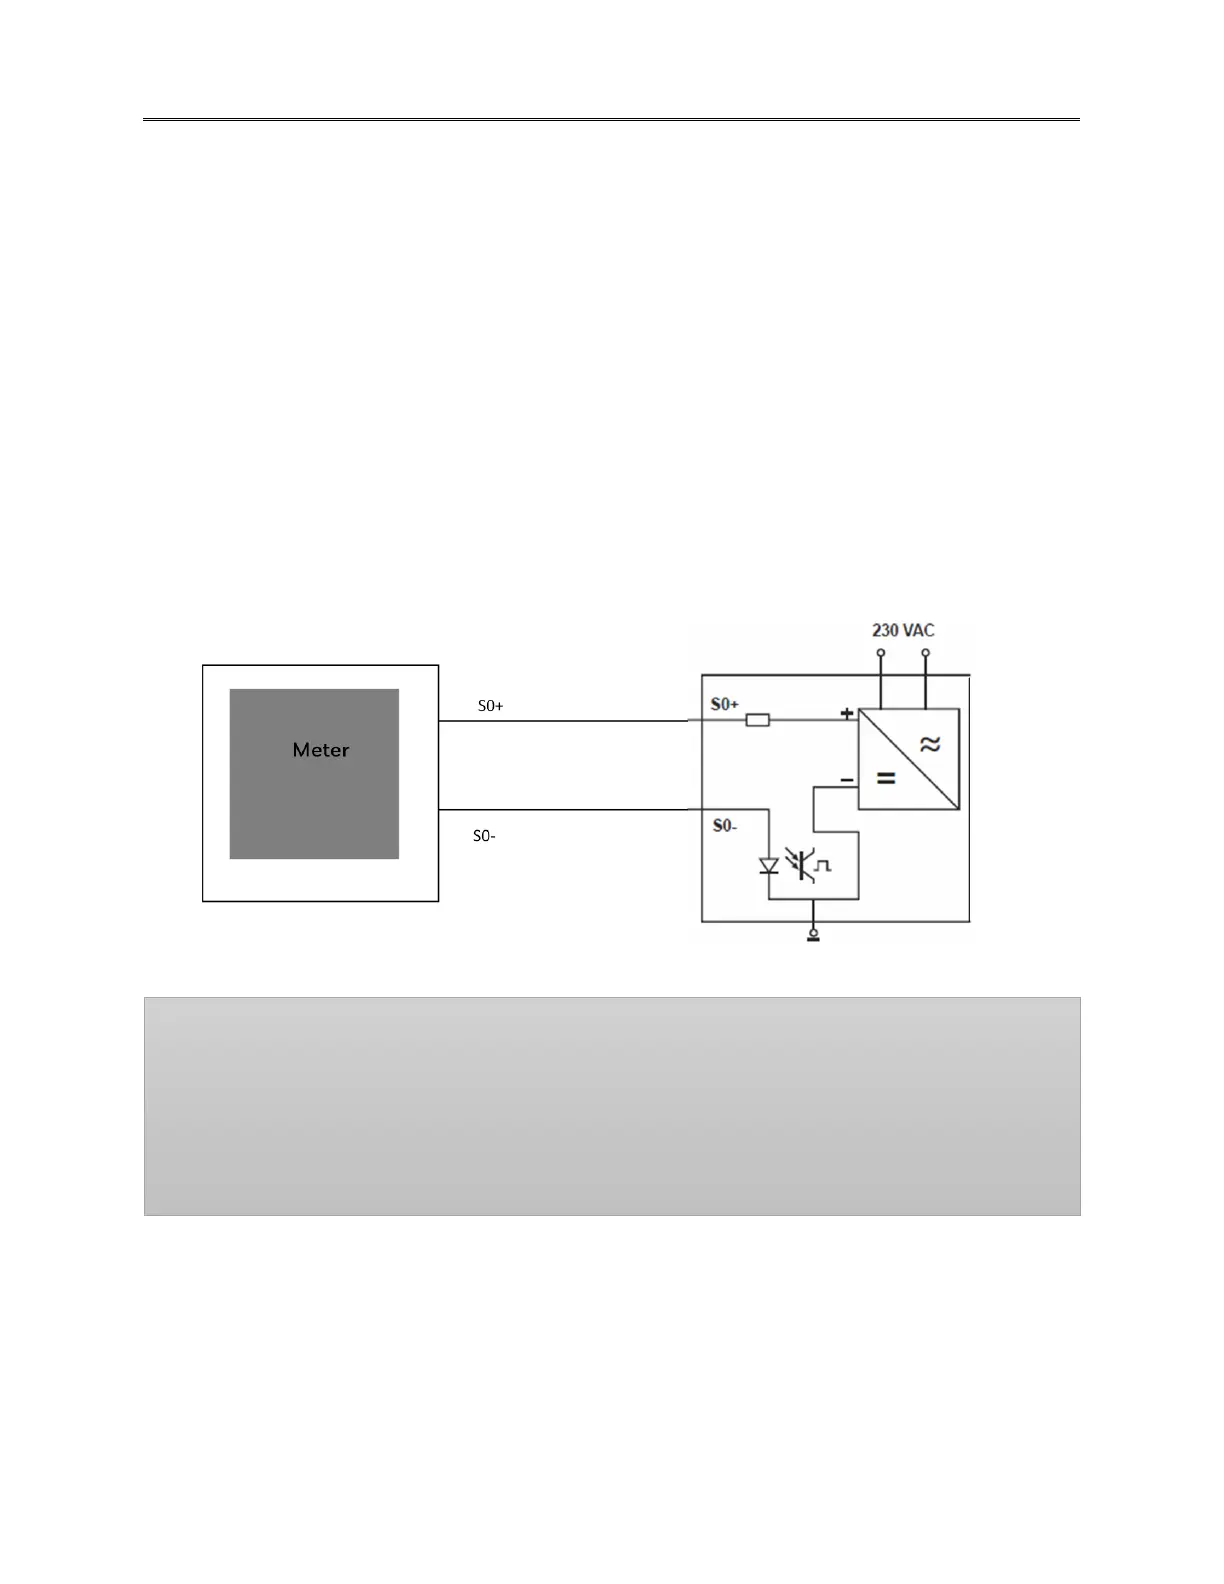
i. Open the communication terminal ports on the bottom right of the meter.
ii. Make the necessary connections using the push-in terminals. Press the yellow buttons
to open the terminals and join the connectors.
iii. Use appropriate terminals for import and export energy measurement.
iv. Use the communication setup lock for sealing the communication connection.
v. Check the meter front panel for setting up the port parameters.
vi. Use the navigation methods as mentioned in section 4.4.
vii. Go to the ‘Setup’ menu and press SET button to enter the menu options.
viii. Navigate to the Port settings (Port1 and Port 2) options and press SET to enter the
submenu.
ix. Setup parameters (Pulse Ratio, Pulse duration and React to) from the submenu
options.
x. Default Configuration:
• 3
rd
and 4
th
terminals are designated for the import energy measurement.
• 1
st
and 2
nd
terminals are for the export energy.
Note
• The Push-in terminals have a cross section area of 0.21 – 1.5 mm
2
.
• Practice caution and avoid touching the panel when it is powered on.
• Ensure that the setup is sealed using the red sealable button after performing the
connection and configuration.
 Loading...