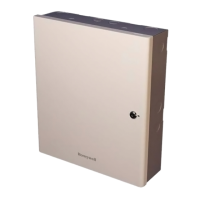
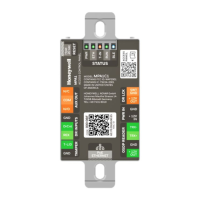
Installing the MPA2 Panels
Installation
MPA2 Access Control Unit Installation Guide, Document 800-25395 - B 43
4. Click Install to initiate the installation.
5. When the installation is complete, the closing screen appears:
6. Click
Finish.
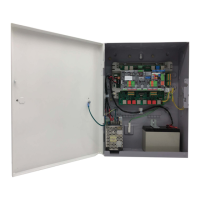
7. Connect the computer to the MPA2 controller with a USB-A to Micro
USB-B cable.
8. Turn on the power to the MPA2 controller.
For login information, go to https://192.168.2.150.
3.7.2 RS-485 Communications
If a MPA2 panel is to be placed onto a pre-existing RS-485 dropline loop
(NetAXS) it must be setup as the Primary panel. The interface allows the
wiring of a Multi-drop communication network of up to 4,000 feet (1200
m) in length. Only one host converter device per dropline is supported.
Notes:
• MPA2 must be the Primary panel on an existing NetAXS loop. The
MPA2 panel cannot be placed as a Secondary panel when the
Primary is a NetAXS system.
• RS-485 communication has not been evaluated by UL or ULC.
DIP switch position SW1 3 on the MPA2 panel selects whether the panel is
a Primary or a Secondary panel. The switch in the OFF position configures
the panel as a Secondary panel; ON configures a Primary. The panel must
be power cycled for a new switch setting to be recognized. DIP switch
positions SW1 5-9 are used to select the panel’s address on the network.
Refer to Table 7 for DIP switch setting information.