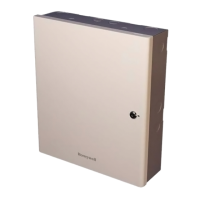
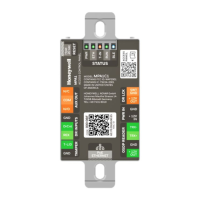
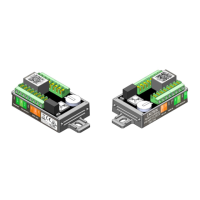
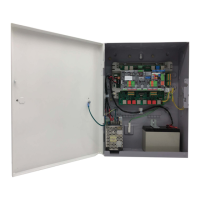
Installing the MPA2 Panels
Panel Components and Descriptions
MPA2 Access Control Unit Installation Guide, Document 800-25395 - B 7
The used ferrite has a high impedance (>= 200) in the range of 50 to 250
Mhz. Make sure similar ferrite characteristics is used in your installation for
CE emission compliancy.
2.2 Supervised and Non-Supervised Input Wiring
The supervised inputs are located on the following terminal blocks:
Table 1 Supervised Input Terminal Blocks/RJ45
Table 2 Non- Supervised Input Terminal Blocks/RJ45
Door Status (Drcnt) and Request to Exit (REX) for all doors may be
configured for Normally Open or Normally Closed contacts as supervised
or non-supervised. All inputs on the Controller Board and eight additional
inputs have default functions, but they can be configured for general
purpose inputs.
Board Configuration Terminal Block RJ45
Main Board Rdr/Door1
connector
P10 (GND, DoorCnt1)
P10 (GND, DoorCnt Aux1)
J12 (pin1,3)
J13 (pin1,3)
Main Board Rdr/Door2
connector
P18 (GND, DoorCnt1)
P18 (GND, DoorCnt Aux1)
J14 (pin1,3)
J15 (pin1,3)
Main Board
Additional Input
connector
P24 (GND, InputX (X=1-8))
Board Configuration Terminal Block RJ45
Main Board Rdr/Door1
connector
P10 (GND, REX1)
P10 (GND, REX Aux1)
J12 (pin2,3)
J13 (pin2,3)
Main Board Rdr/Door2
connector
P18 (GND, REX2)
P18 (GND, REX Aux2)
J14 (pin2,3)
J15 (pin2,3)