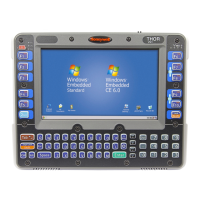
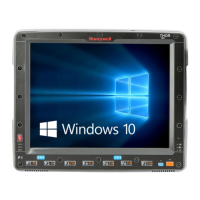
Thor VM1A Vehicle-Mounted Computer 85
The VM1A is ready for use.
Install RAM Mount
Step 1. Before installation begins, verify you have the applicable vehicle mount-
ing assembly components necessary. Refer to the Thor VM Series Vehi-
cle Mount Computer Accessory Guide for information on RAM mount
kits and components on www.honeywellaidc.com. Kits do not include the
hardware required to mount the base to the vehicle since requirements
vary from vehicle to vehicle.
Step 2. You will need the following tools for mounting the RAM:
•Sockets
• Ratchet wrench
•Screwdriver
• Drill and bits, if using a round or place base
• Torque wrench capable of torquing to 20 inch pounds (1.10 N/m).
Note: Tools are not supplied by Honeywell.
Step 3. Attach the base to the vehicle.
RAM Ball Mount
1. Determine the position for mounting the RAM ball base. Be sure to position the
RAM bracket to allow access to the switches and ports on the bottom of the
computer.
Note: Mount to the most rigid surface available.
2. Drill and tap holes for three 1/4 bolts. (Drawing not to scale.)
Caution: This device is intended to transmit RF energy. For protection against
RF exposure to humans and in accordance with FCC rules and
Industry Canada rules, this transmitter should be installed such that
a minimum separation distance of at least 20 cm (7.8 in.) is
maintained between the antenna and the general population. This
device is not to be co-located with other transmitters.
For these nuts... Torque to
10-32 lock nuts 17-20in/lb (0-95 - 1.10 N/m)
 Loading...