Rear Fan
The rear fan is secured to the rear right corner of the chassis. You must remove the system board
before you can remove the rear fan.
1. Prepare the computer for disassembly (
Preparation for Disassembly on page 31).
2. Remove the computer access panel (
Computer Access Panel on page 40).
3. Remove the front bezel (
Front Bezel on page 41).
4. Remove the optical drive (
Removing the Existing Optical Drive on page 48).
5. Remove the memory modules (
Installing Additional Memory on page 43).
6. Remove the hard drive (
Hard Drive on page 51).
7. Remove the hard drive cage (
Hard Drive Cage on page 55).
8. Remove the front fan (
Front Fan on page 56).
9. Remove the heat sink (
Heat sink on page 60).
10. Remove the system board (
System Board on page 64).
11. Disconnect the fan control cable from the maroon system board connector labeled
CHFAN_REAR.
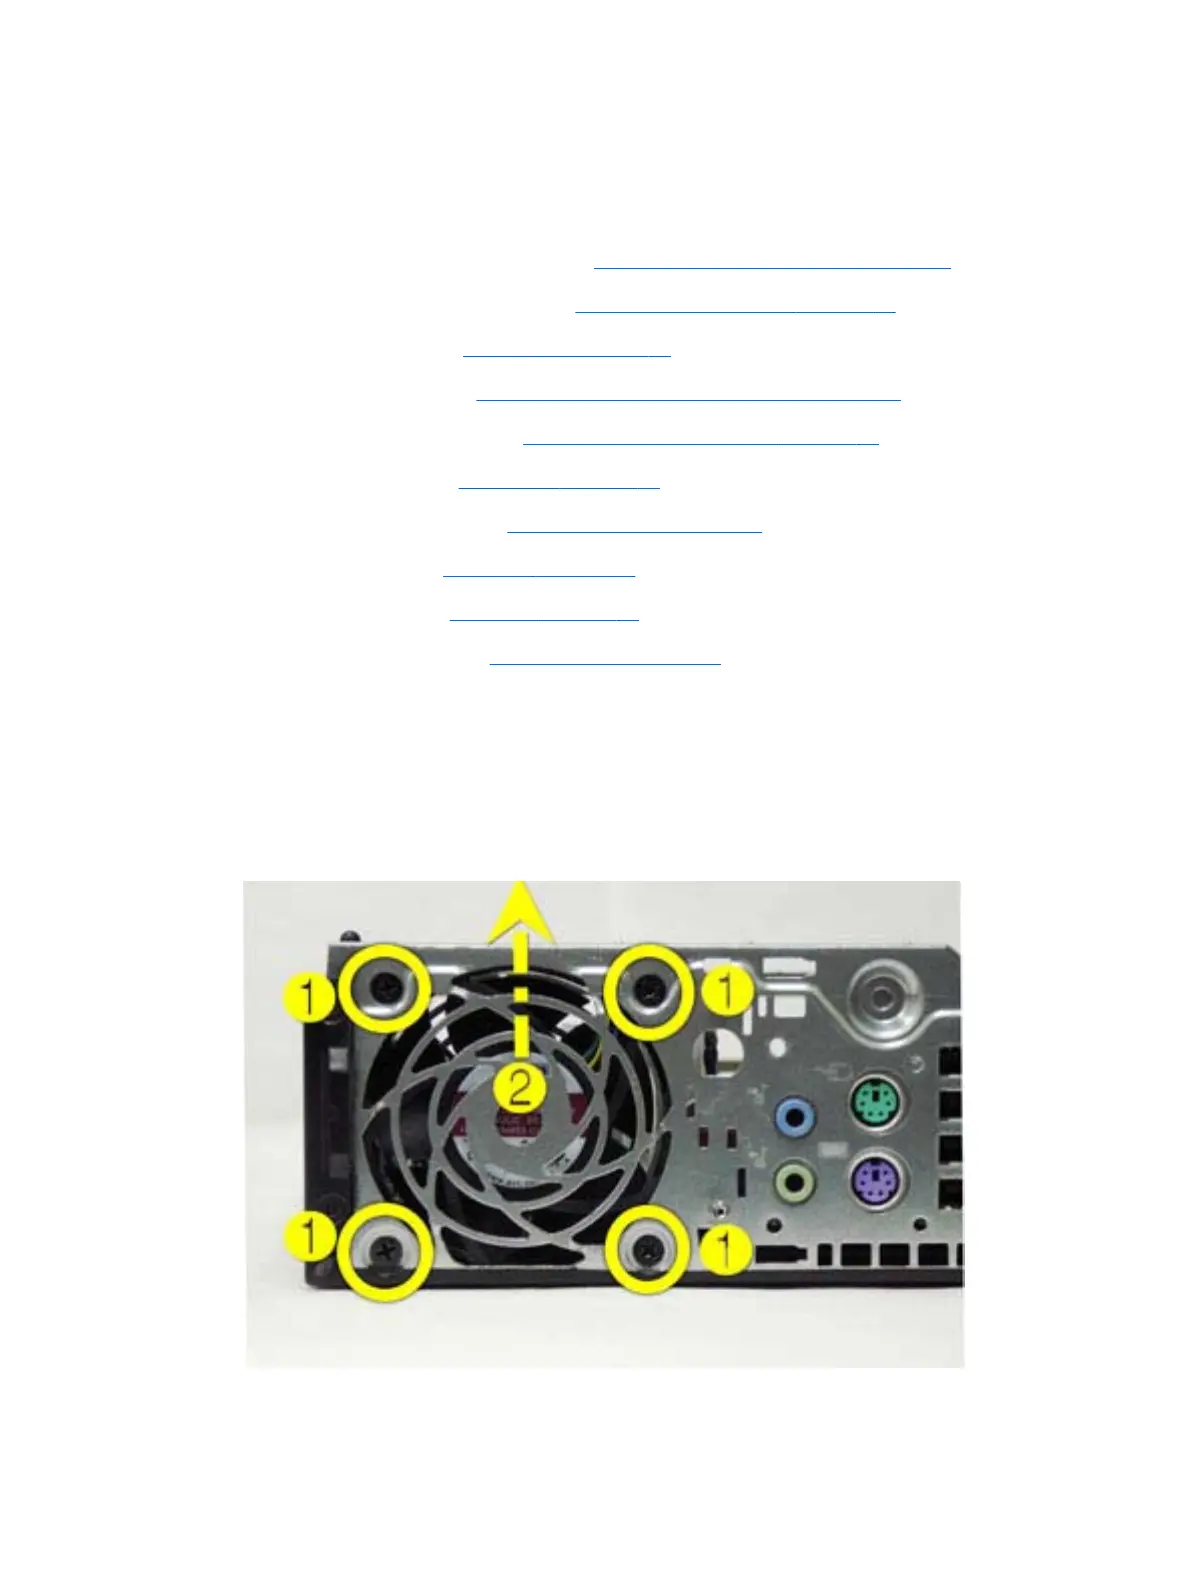
12. From the outside of the chassis, remove the four Phillips screws that secure the fan to the
chassis (1), then from the inside of the chassis, slide the fan forward and lift it up and out of the
chassis (2).
Figure 6-39 Removing the rear fan
To install the rear fan, reverse the removal procedure.
Rear Fan
67