2.5-inch, solid-state drive (SSD)
The computer oers both 2.5-inch and M.2 solid-state drives, which are installed in dierent locations.
An M.2 solid-state drive socket is available on the system board under the fan sink. For more information
about removing an M.2 solid-state drive, see M.2 PCIe solid state drive (SSD) on page 38.
Description
Solid-state drive, 256 GB, SATA-3, TLC
Solid-state drive, 128 GB, SATA-3, TLC
NOTE: Back up the solid-state drive before you remove it so that you can transfer the data to the new solid-
state drive.
To add an solid-state drive instead of replacing one, purchase a 4-screw after-market option kit to obtain the
screws required to mount the drive.
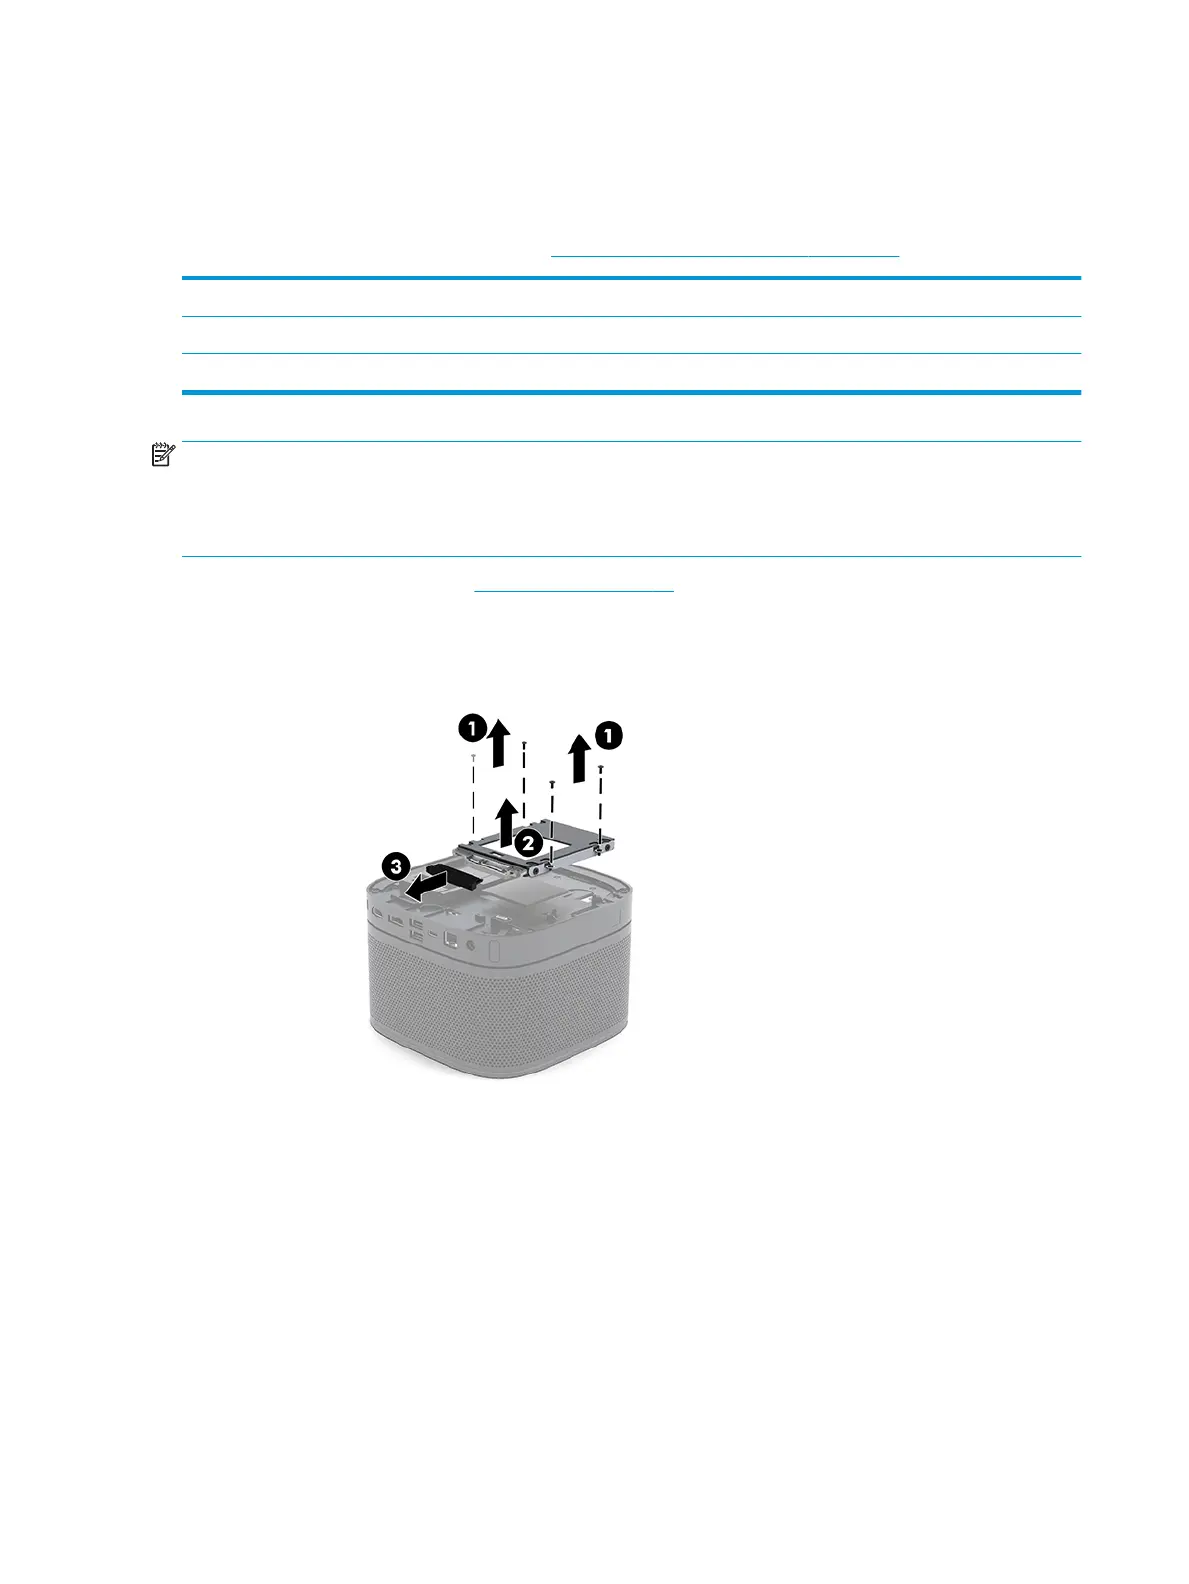
1. Remove the access panel (see Access panel on page 21).
2. Remove the four screws (1) attaching the solid-state drive cage to the system board and lift the cage (2)
out of the chassis.
3. Pull the tab (3) to disconnect the solid-state drive power-and-data cable from the solid-state drive.
26 Chapter 4 Removal and replacement procedures – HP Elite Slice Base Module