Installing a liquid cooling unit
The following steps describe installation of a liquid cooling unit.
1. Disconnect power from the system (
Pre-disassembly procedures on page 55), and remove the
access panel (
Access panel on page 63). Place the workstation on its side with the system board
facing up.
2. Install the liquid cooling unit rear chassis bracket if it is not already installed.
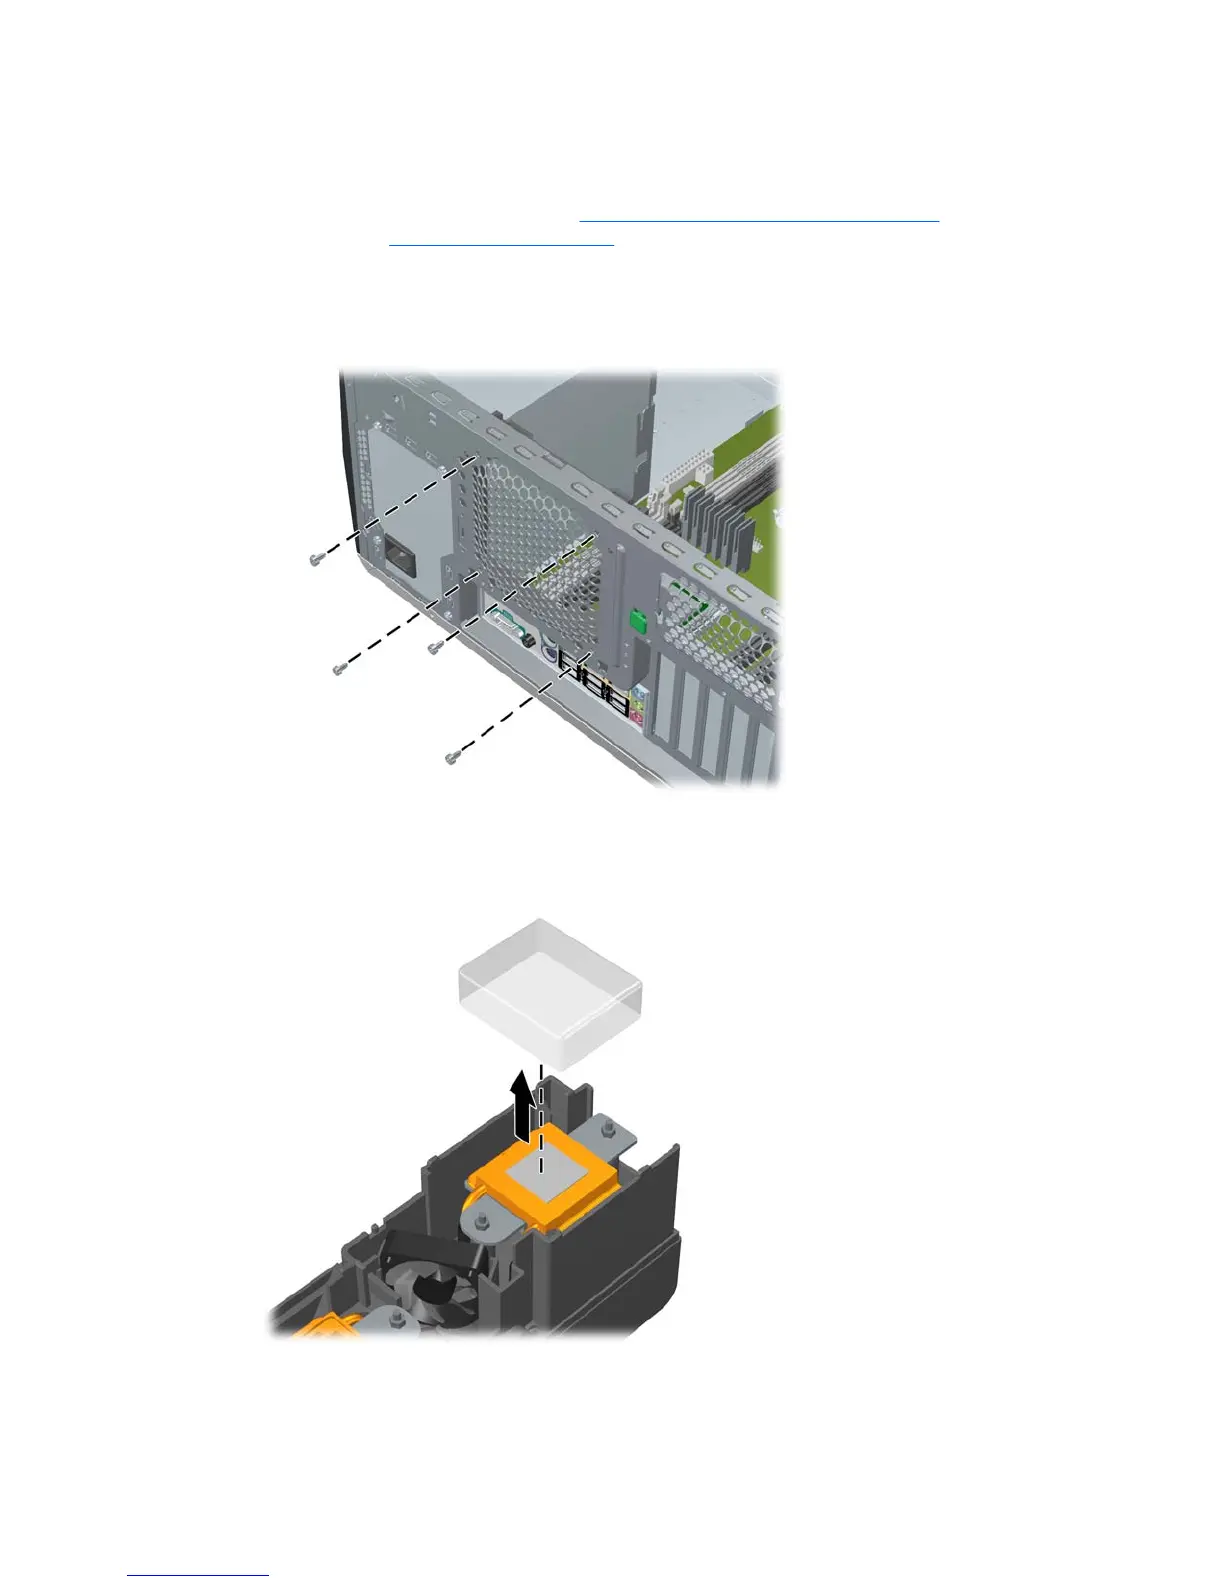
Figure 5-56 Install rear chassis bracket
3. For a new installation, remove the plastic protectors covering the thermal interface material on the
liquid cooling unit.
Figure 5-57 Remove plastic protectors
4. For a reused liquid cooling unit, clean the old thermal interface material from the processor and
from the reused liquid cooling unit cold plates. Reapply new thermal interface material to the
processors and to the reused liquid cooling unit.
ENWW Removing and replacing components 103

 Loading...