Hardware options installation 38
4. Remove the access panel (on page 15).
5. Do one of the following:
o Remove the storage controller/NVMe pass-through board (on page 22).
o Remove the direct connect SATA cable (on page 19).
6. Remove all DIMM baffles ("Remove the DIMM baffles" on page 16).
7. Remove the front panel/drive cage assembly (on page 24).
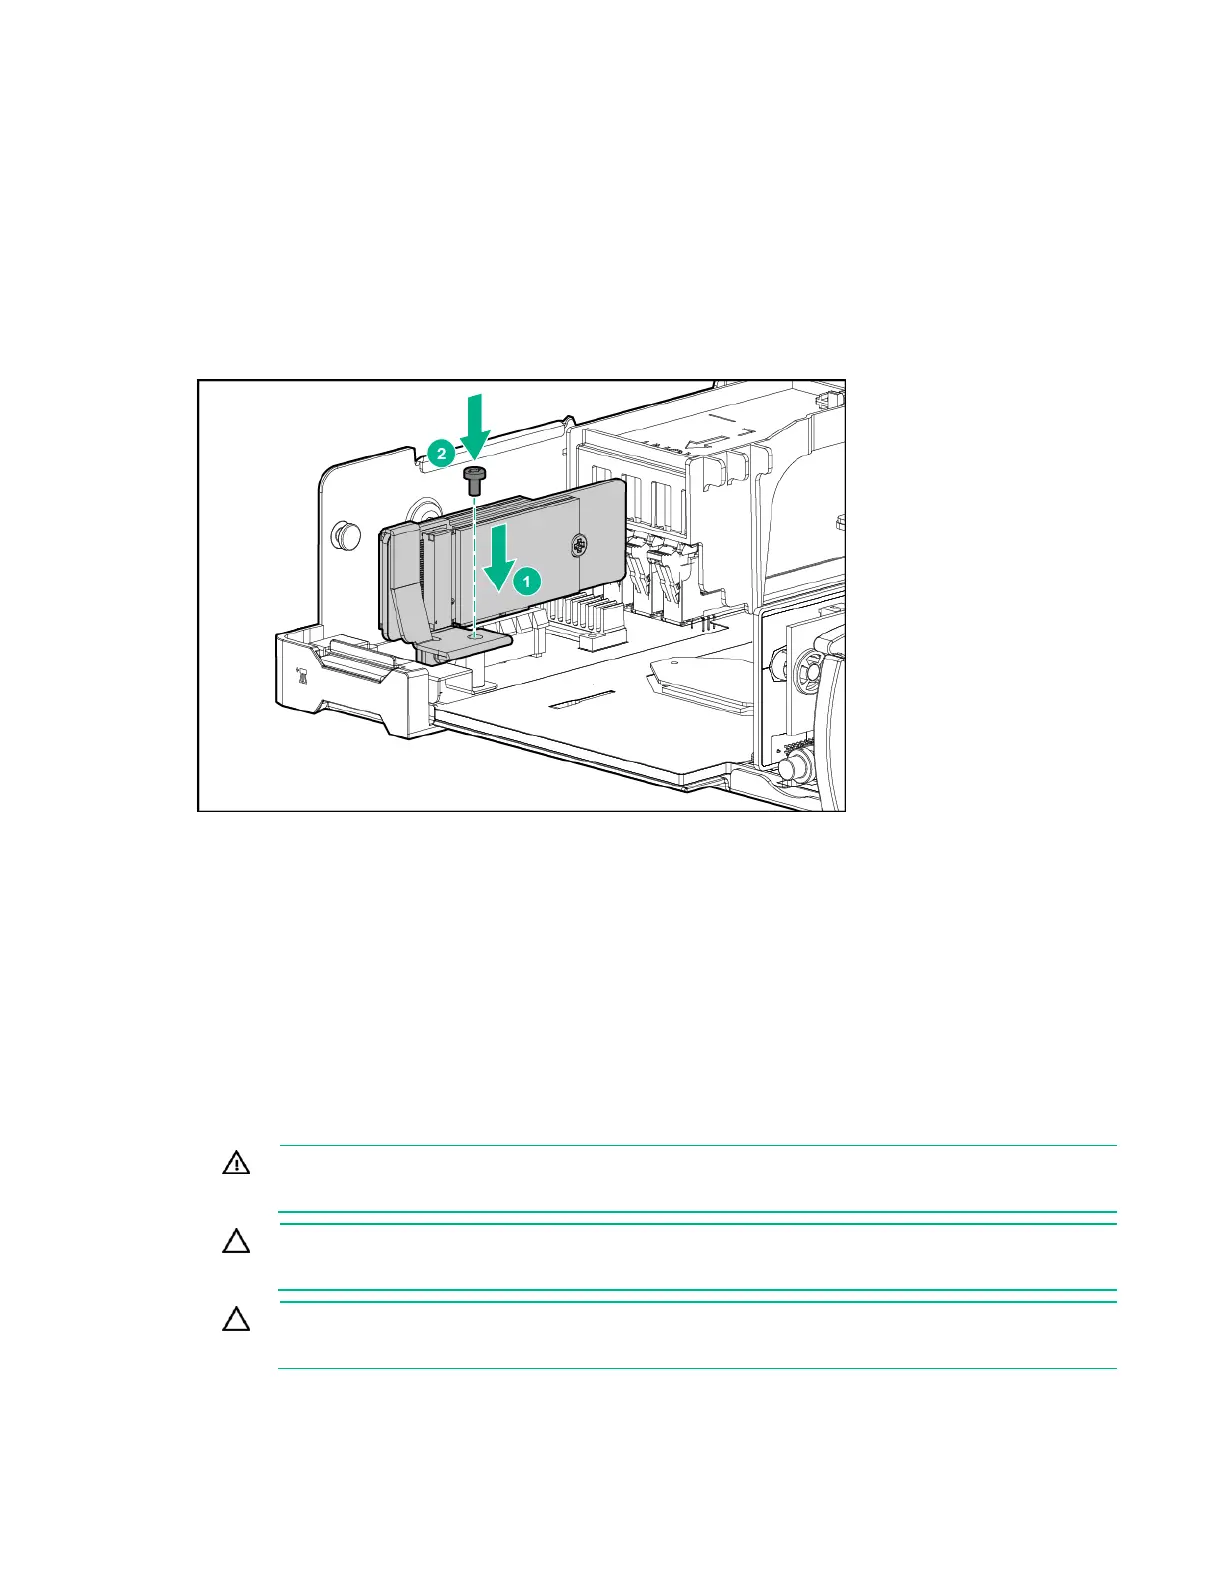
8. Install the M.2 SSD enablement board:
a. Insert the M.2 SSD enablement board into the system board connector.
b. Secure the M.2 SSD enablement board by tightening the screw.
9. Install the front panel/drive cage assembly (on page 23).
10. Install all DIMM baffles ("Install the DIMM baffles" on page 17).
11. Do one of the following:
o Install the storage controller/NVMe pass-through board.
o Install the direct connect SATA cable (on page 19).
12. Install the access panel (on page 16).
13. Install the server blade (on page 28).
14. Power up the server blade (on page 14).
Installing a processor
WARNING: To reduce the risk of personal injury from hot surfaces, allow the drives and the
internal system components to cool before touching them.
CAUTION: To prevent possible server blade malfunction and damage to the equipment,
multiprocessor configurations must contain processors with the same part number.
CAUTION: The heatsink thermal interface media is not reusable and must be replaced if the
heatsink is removed from the processor after it has been installed.
 Loading...