Procedure
Step 1 Determine the number and type of ports to be connected and plan the cabling routes.
Step 2 Obtain the desired quantity and lengths of Ethernet cables.
Step 3 Attach temporary labels to both ends of each Ethernet cable and number them corresponding
to port numbers. For details, see 13.5.3 Engineering Labels for Network Cables.
Step 4 Route the Ethernet cables, arrange the cables in the cabinet, and then install cable connectors.
Cable connectors made onsite must be securely attached and comply with related standards.
Step 5 Wear an ESD wrist strap or ESD gloves. When wearing an ESD wrist strap, ensure that it is in
close contact with your wrist and grounded properly.
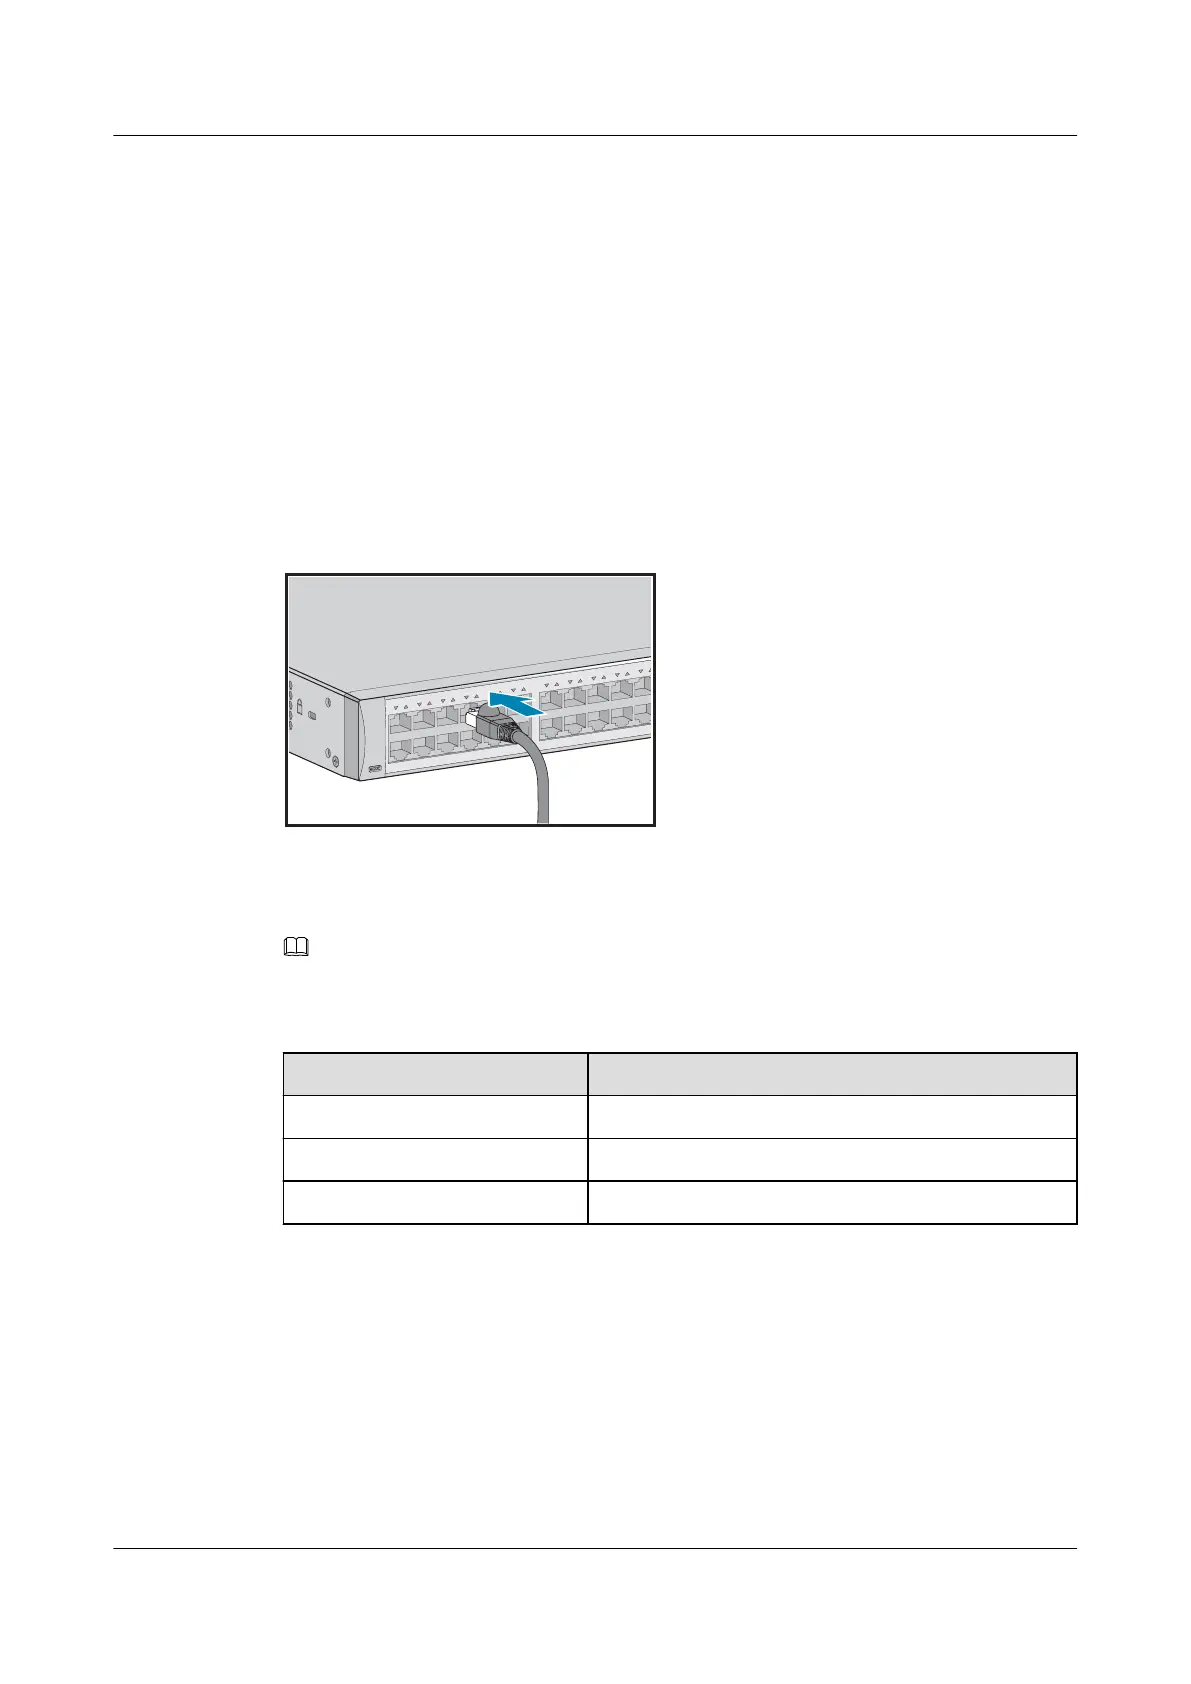
Step 6 Connect the cable connectors to the ports, matching the numbers on the Ethernet cables to
those on the ports. After connecting the cables, verify that they are all correctly connected.
Step 7 Arrange the Ethernet cables so that they are parallel, and then bundle them with cable ties
loosely according to Table 7-3. Use a cable tie gun to cut off redundant cable ties. The use of
protective pads under the cable ties is recommended, as shown in Figure 7-2.
NOTE
A bundle cannot have more than 24 cables. A bundle of no more than 12 cables is recommended.
Table 7-3 Spacing between cable ties
Diameter of a Bundle
Spacing Between Cable Ties
< 10 mm (0.39 in.) 150 mm (5.91 in.)
10-30 mm (0.39-1.18 ft.) 200 mm (7.87 in.)
> 30 mm (1.18 ft.) 300 mm (11.81 in.)
S2700&S3700&S5700&S6700 Switch
Hardware Installation and Maintenance Guide
7 Connecting a Switch
Issue 13 (2017-11-20) Huawei Proprietary and Confidential
Copyright © Huawei Technologies Co., Ltd.
59
 Loading...