Setting the Printer
To print the labels, use a laser printer. The type of the laser printer is not limited. Before printing
a label, set up the page and print on an ordinary paper as follows:
1. Place the ordinary printed paper on the label paper. Compare and check whether the printed
paper conforms to the label requirement.
2. Make sure that the printing properties, such as Paper Size and Direction, are set correctly.
If the printed paper meets the requirements, print the required content on the label paper.
Otherwise, adjust the page setup and print the required content again until you obtain the
correct printout. To adjust the page setup, do as follows:
a. Choose File > Page Setup.
b. Select Layout, set Header and Footer to 0.
c. Click the Margins tab. Select Left for Gutter Position. Adjust the values of Top,
Bottom, Left, and Right.
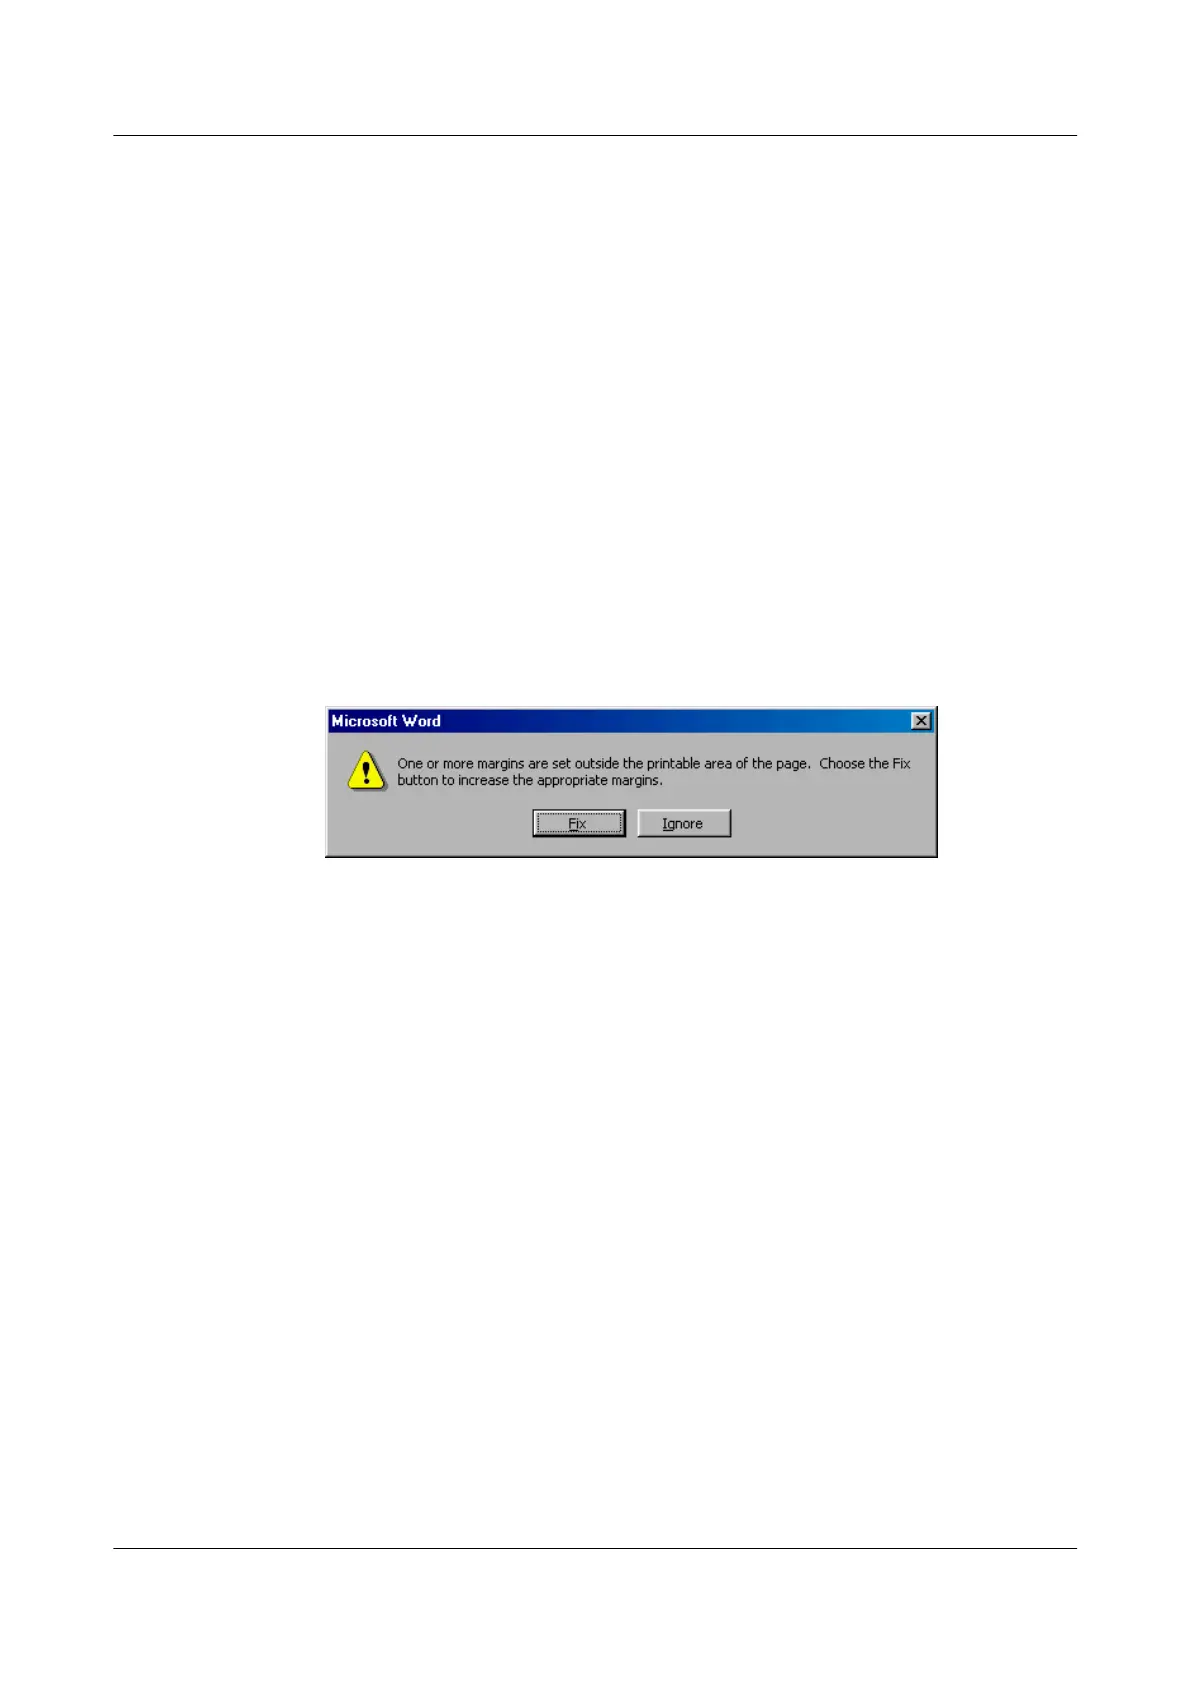
d. If the dialog box as shown in Figure A-49, is displayed before printing, click
Ignore to continue the printing.
Figure A-49 Warning prompt before the printing
After adjusting the page setup, save the printing properties. This page setup is required only
when you use the template for the first time.
Requirements for Feeding Labels in the Printer
The label paper is composed of two pages, and is different from the ordinary paper. Always feed
in the labels manually, one by one regardless of the model of the printer that you use. Do not
use the auto-feed mode to prevent the printer from getting jammed. Different models of printers
have different feeding positions for feeding the labels. Feed in the labels correctly.
Requirements for Printing Labels
The requirements for printing the labels are as follows:
l All the contents should be printed on the label. Ensure that the content is not printed at the
bottom of the label page.
l The contents in the cells should be aligned to the center. In the case of a single-line printout,
the dividing lines and the "TO" mark should not be covered by the printed characters.
l If you merge the cells and print in multiple lines, adjust the contents and do not cover the
"TO" mark. Use the spacebar to move the content to the next line.
Writing Tool
SmartAX MA5612 Multi-service Access Module
Maintenance Guide A Appendix
Issue 01 (2012-07-25) Huawei Proprietary and Confidential
Copyright © Huawei Technologies Co., Ltd.
298
 Loading...