2
Radio Unit Battery Antenna Strap
Charger Power Adapter Documentation
Documentation Conventions
Key Operation
Operation Denition
Short press To press a key and release it quickly.
Long press
To press a key and remain holding
it down for a predefined period (2
seconds by default).
Hold
To press a key and remain holding it
down.
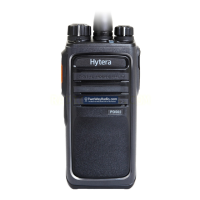
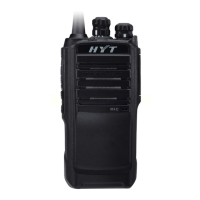
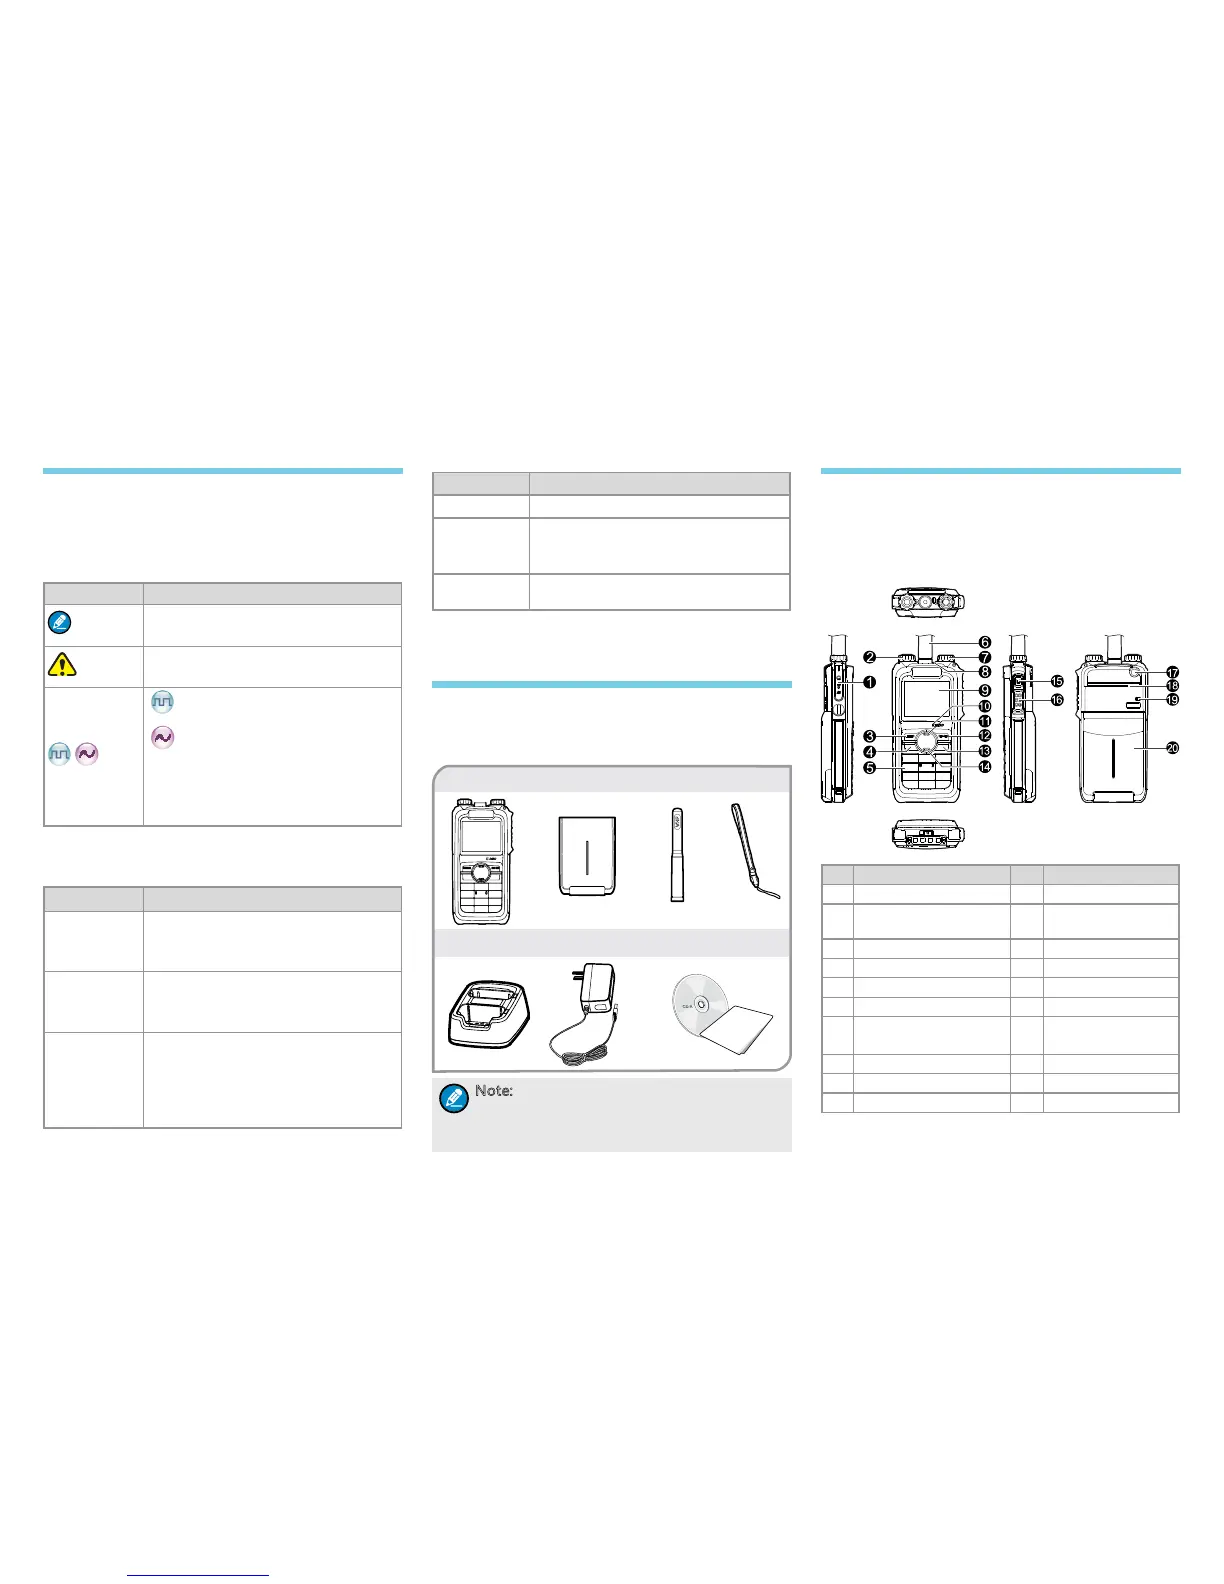
Product Introduction
This section introduces the mechanical structure and
the programmable features of this radio.
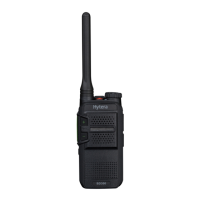
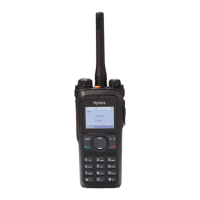
Product Controls
No. Part Name No. Part Name
1 Accessory Jack 11 Up Key
2
Radio On-Off/Volume
Control Knob
12 Back Key
3 OK/Menu Key 13 P2
4 P1 14 Down Key
5 Numeric Keypad 15 SK1 (Side Key)
6 Antenna 16 PTT Key
7
Channel Selector
Knob
17 TK (Top Key)
8 LED 18 Speaker
9 LCD Display 19 Microphone 2
10 Microphone 1 20 Battery
For your better understanding of this manual, please
read the following conventions rst.
Instructional Icons
Icon Description
Note
Indicates references that can further
describe the related topics.
Caution
Indicates situations that could cause
data loss or equipment damage.
Indicates functions that are
available on digital channel only.
indicates functions that are
available on analog channel only.
Functions marked with no function
icons are available on both analog
and digital channels.
Notational Conventions
Convention Description
“ ”
The quotation marks enclose
the name of a software interface
element. For example, click “OK”.
Bold
The text in boldface denotes the
name of a hardware button. For
example, press the PTT key.
->
The symbol directs you to access
a multi-level menu. For example, to
select “New” from the “File” menu,
we will describe it as follows: File ->
New.
Checking Items in the Package
Please unpack carefully and check that all items
listed below are received. If any item is missing or
damaged, please contact your local dealer.
Note: The frequency band is marked on the
label of antenna; if not, please refer to the
label on the terminal for frequency band
information.
Quick Reference Guide

 Loading...