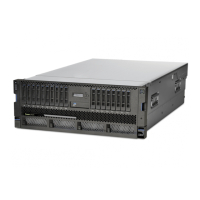
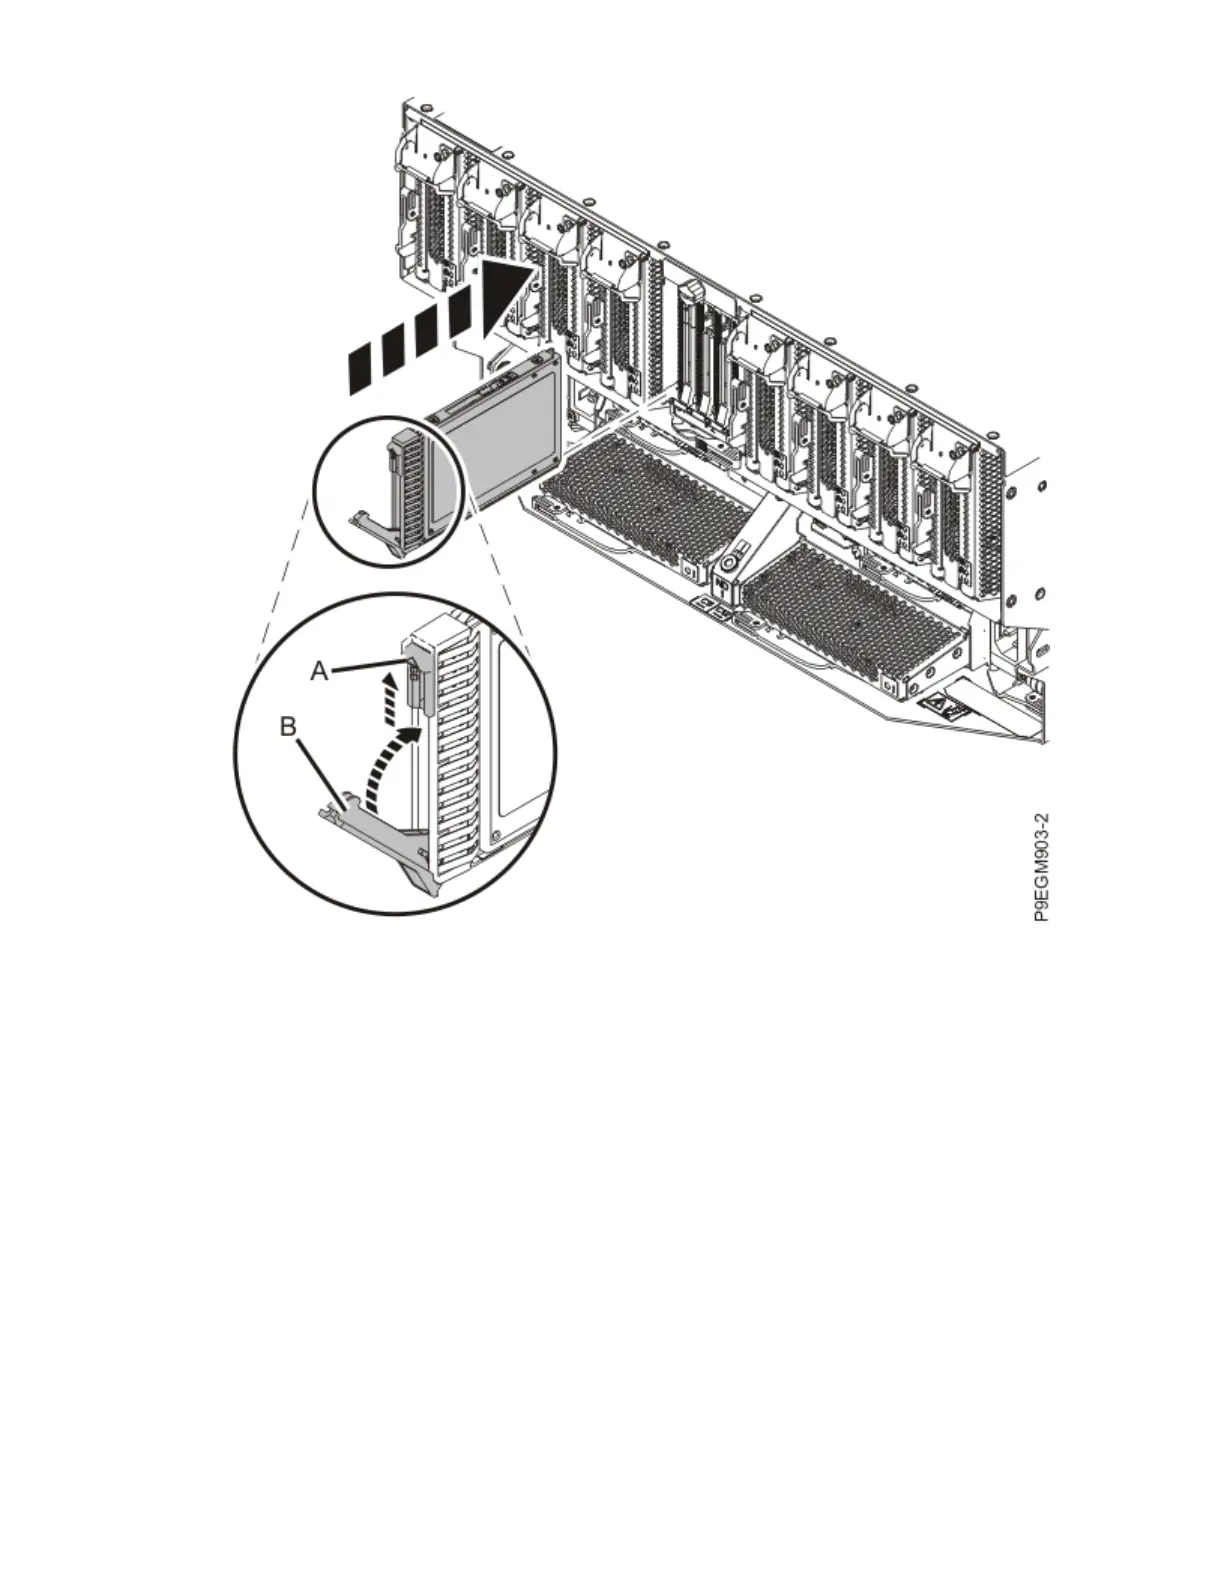
Figure 356. Installing or replacing an NVMe U.2 drive in the 9080-M9S system
c) Close the drive handle (B) to lock the NVMe U.2 drive in place.
Preparing the 9080-M9S system for operation after removing and replacing an NVMe U.2
drive
To prepare the system for operation after removing and replacing an NVMe U.2 drive, complete the steps
in this procedure.
Procedure
1. Ensure that you have the electrostatic discharge (ESD) wrist strap on and that the ESD clip is plugged
into a ground jack or connected to an unpainted metal surface. If not, do so now.
2. Put the cable management bracket in the operating position as shown in the following gure.
a) Pull out the quarter-turn fasteners (B) and turn them to disengage them while moving the cable
management bracket (A) to its lower position.
b) Turn the quarter-turn fasteners (B) to engage and lock the bracket into position.
414
Power Systems: Removing and replacing parts in the 9080-M9S system
 Loading...