432 IBM eX5 Implementation Guide
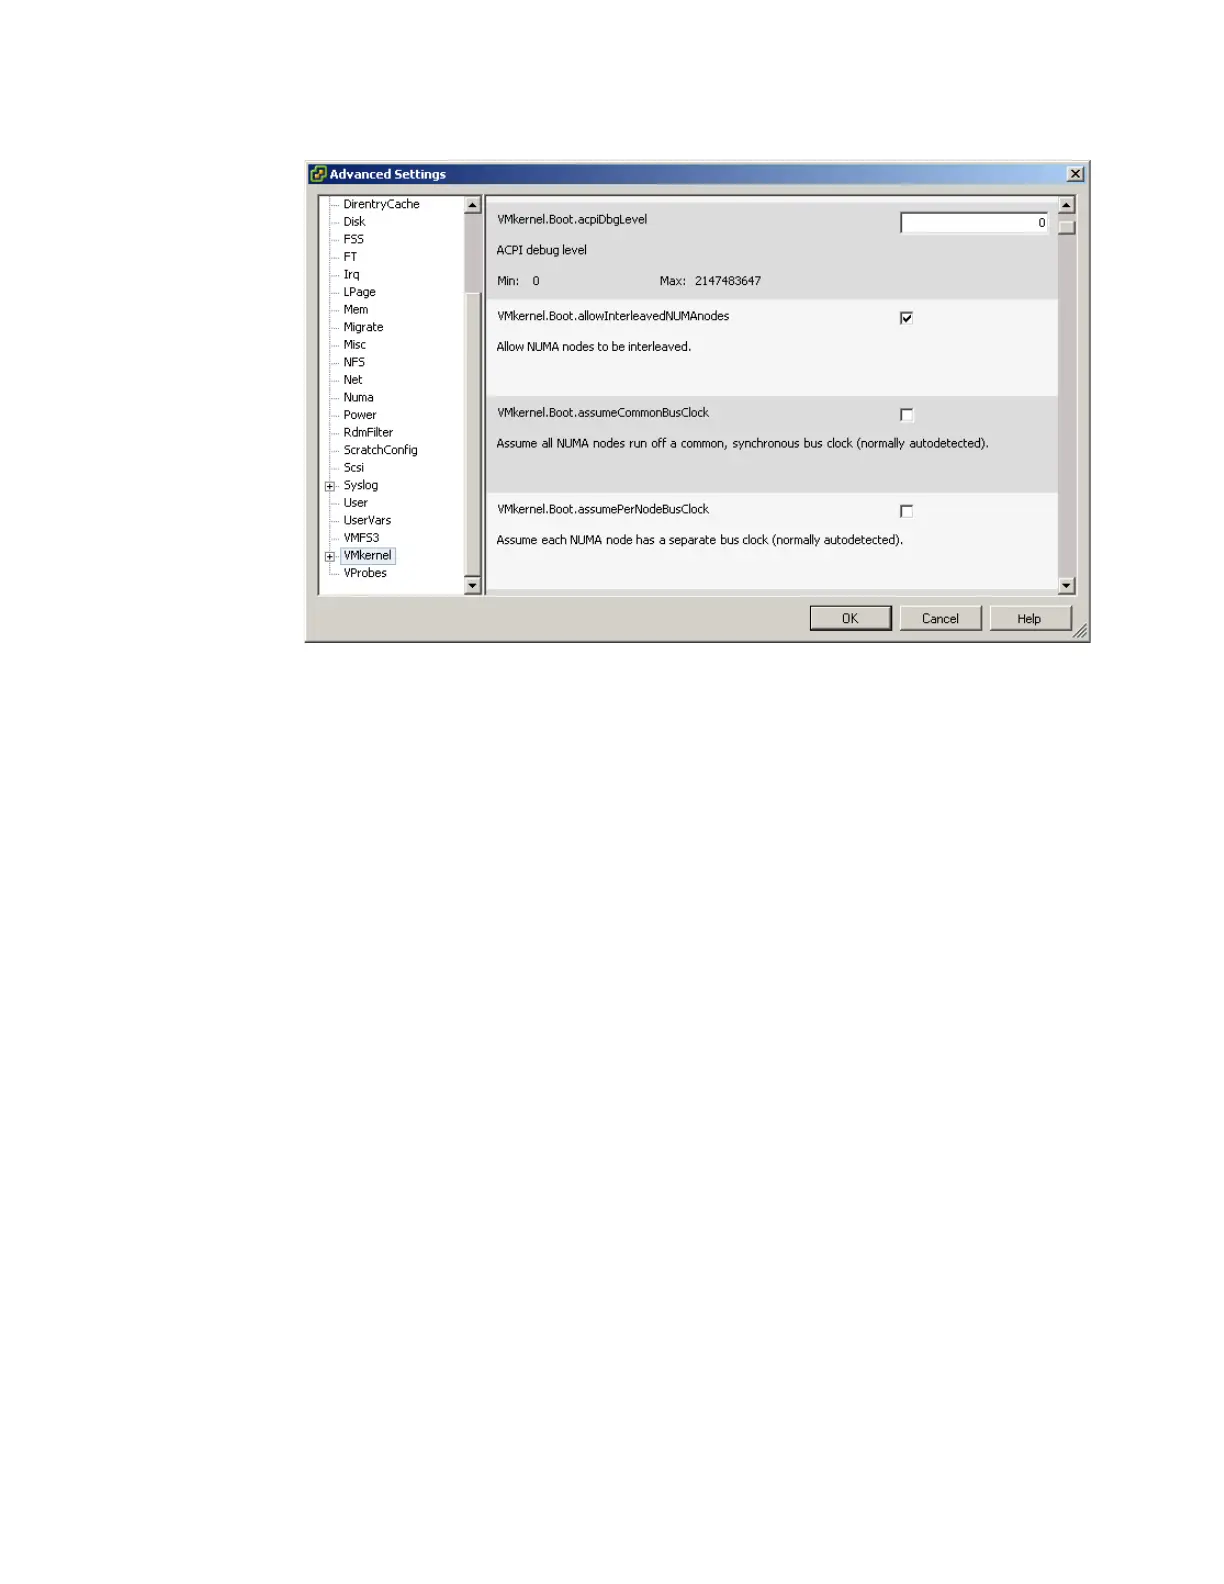
Figure 8-68 Editing the WMkernel settings in vSphere Client
4. Shut down the HX5.
5. Ensure that you have the latest FPGA code installed on the HX5 by updating it, if required.
6. Physically attach the MAX5 using the instructions that are provided in the Installation
Guide.
7. Reflash the FPGA code to ensure that both the HX5FPGA code and the MAX5 FPGA
code are at the same level.
8. After the FPGA code has been flashed, log in to UEFI by pressing F1 at the UEFI splash
panel.
9. Select System Settings Memory from the System Configuration and Boot
Management main menu.
10.Ensure that the MAX5 Memory Scaling option is set to Non-Pooled.
11.Continue to boot the server normally. Log in to the vSphere Client and check that the
additional memory shows on the Systems Summary tab.
Adding MAX5 to HX5 with an existing installation of ESX 4.1 without first
editing the VMkernel before attaching
Use the following steps if you have already shut down the existing ESX 4.1 server without
having made the changes that are detailed in “Attaching MAX5 to HX5 with an existing
installation of ESX 4.1 or ESXi 4.1 Installable edition” on page 431:
1. Power on the HX5.
2. At the VMware boot loader panel, as shown in Figure 8-69 on page 433, ensure that
VMware ESX 4.1 is highlighted and press the a key to modify the kernel arguments.
 Loading...