Installing the side cover
Attention: For proper cooling and airflow, replace the side cover before you turn
on the server. Operating the server for extended periods of time (more than 30
minutes) with the side cover removed might damage server components.
To install the side cover, complete the following steps.
1. Make sure that all cables, adapters, and other components are installed and
seated correctly and that you have not left loose tools or parts inside the server.
Also, make sure that all internal cables are correctly routed.
2. If you removed the upper and lower bezels, reinstall them before you replace
the side cover (see “Installing the upper bezel” on page 82 and “Installing the
lower bezel” on page 80).
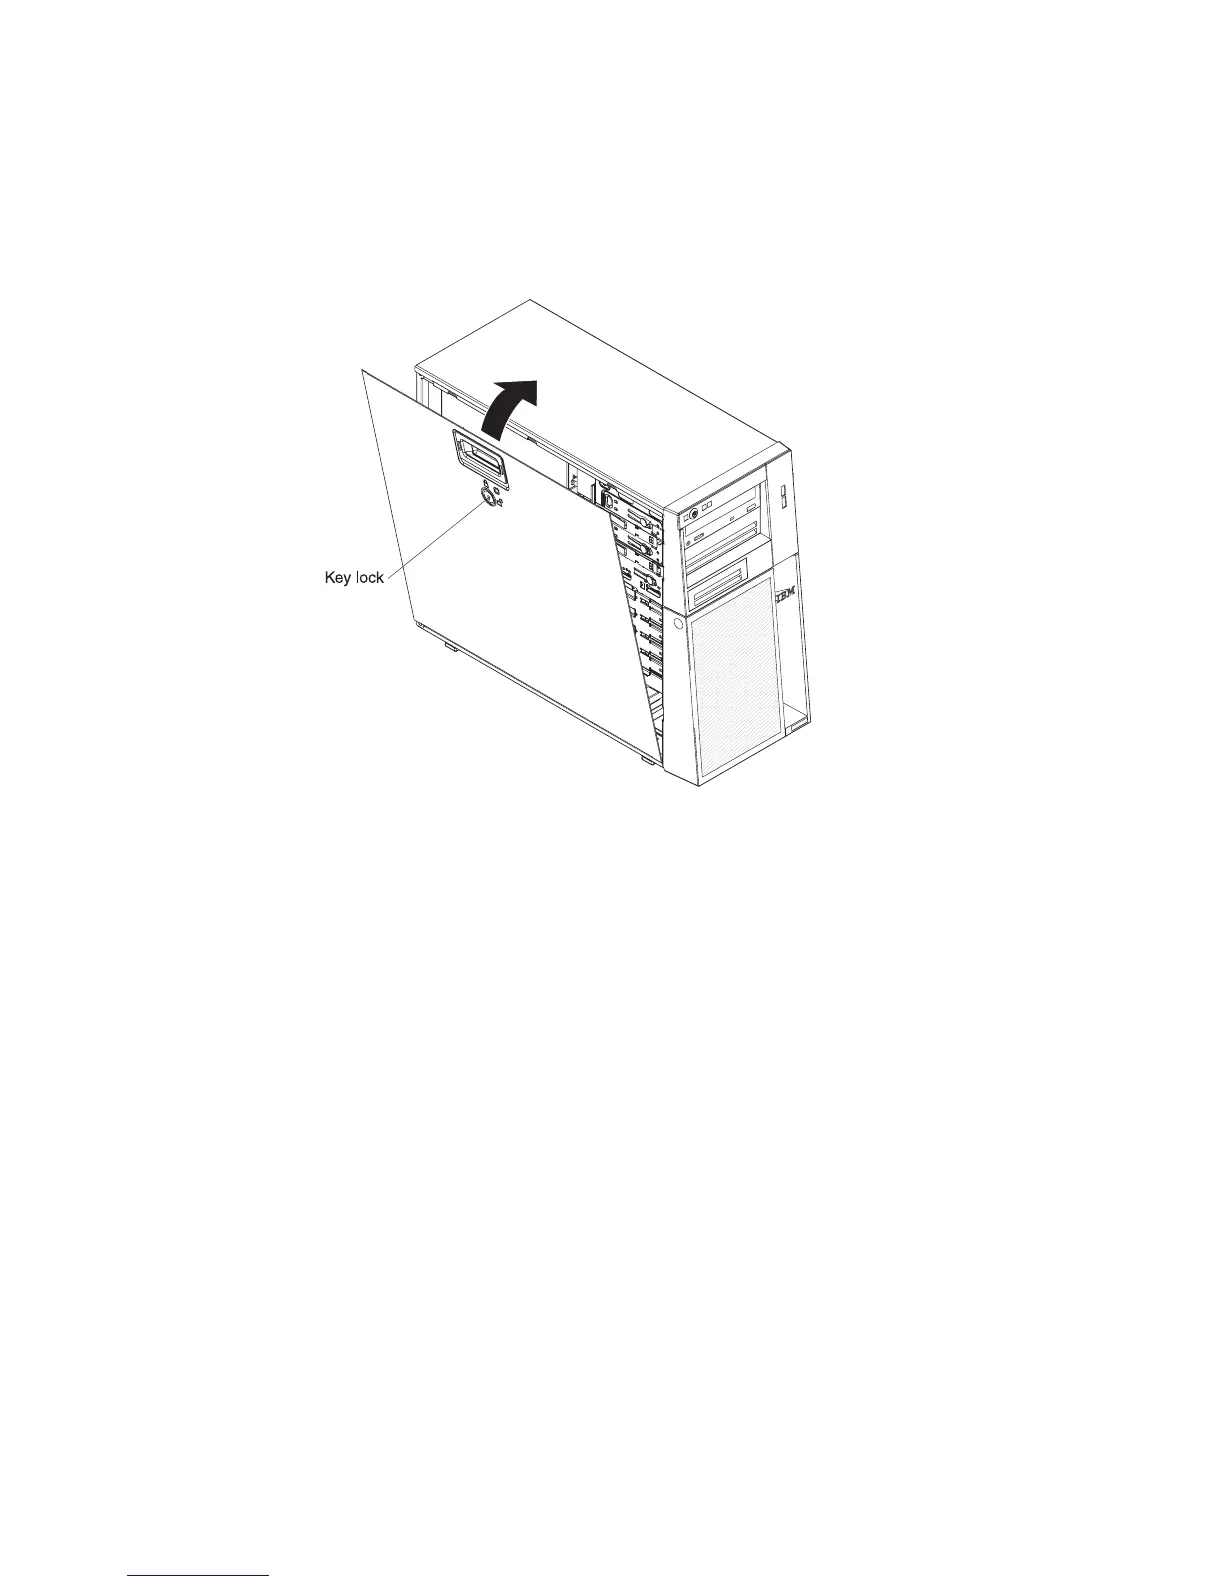
Important: The cover lock must be in the unlocked (opened) position before
you install the side cover.
3. Position the lip on the bottom edge of the side cover on the ledge on the bottom
of the chassis; then, tilt the top of the cover into position on the chassis until it
latches securely into place.
4. Lock the side cover.
5. Reconnect the external cables and power cords; then, turn on the attached
devices and turn on the server.
78 System x3200 Types 4362 and 4363: Problem Determination and Service Guide