3
BASIC OPERATION
3-3
Selecting a Zone
D Selecting a Zone
Select a Zone type as shown:
Conventional, Multi-site Conventional, LTR,
Single-site Trunking, Multi-site Trunking or Voting
TIP: What is a “Zone”?
Certain channels are grouped together and assigned
to a Zone according to their intended use.
For example, ‘Staff A’ and ‘Staff B’ are assigned
to a “Business” Zone, and ‘John’ and ‘Cindy’ are
assigned to a “Private” Zone.
<Key or Selector operation>
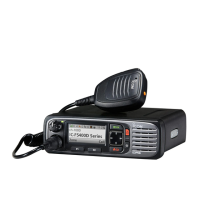
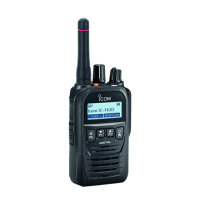
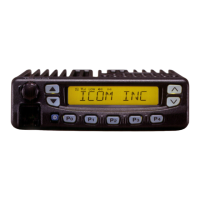
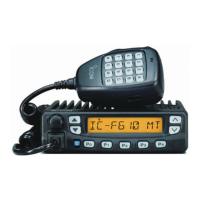
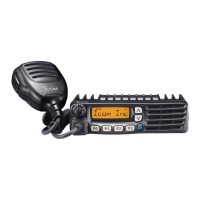
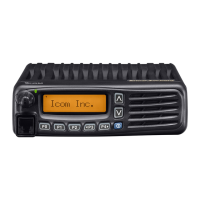
Portable: For all types
Mobile: For all types
z Rotate [Selector]*. (Only the Portable type)
*When “Zone” is assigned.
z Push [Zone Up] or [Zone Down].
z Push [Zone Select] to display the “Zone Select”
screen. Then, push [Up] or [Down] to select a Zone.
After selecting, push [OK].
TIP: For the Portable Non-display type
Zones and Memory channels are assigned to a
[Selector] position.
Rotate [Selector], to set the assigned Zone and
channel to be used.
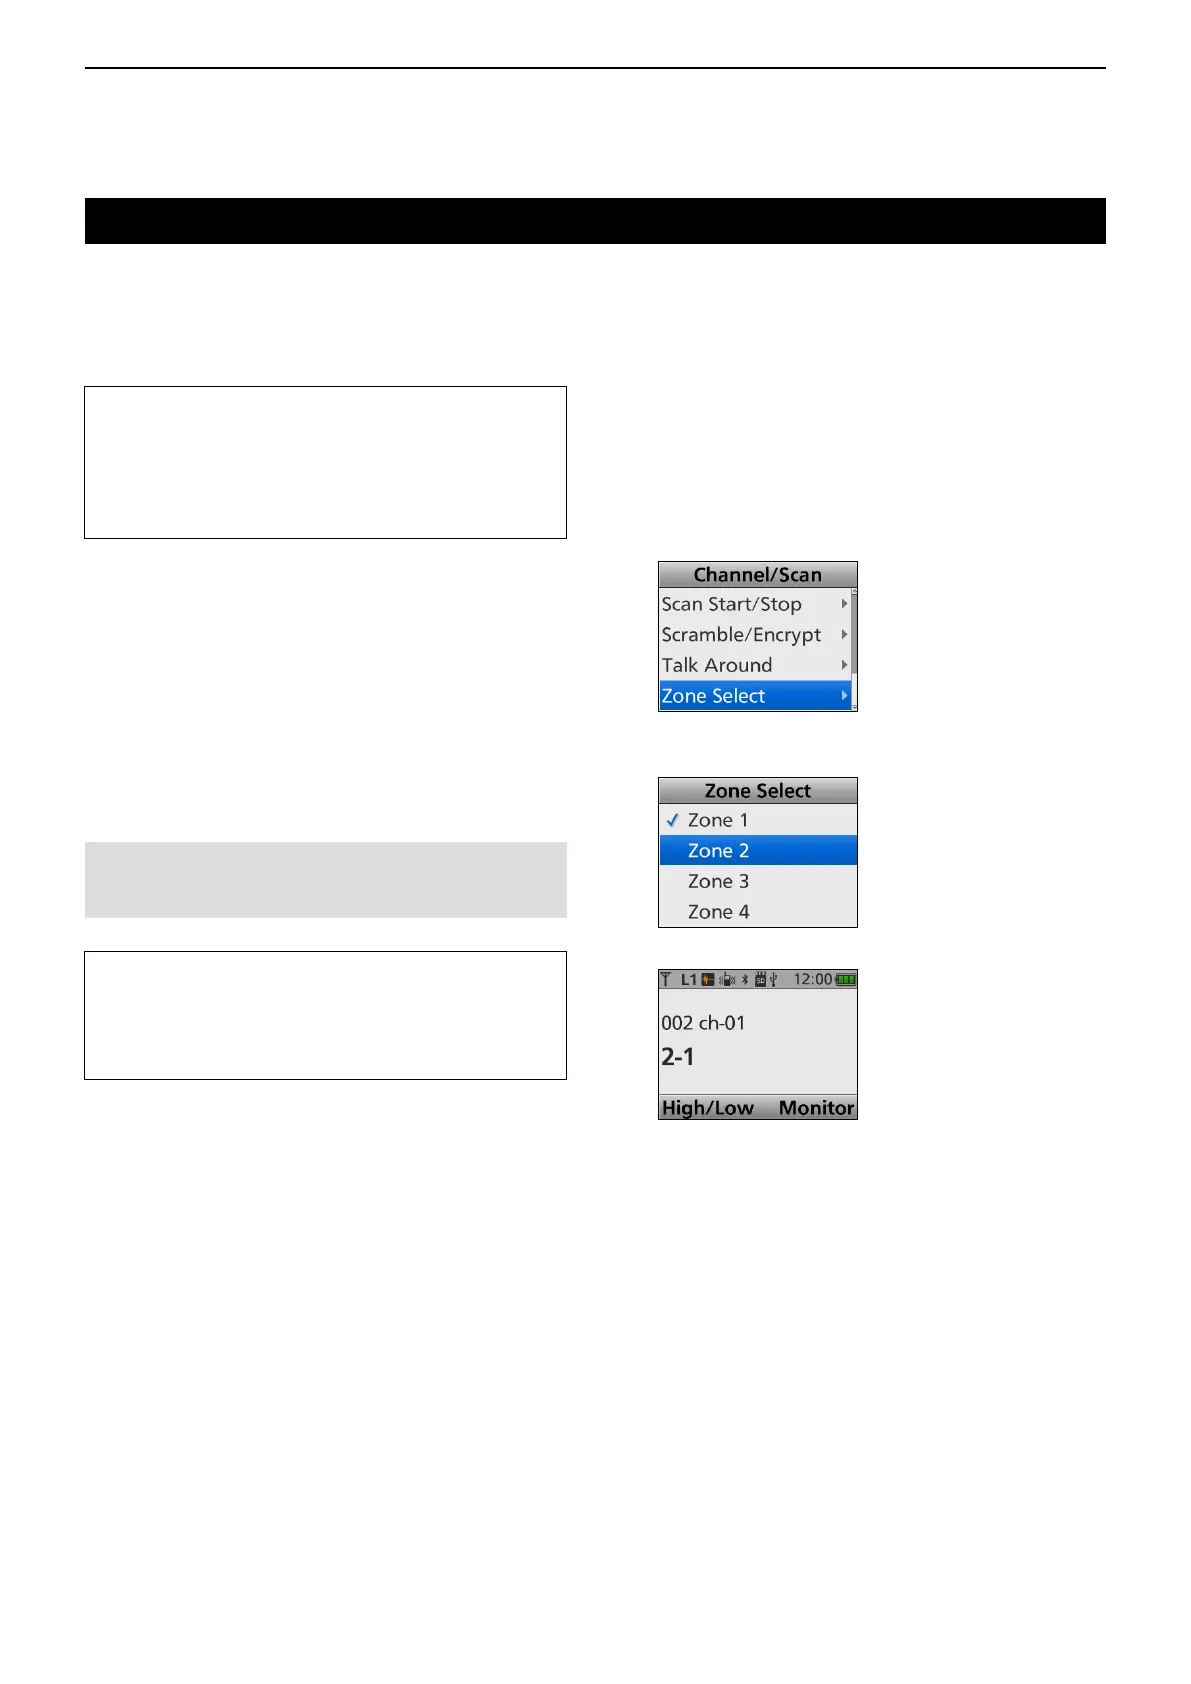
<Menu operation>
Portable: For the Ten-key and the Simple key types
Mobile: For the LCD type
(Menu > Channel/Scan > Zone Select)
1. Push [Menu] to display the Menu screen.
2. Push [Left] or [Right] to select “Channel/Scan,”
then
push [OK].
3. Push [Up] or [Down] to select “Zone Select,” then
push [OK].
• Displays the “Zone Select” screen.
4. Push [Up] or [Down] to select a Zone, then push
[OK].
5. The selected Zone is displayed.
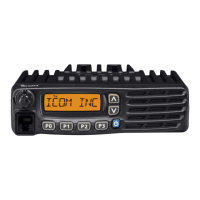
NOTE: For the Mobile Segment type
To select a Zone, see “Selecting a channel” as
described on page 3-4.
 Loading...