EasyManuals Logo

iDataLink maestro Rr Install Guide

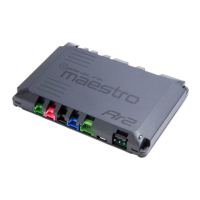
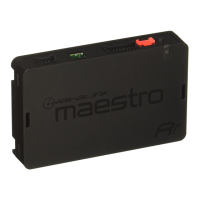
iDataLink maestro Rr
1403 pages
To Next Page IconTo Next Page
To Previous Page IconTo Previous Page
Page #201 background imageLoading...
Page #201 background image
ADS-RR(SR)-CHR01-DS
dodge dakota 2011
Automotive Data Solutions Inc. © 2018
2
WELCOME
Congratulations on the purchase
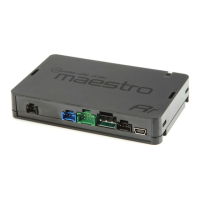
of your iDatalink Maestro RR Radio
replacement solution. You are
now a few simple steps away from
enjoying your new car radio with
enhanced features.
Before starting your installation,
please ensure that your iDatalink
Maestro module is programmed
with the correct fi rmware and that
you carefully review the Installation
Diagram and Vehicle Wire Refer-
ence Chart.
Please note that Maestro RR will
only retain functionalities that
were originally available in the
vehicle.
TAbLE OF CONTENTS
Installation Instructions
3
Wiring Diagram
5
Vehicle Wire Reference Chart
6
Radio Wire Reference Chart
7

Table of Contents

Other manuals for iDataLink maestro Rr

Questions and Answers:

Question and Answer IconNeed help?

Do you have a question about the iDataLink maestro Rr and is the answer not in the manual?

iDataLink maestro Rr Specifications

General IconGeneral
CategoryAutomobile Accessories
TypeVehicle Interface Module
CompatibilityWorks with select vehicles and aftermarket radios
FeaturesRetains factory features
FunctionalityAllows integration of aftermarket radios with factory vehicle systems
ProgrammabilityProgrammable via Weblink desktop application
Firmware UpdatesSupports firmware updates through Weblink
Data Bus SupportCAN bus
Vehicle CoverageCompatible with a wide range of makes and models
Additional FeaturesMay include support for factory amplifiers, backup cameras, and more
InstallationProfessional installation recommended

Related product manuals