#o
IDEXX VetTest* Chemistry Analyzer Operator’s Manual
Inserting the Paper Roll
IDEXX recommends using only VetTest brand thermal paper for best results. The
thermal paper is coated on one side; the print only shows on the coated side. The
paper must be inserted correctly for print to appear.
To insert the paper roll:
Turn off the VetTest analyzer.1.
3FNPWFUIFQSJOUFSDPWFS'JHVSF#*GOFDFTTBSZSFNPWFUIFPME2.
paper roll and its holder.
$VUUIFFOEPGUIFQBQFSUPBQPJOUBCPVUDNJODIFTMPOH3.
Do not tear off the paper and do not use the Paper Advance
button until the full width of the paper is pulled through the
exit slot. (The Paper Advance button cannot be used if the
analyzer is OFF). Failure to follow these instructions may
cause a paper jam.
'FFEUIFQBQFSGSPNUIFCPUUPNPGUIFSPMM'JHVSF#
Gently curl the tip of the paper and then insert the paper into the
HBQKVTUCFMPXUIFDBTF'JHVSF#
'FFEUIFQBQFSVOUJMUIFUJQBQQFBSTBUUIFQBQFSFYJU'JHVSF#
Grip the paper tip and pull gently until the full width of the paper is
through the exit slot.
Insert a roll holder in the paper roll. Then, drop the roll holder into
UIFTMPU'JHVSF#
Replace the cover.8.
Important: Always make sure that the full width of
the paper is protruding through the exit slot before:
Switching the analyzer ont
Pressing the Paper Advance buttont
Printing resultst
Inserting the VetTest Software Disk
To insert a new software disk:
Make sure the VetTest analyzer is OFF.1.
Remove the metal cover over the software disk at the back of 2.
the analyzer by undoing the two screws holding it in place
'JHVSF#
Push in the black button to release any disk that may be currently 3.
in the disk drive.
Note: When replacing old software, put the old software disk
JOUIFQSFBEESFTTFEFOWFMPQFTVQQMJFEXJUIUIFOFXTPGUXBSF
release and return it to IDEXX.
Insert the new software disk and replace the disk cover to prevent
the inadvertent ejection of the disk.
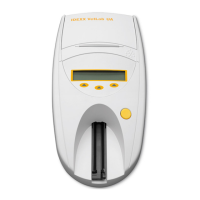
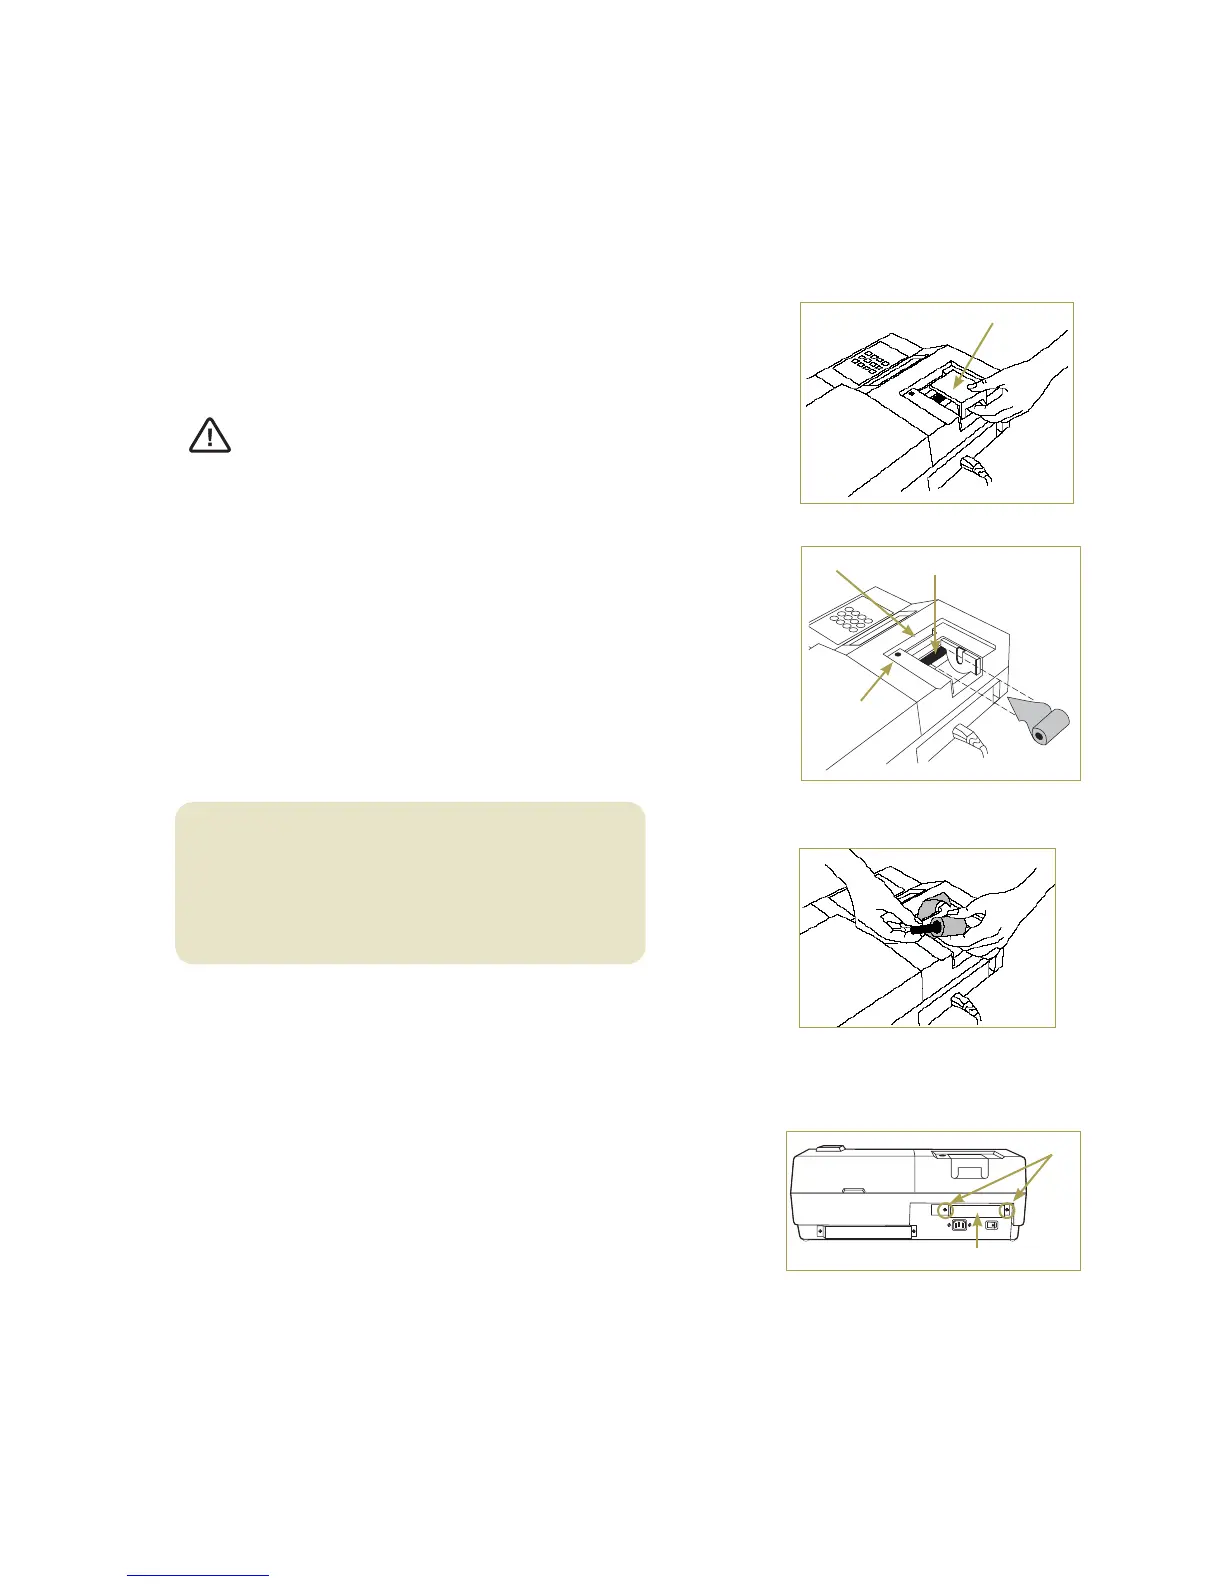
printer cover
Figure B-8: Remove printer cover
paper entrance
paper exit
Paper
Advance
button
Figure B-9: Paper position and
printer parts
Figure B-10: Feed paper through
and insert roll holder
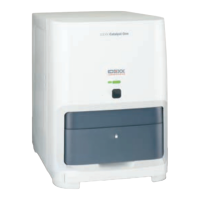
disk drive cover
Figure B-11: Remove the screws to
release the disk drive cover
screws
 Loading...