G–2
IDEXX VetTest* Chemistry Analyzer Operator’s Manual
Pipettor Cleaning
The pipettor may get clogged due to residual sample. Always keep the pipettor
vertical when sample is in the tip. Moisture or liquid may accumulate in the clear
plastic line if a tip is left on after a sample run, so make sure to discard the tip when
prompted to do so by the VetTest analyzer.
To clean the pipettor, carefully wipe the pipette tip (especially the end of the tip) with a
UXJTUJOHNPUJPOVTJOHBDMFBOEJTQPTBCMFMJOUGSFFUJTTVFBTTIPXOSJHIU
Note: Any moisture or liquid in the plastic line can lead to inaccurate results or
spotting failures. A clogged pipettor may result in a slide spotting failure or prevent
the analyzer from properly aspirating and dispensing the sample. Please be aware
that the pipettor is not covered under the analyzer warranty.
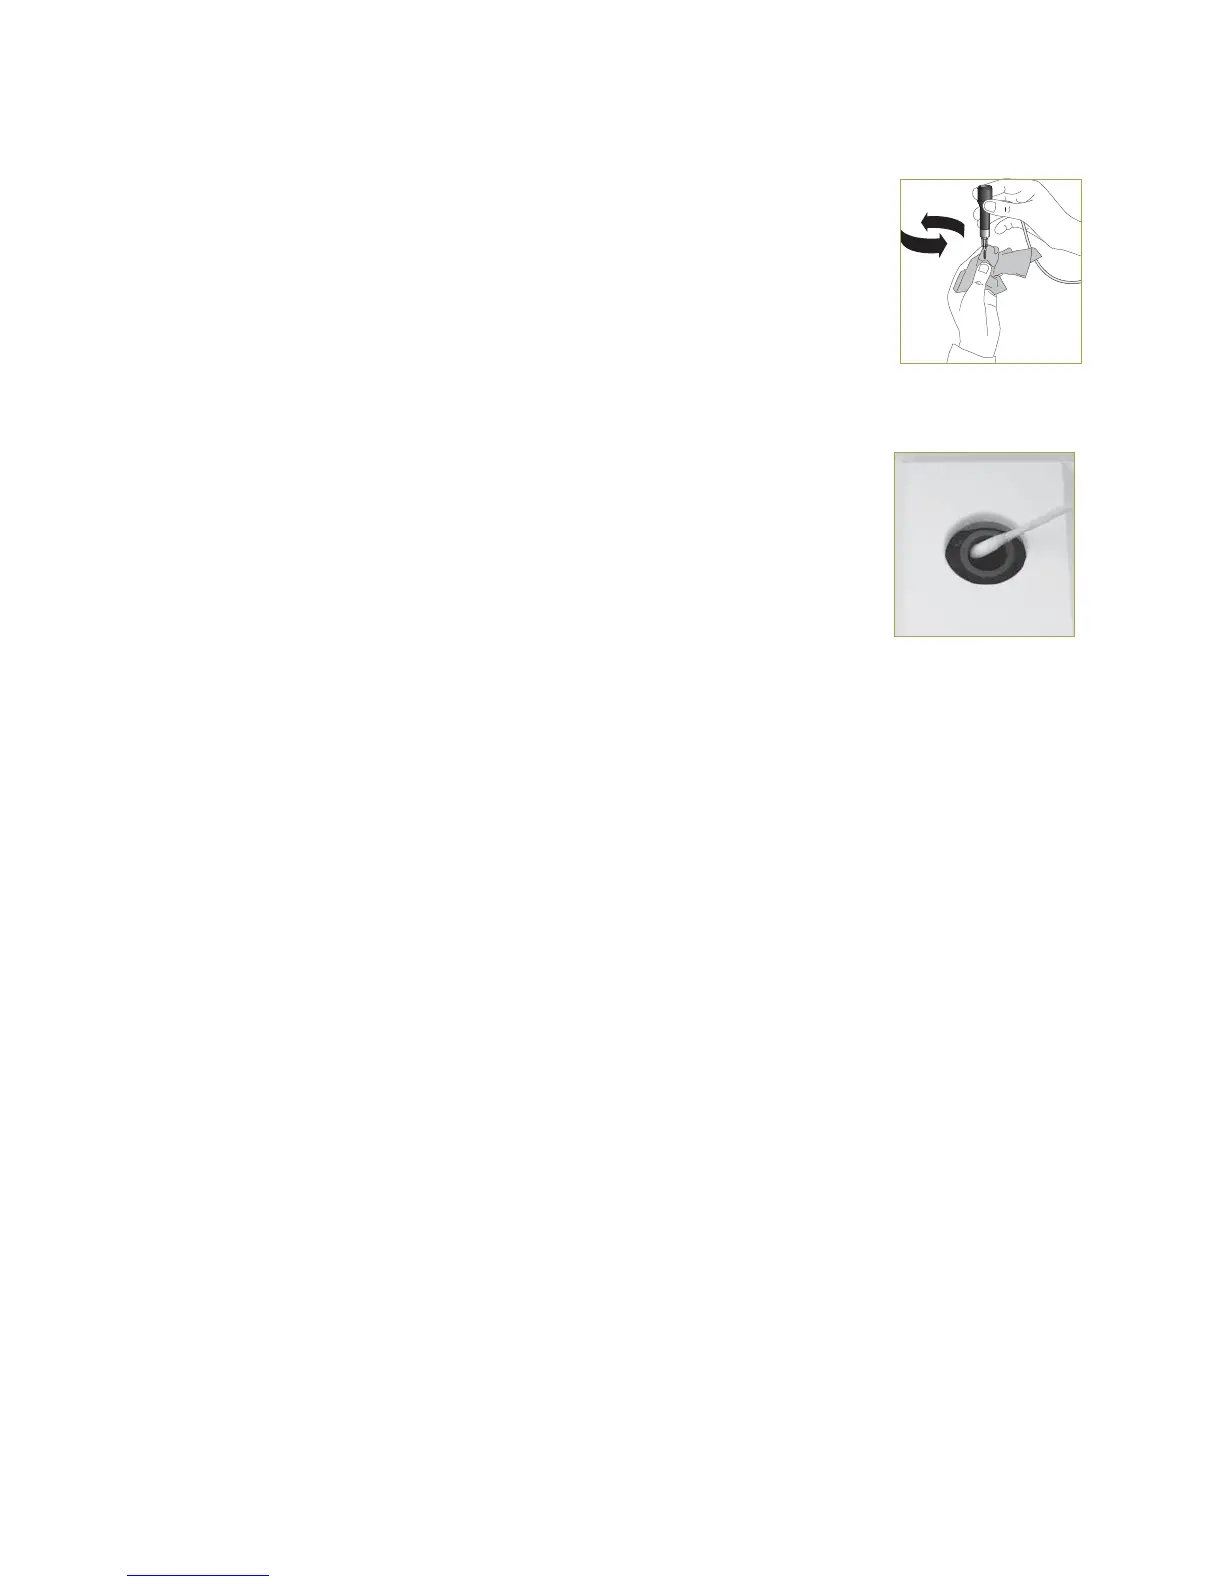
Pipettor Collar Cleaning
The pipettor collar may become dirty with accumulations of dried plasma or serum,
which can result in improper pipette operation and possible spotting failures. To
clean, remove the pipettor from the holder and clean the inside of the pipettor collar
with a cotton swab wetted with alcohol (as shown, right).
Used Slide Drawer
"MXBZTFNQUZUIFVTFETMJEFESBXFSBGUFSFWFSZSVO"DDVNVMBUJPOPGTMJEFTDBOKBN
the slide ejector, causing analyzer failure.
Temperature Control
Very low temperatures can cause considerable damage to the VetTest analyzer.
Permanent damage may be caused if the VetTest analyzer is switched on at
temperatures below freezing. Allow the analyzer to fully reach room temperature
×o×$×o×'BGUFSJUIBTCFFOJOBDPMEFOWJSPONFOU
UV Lamp Replacement
5IF67BOE67MBNQTUXPPGUIFBOBMZ[FSTTJYMJHIUTPVSDFTBSFVTFS
DIBOHFBCMF5ZQJDBMMBNQMJGFJTUPNPOUIT"TDSFFONFTTBHFXJMMBMFSUZPVUIBU
a lamp has failed and that chemistries in that optics group should not be run until the
lamp is replaced. Contact IDEXX Technical Support to order lamp kits and instructions.
Autocalibration
The autocalibration procedure allows the VetTest analyzer to compensate for lamp
JOUFOTJUZWBSJBUJPO5IFQSPDFEVSFJTQFSGPSNFEBGUFSUIFJOTUBMMBUJPOPGBPS67
lamp, or, when instructed by IDEXX Technical Support during the life of the lamp to
correct for minor changes.
Autocalibration kits are provided by IDEXX free of charge. The materials provided in the
kit are intended to be used together. Do not use other Autocalibration slides or other
versions of software in this procedure.
Keep all autocalibration materials (slides, diskette, and instructions) in a clean, dry,
SPPNUFNQFSBUVSFMPDBUJPOGPSGVUVSFVTF
Autocalibration Kit
Note:"GUFSDIBOHJOHUIFPS67MBNQTMFBWFUIF7FU5FTUBOBMZ[FSUVSOFEPO
for 1–2 hours before running the autocalibration procedure. This will ensure proper
performance of the VetTest analyzer.
 Loading...