G–3
Other Maintenance
Materials Provided
t 4PGUXBSFEJTLFUUFMBCFMFEi"650$"-4-7FS99w
t 5ISFFBVUPDBMJCSBUJPOTMJEFT
To autocalibrate the VetTest analyzer:
Turn off the VetTest analyzer and remove the current software diskette from the 1.
disk drive. Save the software diskette so you can reinsert it after completing the
autocalibration procedure (see Inserting the VetTest Software DiskQBHF#GPS
more information).
.BLFTVSFUIBUUIFVTFETMJEFESBXFSJTFNQUZ2.
Insert the AUTOCAL 3SL Ver X.X diskette into the disk drive on your VetTest 3.
analyzer and turn on the power.
Load the three slides as instructed on the VetTest analyzer screen. Use the chart
below to guide in the proper identification of each slide to assure that the slides
are inserted in the correct order.
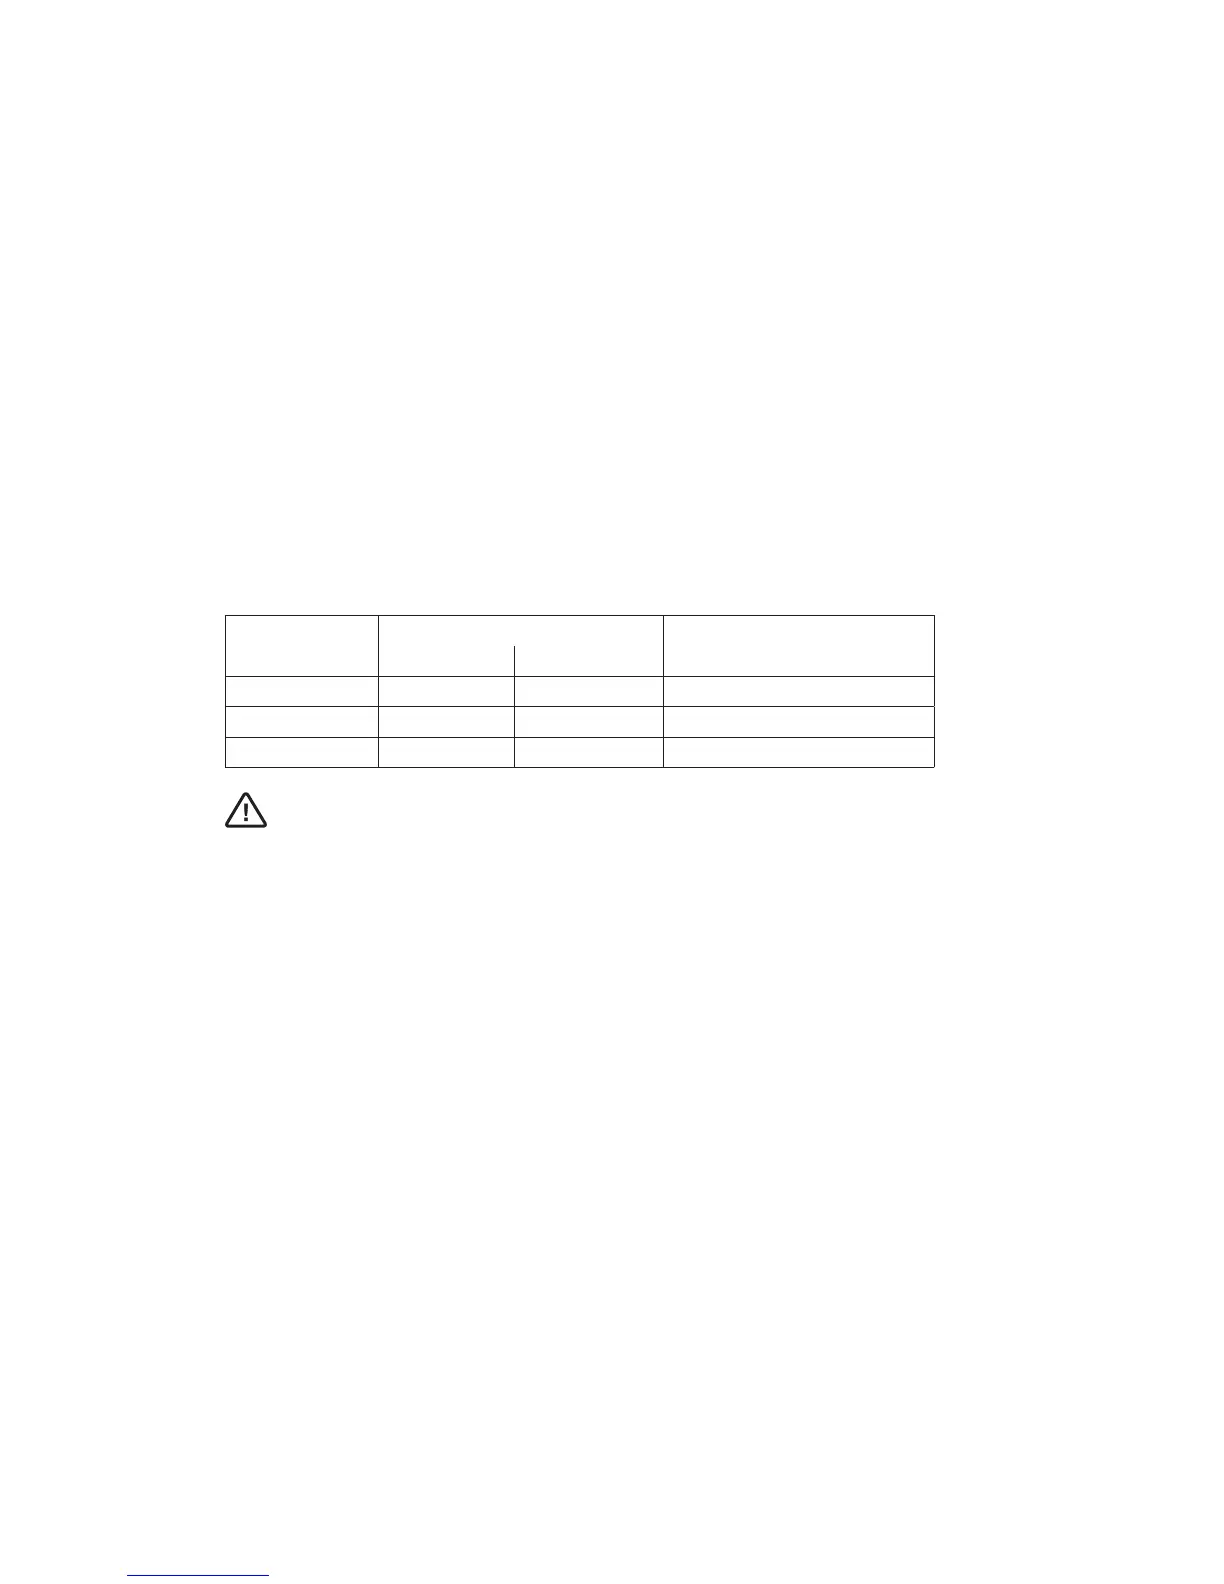
Autocalibration Slides—Order and Identification
Insertion Order
Physical Description of Slide
Last Four Numbers Printed
on Envelope LabelTop Bottom
First Flat White Shiny White XXXX
Second Flat White Flat White XXXX
Third Flat White Shiny Black XXXX
Do not touch the central surface of the slides. Dust or fingerprints will
interfere with the reading of the slides and may result in inaccurate results or
error messages. Handle each slide by the plastic frame only. Gently wipe the
TMJEFTXJUIBMJOUGSFFDMPUIUPDMFBOJGOFDFTTBSZ
Upon completion of the autocalibration process, the screen will display either:
“Pass Done, press any key to continue”a.
'PMMPXUIFTDSFFOQSPNQUTBOEDPOUJOVFXJUITUFQ
or
“Fail Done, press any key to continue"b.
Follow the screen prompts and try the procedure again. If the analyzer fails
the autocalibration process again, contact IDEXX Technical Support.
$BSFGVMMZSFNPWFUIFTMJEFTGSPNUIFVTFETMJEFESBXFSBOESFTFBMUIFNJOUIFJS
respective envelopes.
Turn off the VetTest analyzer and remove the autocalibration diskette from the
disk drive.
Insert the original software diskette that was removed in step 1.8.
5VSOPOUIF7FU5FTUBOBMZ[FS'PMMPXJOHUIFXBSNVQDZDMFUIFBOBMZ[FSXJMMCF
ready to use as usual.
 Loading...