INVT iMars MG series grid-tied solar inverters Installation
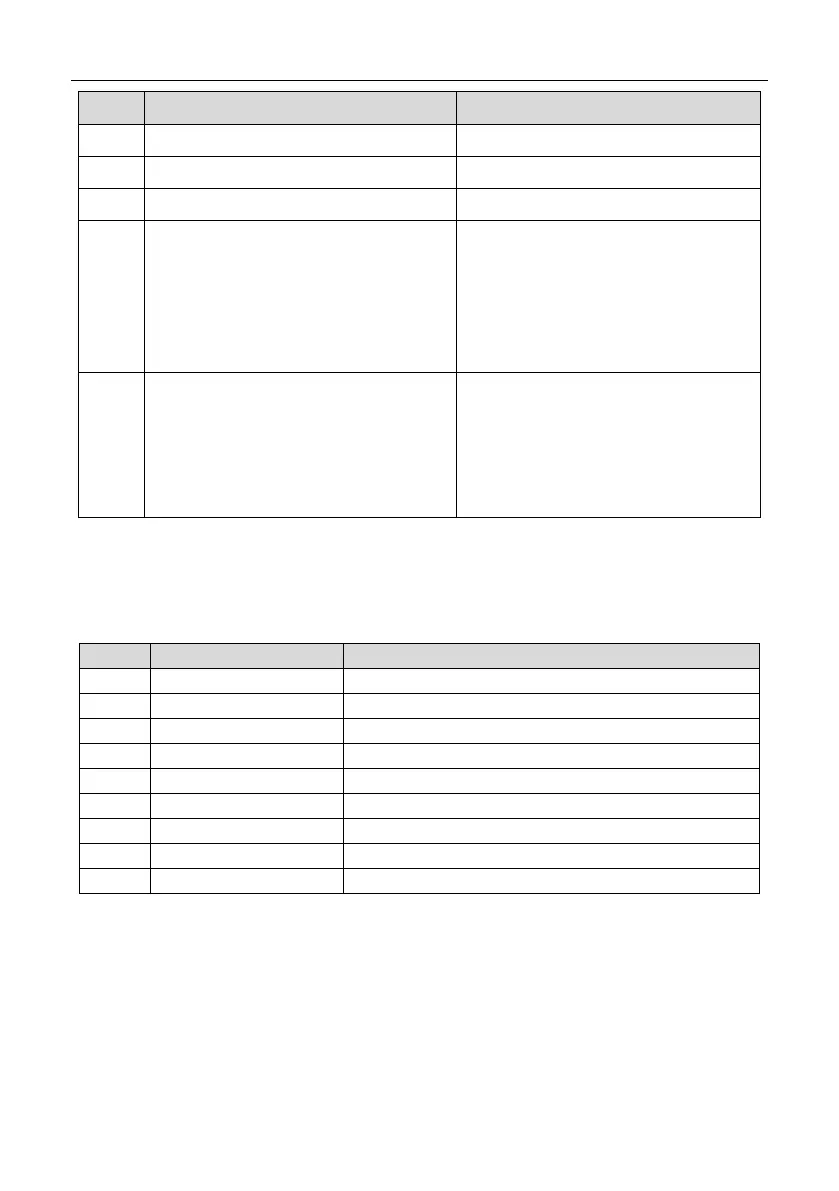
No. Name Quantity
3
operation manual
1
4 Hexagon assembling bolt M4*16 2
5 Communication connector 1
6 Expansion bolts M6*60
MG750TL/MG1KTL/MG1K5TL/
MG2KTL/MG3KTL:3
MG4KTL/MG4K6TL/MG5KTL/
MG3KTL-2M/MG4KTL-2M/
MG4K6TL-2M/MG5KTL-2M:4
7 DC connector
MG750TL/MG1KTL/MG1K5TL /
MG2KTL:1 pair
MG3KTL/MG4KTL/MG4K6TL/MG5KTL
/MG3KTL-2M/MG4KTL-2M/
MG4K6TL-2M/MG5KTL-2M:2 pairs
3.2 Before installation
3.2.1 Installation tools
Table 3-2 Tools list
Mark the installation hole
Drill in the bracket or wall
Hammer on the expansion bolts
Fix the installation bracket
Fasten the screws, remove and install AC wiring box
Measuring insulation performance and impedance
Check the circuit and AC and DC voltage
Weld communications cable
3.2.2 Installation place
Select installation place based on the following considerations:
(1) Height from ground level should be enough to ensure that display and status LEDs are
easy to read.
(2) Select a well ventilated place sheltered from direct sun radiation and rain.
(3) Allow sufficient space around the inverter to enable easy installation and removal from the
mounting surface. Refer to Figure 3.2.
(4) The environment temperature is between -25 ℃~ 60℃.
- 20 -
 Loading...