GENERAL ENGINE MECHANICAL 6A – 53
5) Tighten the cap nuts in 2 steps, using angular
tightening method as shown in the following
specifications. (4JG2)
4JG2 N∙m (kg∙m/lb∙ft)
1st Steps 2nd Step
29 (3.0/22) 45° - 75°
4JA1, 4JB1, 4JB1TC N∙m (kg∙m/lb∙ft)
83 (8.5/61)
NOTE:
Do not allow the crankshaft to rotate.
6) Remove the rod caps.
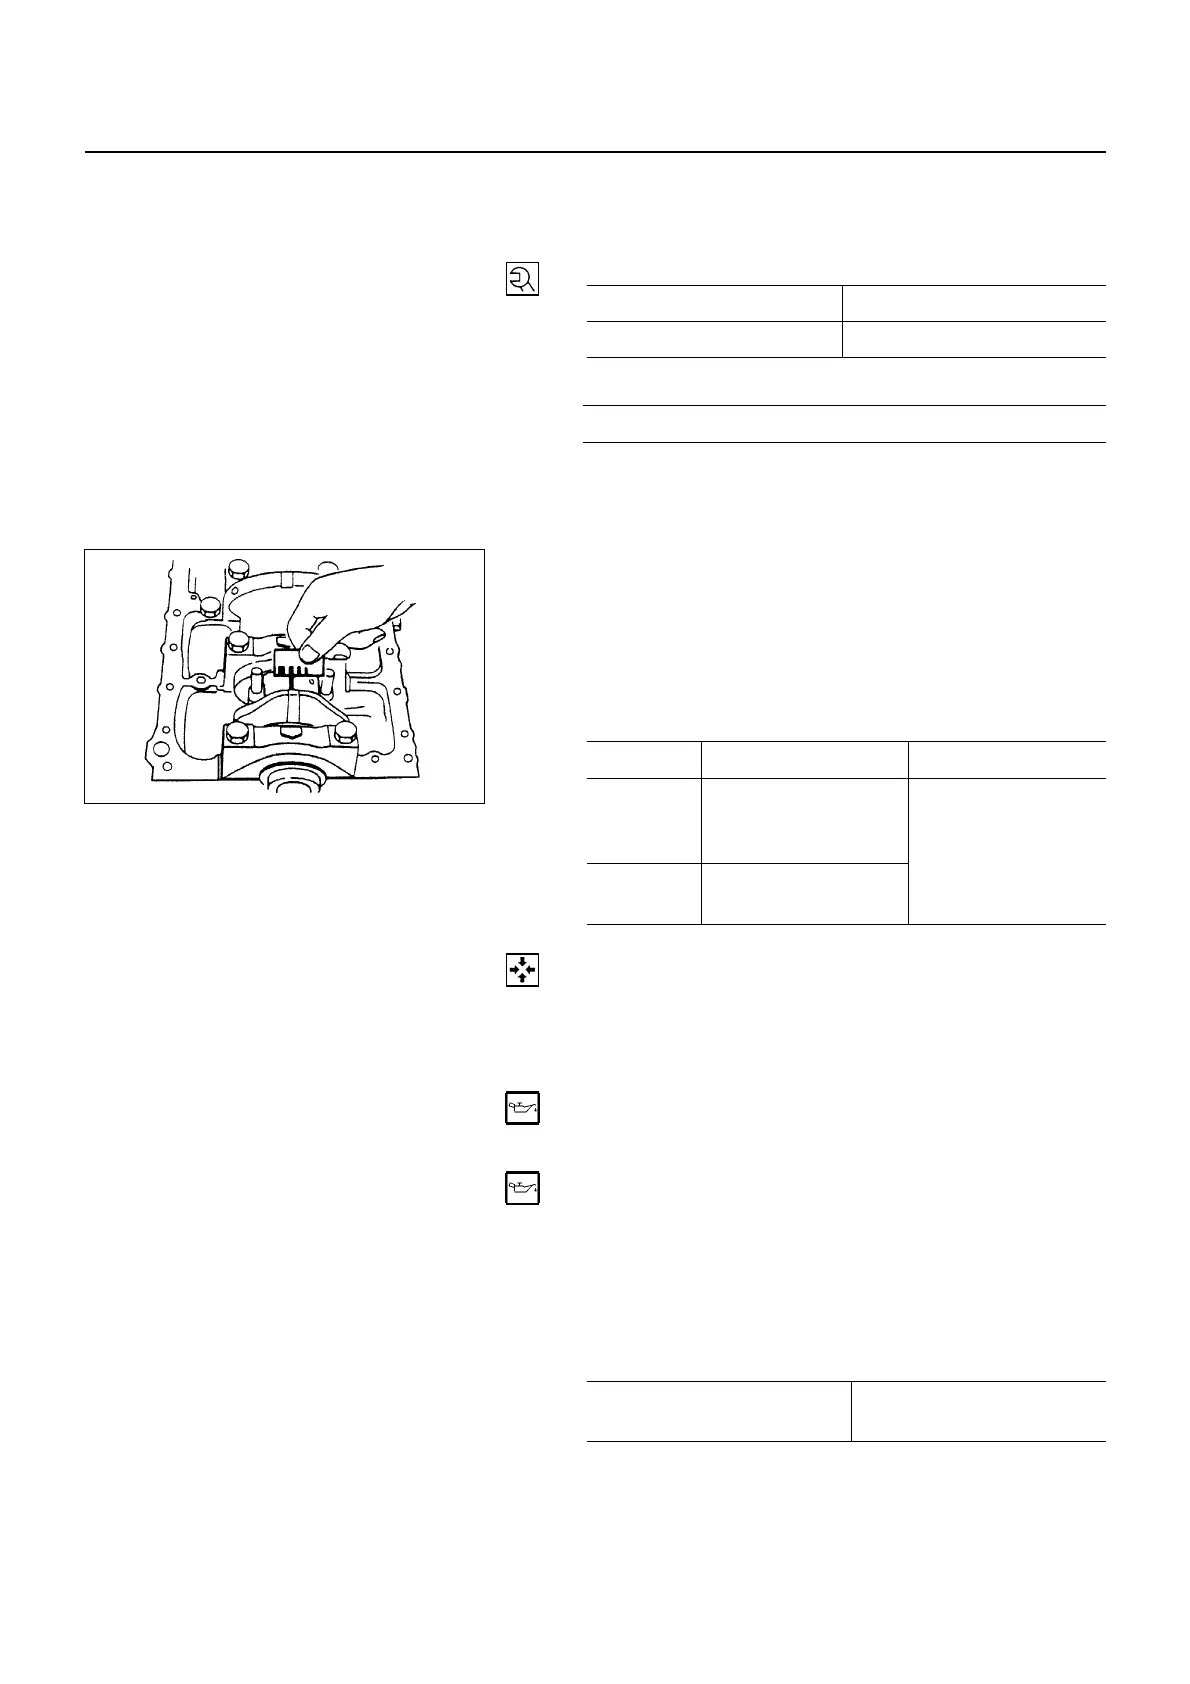
7) Measure the width of the plastigage and determine
the oil clearance. If the oil clearance exceeds the
limit, replace the rod bearings as a set.
8) Clean the plastigage from the bearings and the
crankshaft pins.
Crankshaft Journal and Bearing Clearance mm (in)
Standard Limit
4JB1 /
4JB1T /
4JB1TC
0.029 - 0.066
(0.0011 - 0.0026)
4JG2
0.029 - 0.083
(0.0011 - 0.0033)
0.100 (0.0039)
REASSEMBLY
11. Connecting Rod
10. Piston
9. Piston Pin
Apply a cost of engine oil to the piston pin and the piston
pin hole.
8. Piston Pin Snap Ring
Apply a thin coat of engine oil to the piston pin.
Try to insert the piston pin into the piston pin hole with
normal finger pressure.
Weigh each piston and connecting rod assembly.
Select piston and connecting rod combinations so that the
weight variation of the different assemblies a held within
the specified limits.
g (oz)
Variance in weight
after assembly
Less than 3
(0.1058)
NOTE:
When changing piston/connecting rod combinations,
do not change the piston/piston pin combination
6A-53-1.tif
 Loading...