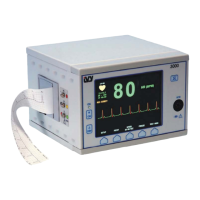
ASSEMBLY AND DISASSEMBLY
Removing the Yoke
The yoke is the electronic assembly located at the rear of the crt.
1. Remove the top cover as described above.
2. Remove the High Voltage Power Supply board as described above.
3. Remove J202 from the Mother Board.
4. Loosen the screw holding the yoke clamp on the crt and slide the yoke assembly off.
Removing the CRT
1. Remove the High Voltage Power Supply board as described above.
2. Remove the spring across the front of the crt.
3. Remove the two screws holding the crt bracket on the center side of the crt.
4. Tilt the crt toward the side of the monitor and guide it out of the unit.
5. After replacing the crt, do the CRT Display adjustments described in the Testing and Troubleshooting
section of this manual.
Replacing the Main Power LED
1. Remove the top cover, the High Voltage Power Supply board, and the crt as described above.
2. Remove the LED retainer and pull out the LED.
3. Push in a new LED and replace the retainer.
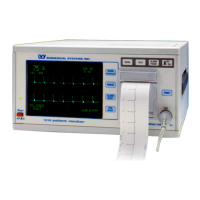
Removing the Recorder Assembly
1. Open the recorder door and remove the paper from the recorder.
2. Loosen the two captive Philips-head screws inside the recorder housing.
3. Pull the Recorder Assembly straight out from the monitor.
Model 101R/NR Service Manual 47
 Loading...