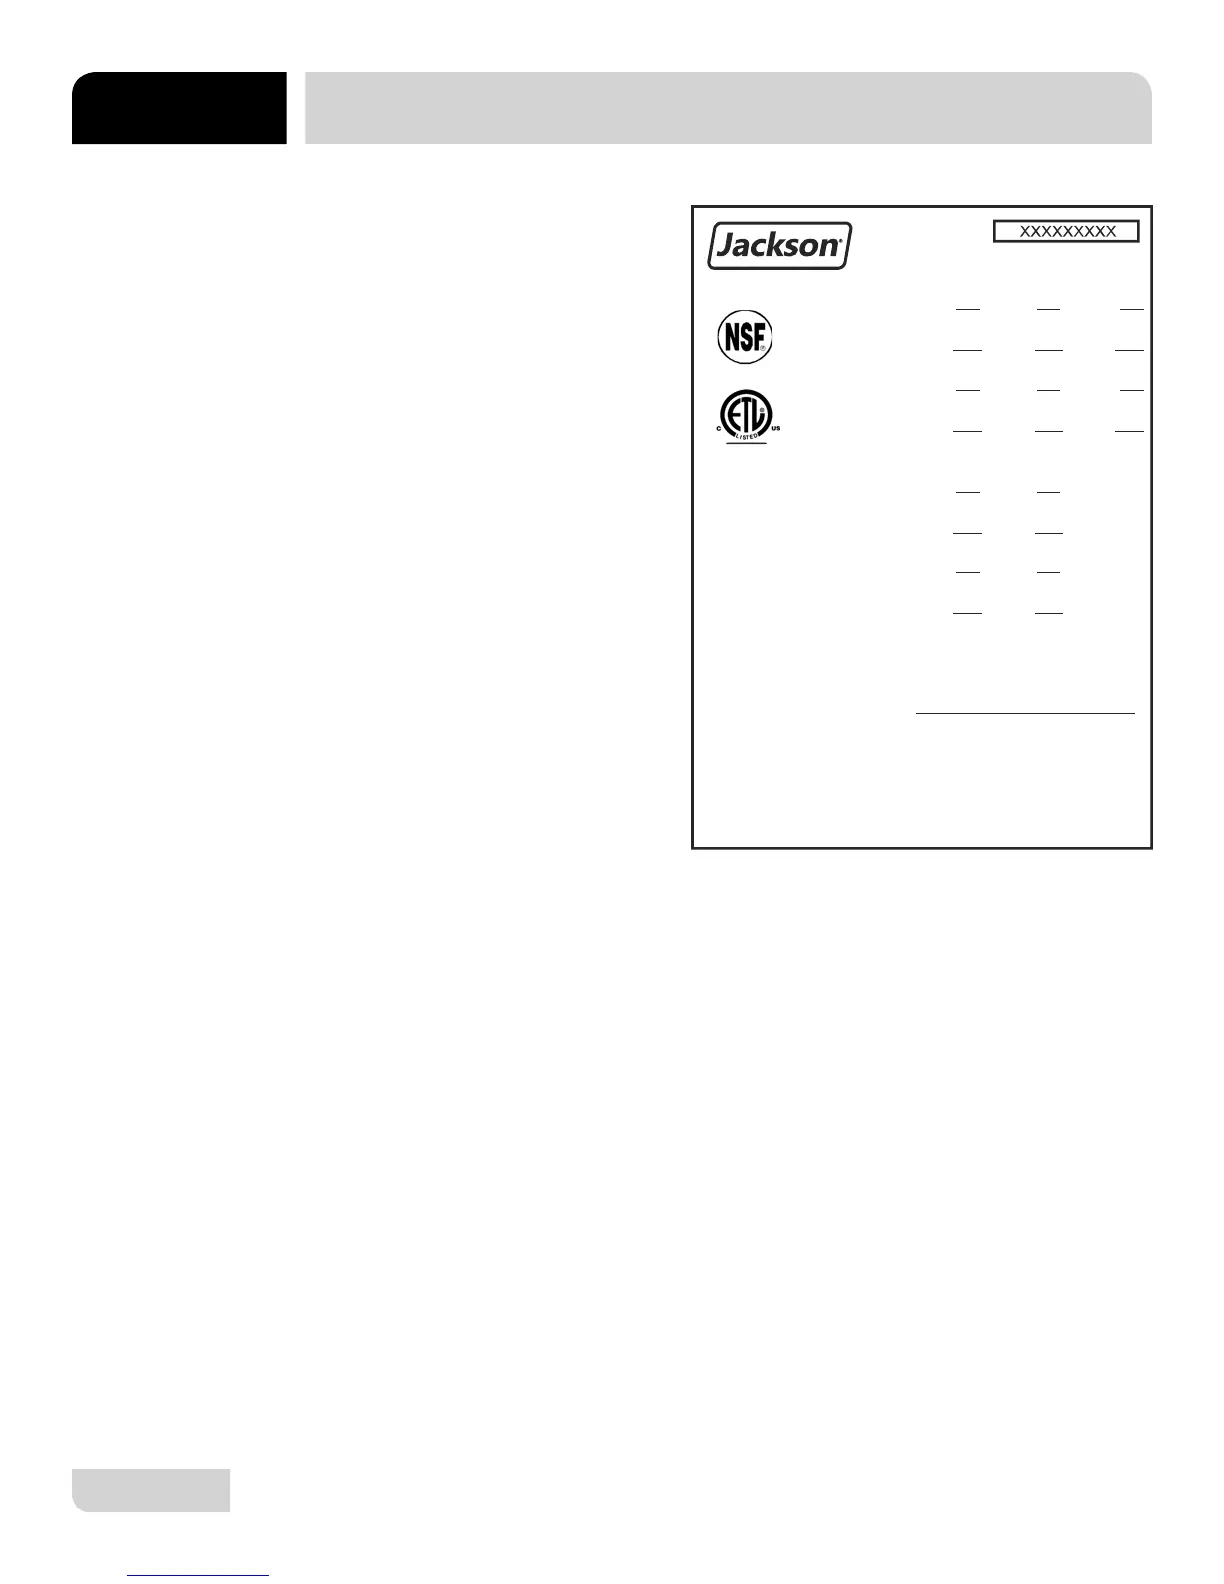
07610-003-61-42-T
77
SERIAL NUMBER:
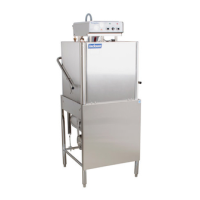
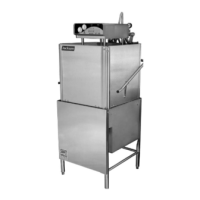
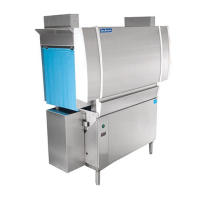
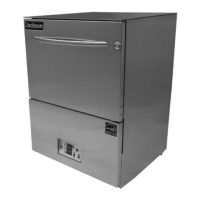
MODEL: Tempstar
Made in the USA
Jackson WWS, Inc.
P.O. Box 1060
Barbourville, KY. 40906
(606) 523-9795
09905-003-69-11D
460V
WASH MOTOR
230V
208V
3/4 HP 5.7 A 3/4 HP 5.7 A 3/4 HP 1.8 A
WASH HEATER 4.1 KW 11.4 A 5 KW 12.6 A 5 KW 6.3 A
RINSE HEATER 9 KW 25.0 A
11 KW 27.2 A 11 KW 13.8 A
TOTAL LOAD 42.1 A 45.5 A 21.9 A
40 F RISE BOOSTER
460V
WASH MOTOR
230V
208V
3/4 HP 5.7 A 3/4 HP 5.7 A 3/4 HP 1.8 A
WASH HEATER 4.1 KW 11.4 A 5 KW 12.6 A 5 KW 6.3 A
RINSE HEATER 10.5 KW 29.1 A
12.9 KW 32.4 A 12.9 KW 16.2 A
TOTAL LOAD 46.2 A 50.7 A
OPERATING PARAMETERS
MINIMUM WASH TEMPERATURE 150 F
MINIMUM RINSE TEMPERATURE 180 F
MINIMUM INCOMING WATER TEMPERATURE
70 F RISE BOOSTER 110 F
40 F RISE BOOSTER 140 F
WASH CYCLE TIME 45 SEC
RINSE CYCLE TIME 11 SEC
FLOW PRESSURE 10 PSI
208-230-460 Volt/60 Hz/3 Phase
WASH MOTOR
230V
208V
3/4 HP 5.7 A 3/4 HP 5.7 A
WASH HEATER 4.1 KW 19.7 A 5 KW 21.7 A
RINSE HEATER 9 KW 43.3 A
11 KW 47.8 A
TOTAL LOAD 68.7 A 75.2 A
40 F RISE BOOSTER
WASH MOTOR
230V
208V
3/4 HP 5.7 A 3/4 HP 5.7 A
WASH HEATER 4.1 KW 19.7 A 5 KW 21.7 A
RINSE HEATER 10.5 KW 50.4 A
12.9 KW 56.1 A
TOTAL LOAD 75.8 A 83.6 A
70 F RISE BOOSTER
208-230 Volt/60 Hz/1 Phase
24.3 A
70 F RISE BOOSTER
4000897
Conforms to UL Std 921
Conforms to CSA
Std C22.2 No.168
Intertek
Jackson Technical
Manual Addendum
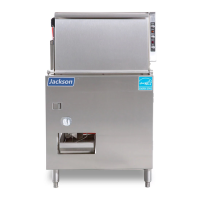
Tempstar units that are manufactured with the above referenced data plate are able to be fi eld-
converted to different phases and voltages. To accomplish this, your unit should have shipped
with the Tempstar Phase Conversion Kit, part number 06401-003-71-71. This kit contains the
appropriate decals and schematics to apply to your unit once the conversion is complete.
All work should be performed only by Authorized Jackson Service Agents.
Steps:
1. Perform the appropriate wiring and component changes as necessary to achieve
the desired result. Reference Jackson technical manuals or contact technical service for
assistance.
2. Verify the Schematic is correct. If not, replace with the correct one from the kit.
3. At the power inlet, remove the “Wired For” decal and replace with the one that matches the
confi guration of your machine.
ADDENDUM