
W
Wendy JohnsonAug 20, 2025
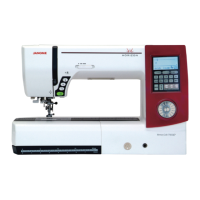
Why does my Janome Quilt Maker Pro 18 VERSA skip stitches?
- CCharles RayAug 20, 2025
Skipped stitches can occur if the needle is damaged, dull, bent, or installed improperly. Replace the needle often, typically once or twice daily for continuous quilting, or at least once per quilt. Use only the recommended needle system. Always change the needle if it has struck a hard object like a pin, as the tip can become damaged, leading to skipped stitches. Also, replace the needle if it has been hit, bumped, or pulled off-center, as a slightly bent needle can cause skipped stitches.