144
7. Turn the (color) valve handles to the POWERFILL position.
8. Open the low point drain on the RV to remove water in the plumbing lines.
9. Open all faucets in the RV. If there is an outside shower, attach the shower hose to the
shower, and open the shower faucets.
10. Remove water heater drain plug from tank (storage) water heater (if equipped). Refer to
Step 4. (Tankless water heaters can be drained by blowing out water lines)
11. Run the water pump until pump is dry (approximately 15 to 20 seconds). Do not oper-
ate the pump longer than that with no water, it can damage the pump.
12. After water is drained from the lines, turn the RED, BLUE, GREEN & WHITE valves
so they are at 45 degrees as shown (Fig. 2).
13. Attach a blowout plug to the City Water Inlet on the utility center panel.
14. Attach the air hose to the blowout plug. Set compressor to 30 PSI. The four (color)
valves should still be set to 45° angle. Blow air into the utility center (30 PSI MAX).
All water in the lines should clear out in 5 to 10 minutes.
15. Turn o air supply, remove air hose and blowout plug.
16. Close the low point drain, and replace the water heater drain plug on the tank (storage)
water heater. (Tankless water heater lines should now be purged of water)
17. Appliances should be winterized to prevent damage. Methods may vary depending on
the appliance. Refer to the appliance owner's manual for instructions or call Customer
Service.
18. Pour one cup of RV antifreeze in all the drain P-traps (sinks & bathtub).
1. Connect the blowout plug to the Black Tank Flush inlet at the utility center panel.
2. Connect the air hose to the blowout plug. Set the compressor to .
3. Make sure the black tank has been emptied. Open the black tank drain gate valve.
4. Blow air into the ush inlet for 30 to 60 seconds.
5. Disconnect the air hose, compressor and blowout plug.
6. Close the black tank drain gate valve.
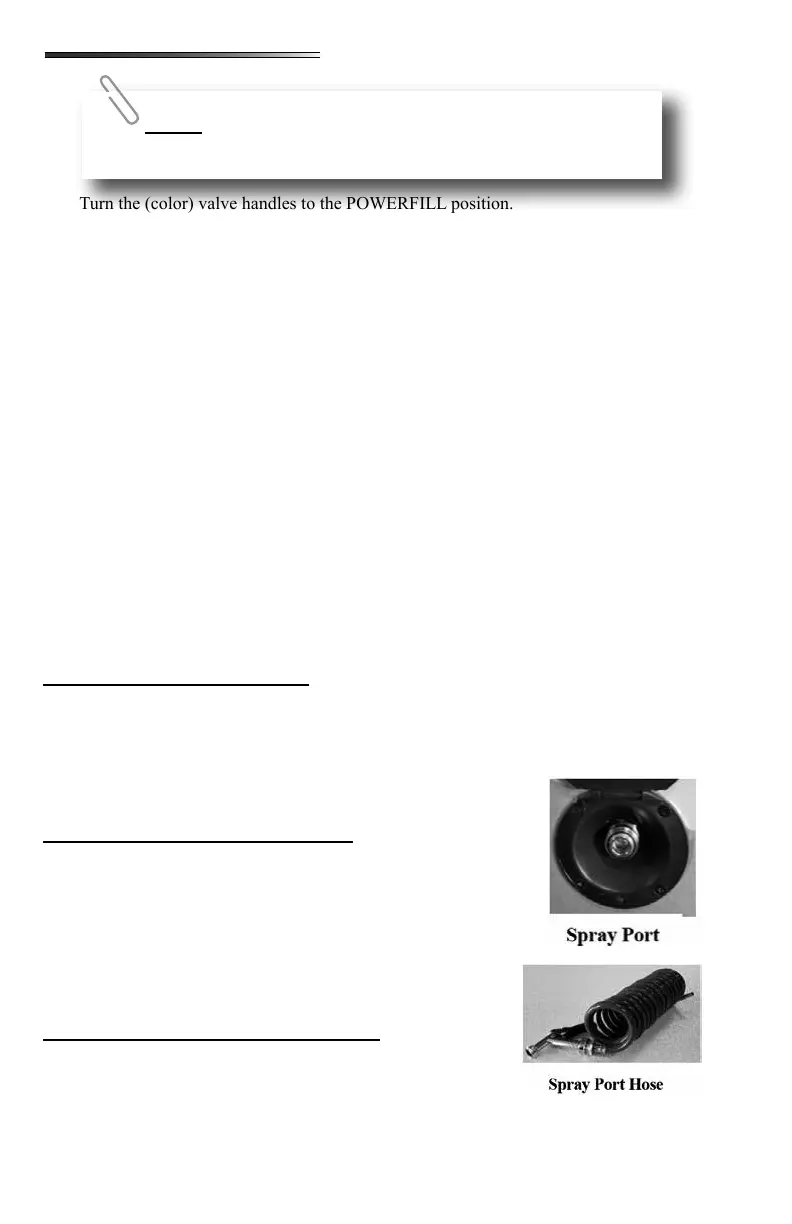
1. With xtures and drain valves open in the RV to drain the water
lines, connect the blue-coiled hose to the brass quick connect
tting at the Spray Port.
2. Remove the spray nozzle from the other end of the hose.
3. Hold the open end of the hose near the ground and any water in
the line should drain out.
4. Disconnect the hose from the tting, and store in the RV.
5. Close the port cover.
1. As you are putting antifreeze into the water lines, attach the
hose to the Spray Port.
2. Have a container close by to capture antifreeze.
3. Pull the trigger on the spray nozzle until antifreeze comes out (into the container).
Filters should be replaced at the beginning of the camping season
or if they have come into contact with contaminated water or antifreeze.