191
in the cargo bay area.
The red master switch must be turned on rst allowing the bed to be lowered or raised using
the bed lift control. Remember to turn the master switch OFF after moving the beds.
When operating the beds, both beds will lower together until the upper bed reaches an ad-
justable stop. The bottom bed then continues lowering until it also reaches an adjustable
stop. When raising the beds, the bottom bed will rise until it meets the upper bed, then both
will rise to the highest point.
The upper bunk can be stowed in the travel position at the ceiling while allowing the sofa
seats to adjust to a usable height.
Use the four locking pins provided to secure the top bunk
in the travel position (refer to the bed lift user manual).
When the seats are at the desired height, unlock them, and
ip them into the “seated” position (see Sleeper Sofa and
Dinette section).
There is an emergency manual override which allows the beds to be lowered or raised manu-
ally in the event the motorized lift becomes in-operative.
Refer to the bed-lift user manual for additional information regarding upper bunk operation,
stowing, manual override feature, and troubleshooting.
See the Sleeper Sofa and Dinettesection in this manual for details on converting the sofa to
the bed position and the bed to the sofa positon.
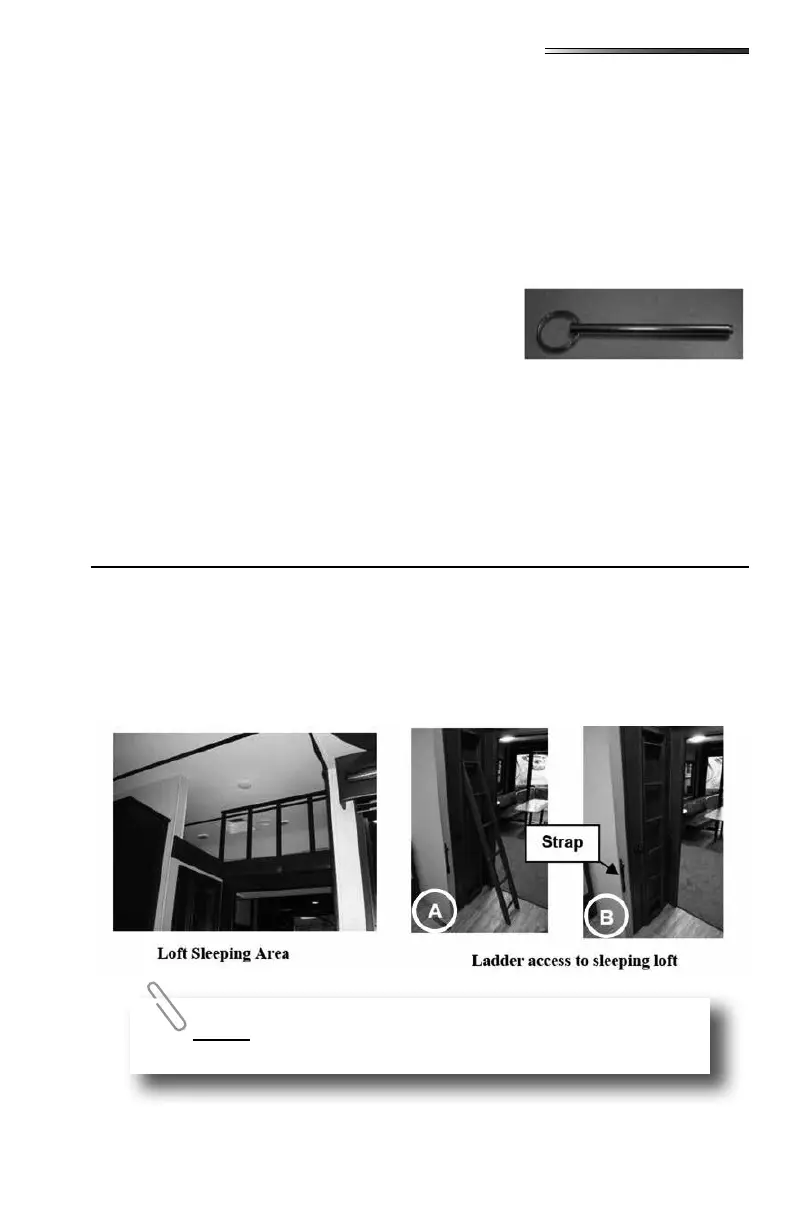
Loft Sleeping Area (if so equipped)
Your RV may be equipped with a loft sleeping area. Access to the loft sleeping area is
through the use of a (wood or steel) ladder.
The steel ladder is equipped with hooks that t over the side board of the loft bed.
Typically the wood ladder is attached to a closet door (or wall) and pivots out for use (A &
B). Be sure the door is closed and latched, and the ladder is securely in place before climb-
ing up to the loft area. When storing the ladder, make sure to buckle the security strap which
keeps the ladder in place in its holder.
Loft area appearance and design may differ by model.