Installation
iSTAR Ultra Installation and Configuration Guide 2–19
For a UL installation the power must be approved to UL-294 and/or UL-603.
To Install the IP-ACM and Plastic Enclosure:
1. Remove the screws using the Software House security screwdriver and lift the enclosure
cover off of the plastic IP-ACM enclosure.
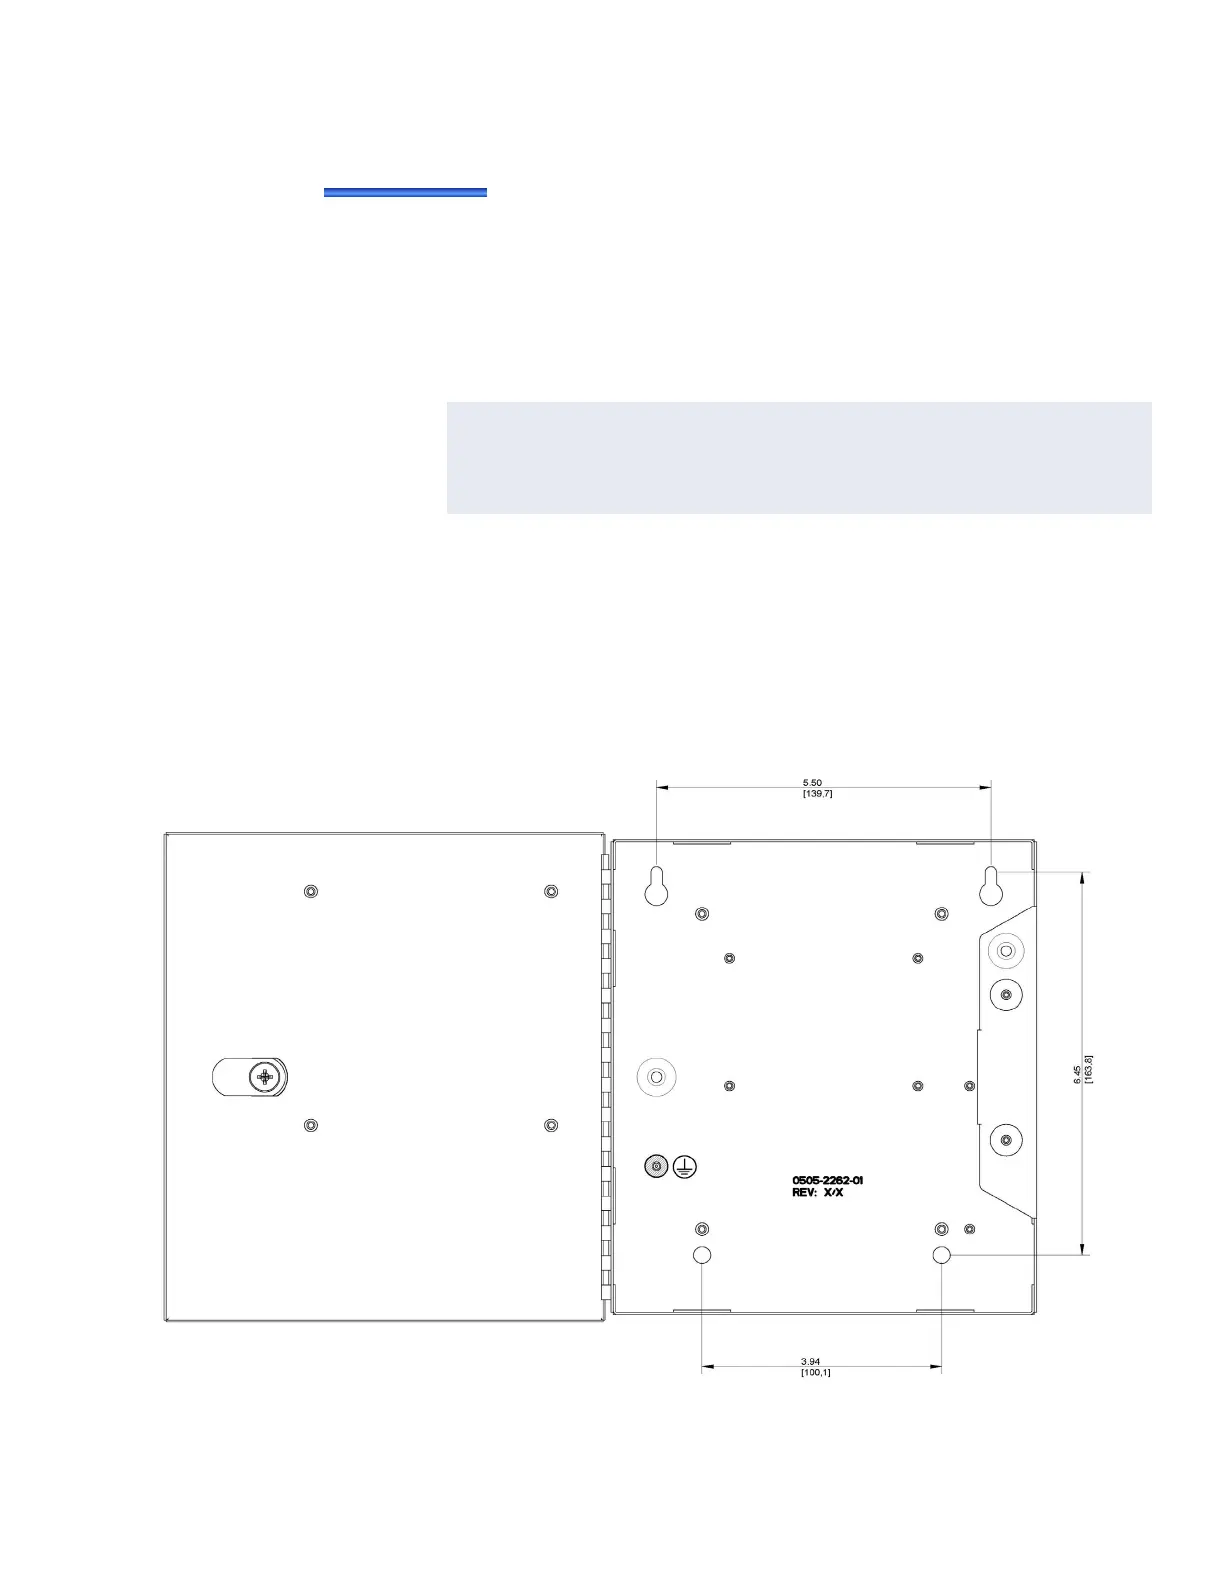
2. Secure the IP-ACM enclosure to the selected wall or support surface using the holes
provided in the enclosure’s molded base. Refer to Figure 2-2 on page 2-18 for dimensions
and hole pitch for mounting.
3. Secure the IP-ACM Ethernet door module to the right of the enclosure.
4. Fit and connect all customer cables.
5. Secure the cover with two tamper-proof screws using the Software House security
screwdriver (Part Number: 132-183).
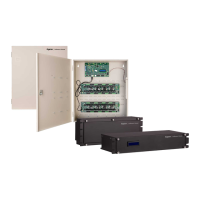
Metal Enclosure
Figure 2-3: Metal IP-ACM Enclosure
NOTE
It is essential to use all five securing screws when mounting the plastic
enclosure. Ensure that the mounting hole at 5.16 inches across and 1.03
inches up is used, see Figure 2-2 on page 2-18, as this is required for the
“whole unit off the wall” anti-tamper feature to be operational.
 Loading...