DP321 User's Manual
- 25 -
operating conditions.
3. Make sure the printing stays entirely within the printable area. (See the Appendix for specifications.)
4. Do not leave labels loaded in the printer between jobs; they curl around the platen and may jam when
you resume printing.
5. Remove the labels from the printer, tear off the fresh supply at the rear of the printer; then press LF/FF
to advance the remaining labels out of the printer.
Caution: Never feed labels backward through the printer; they can easily peel off the backing and
jam the printer. If a label does become stuck in the printer, contact your dealer.
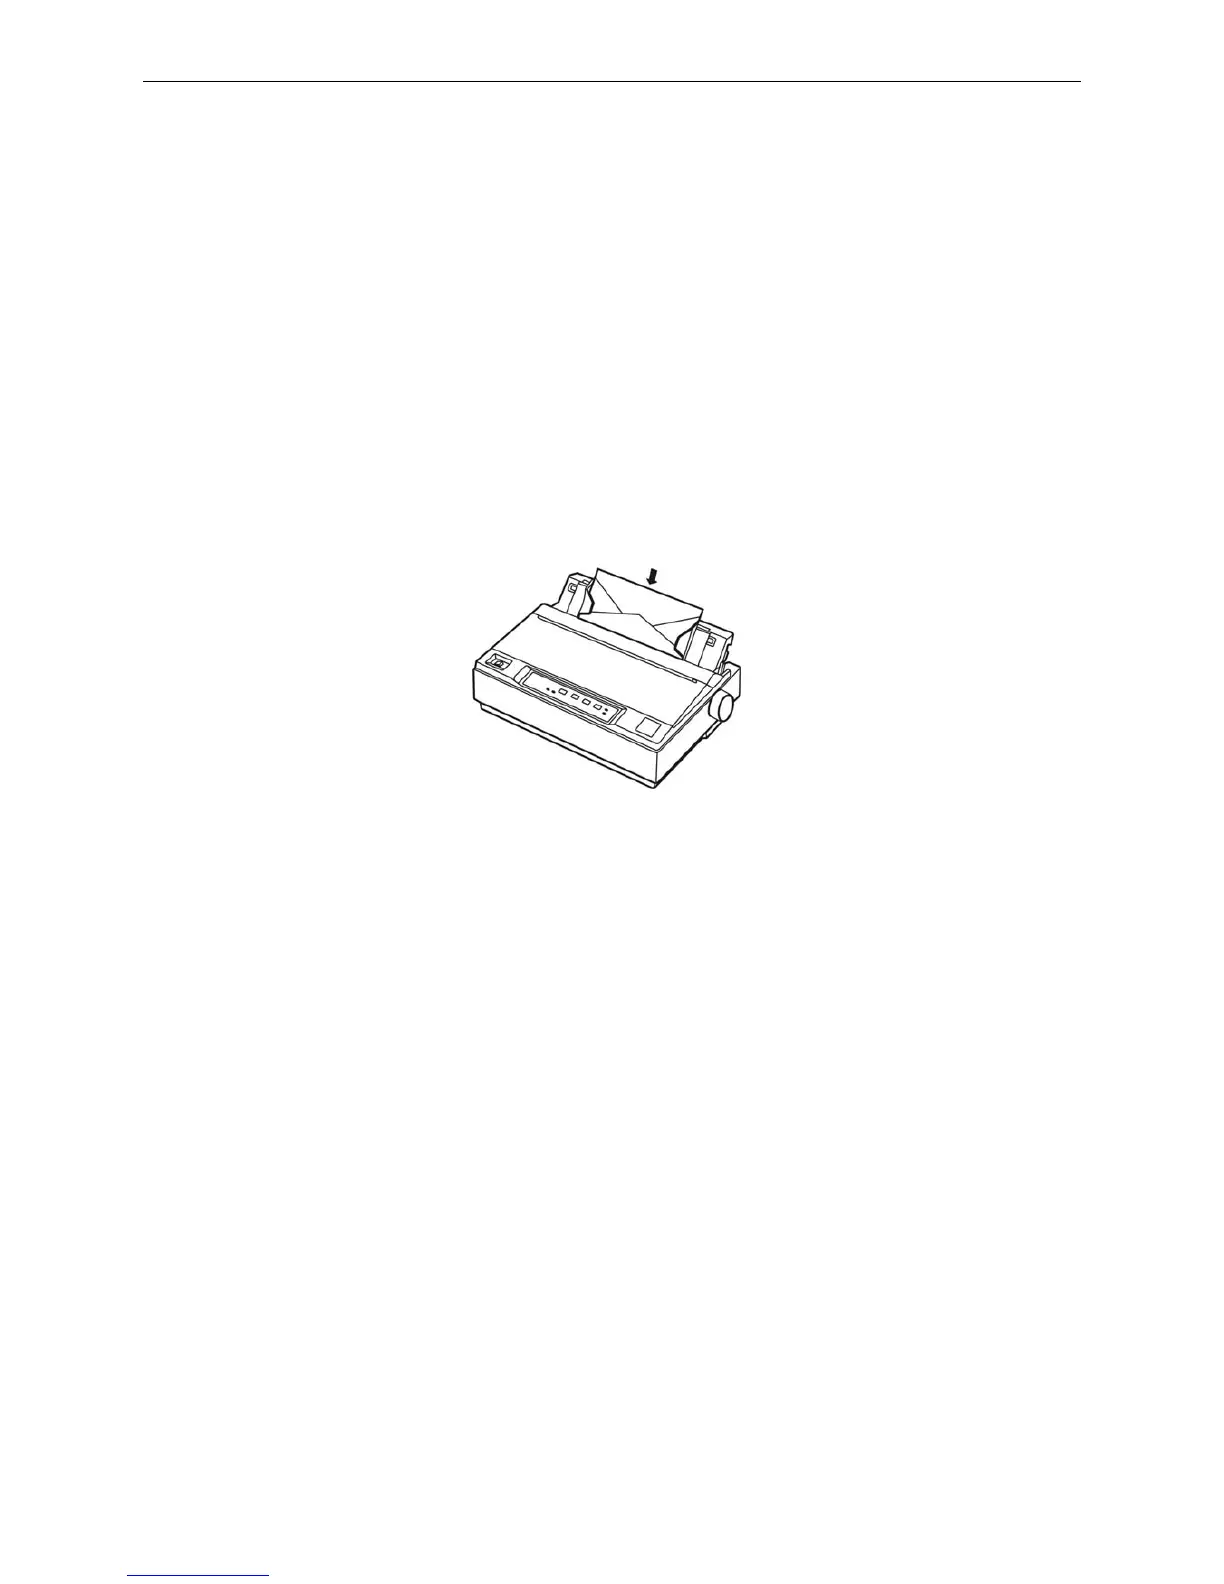
3.1.5 Envelopes
The way of installing envelopes is the same of cut-sheet. Keep the following tips in mind.
1. Before loading an envelope, set the gap adjust lever to position 4 or 5.
2. To load an envelope, push it firmly and hold it until it feeds into the printer.
3. Use envelopes only under normal temperature and humidity conditions.
4. Make sure the printing stays entirely within the printable area. The print head must not go past the
left or right edge of the envelope or other thick paper. (See the Appendix for specifications.) It’s a
good idea to print a test sample using a normal single sheet of paper before you print on the
envelopes.
3.2 Using the Printer Setting Mode
3.2.1 To Print the Current Settings
1. Press the ONLINE button on the control panel as well as turn on the printer. The print head returns
with the printer beeping once. If the ONLINE indicator is off and the power indicator blinks, it can be
indicated that there is paper out.
2. Set the paper select lever to the proper position.
3. When you use cut-sheet paper, after load the cut-sheet in the paper guide, it will print out the current
setting and facility operation guide on control panel immediately. When you use the tractor paper,
once you press LOAD/EJECT button, the printer starts printing the current setting and facility
operation guide on control panel.
Figure 3-18 Insert the envelop into the paper guide