DP321 User's Manual
- 19 -
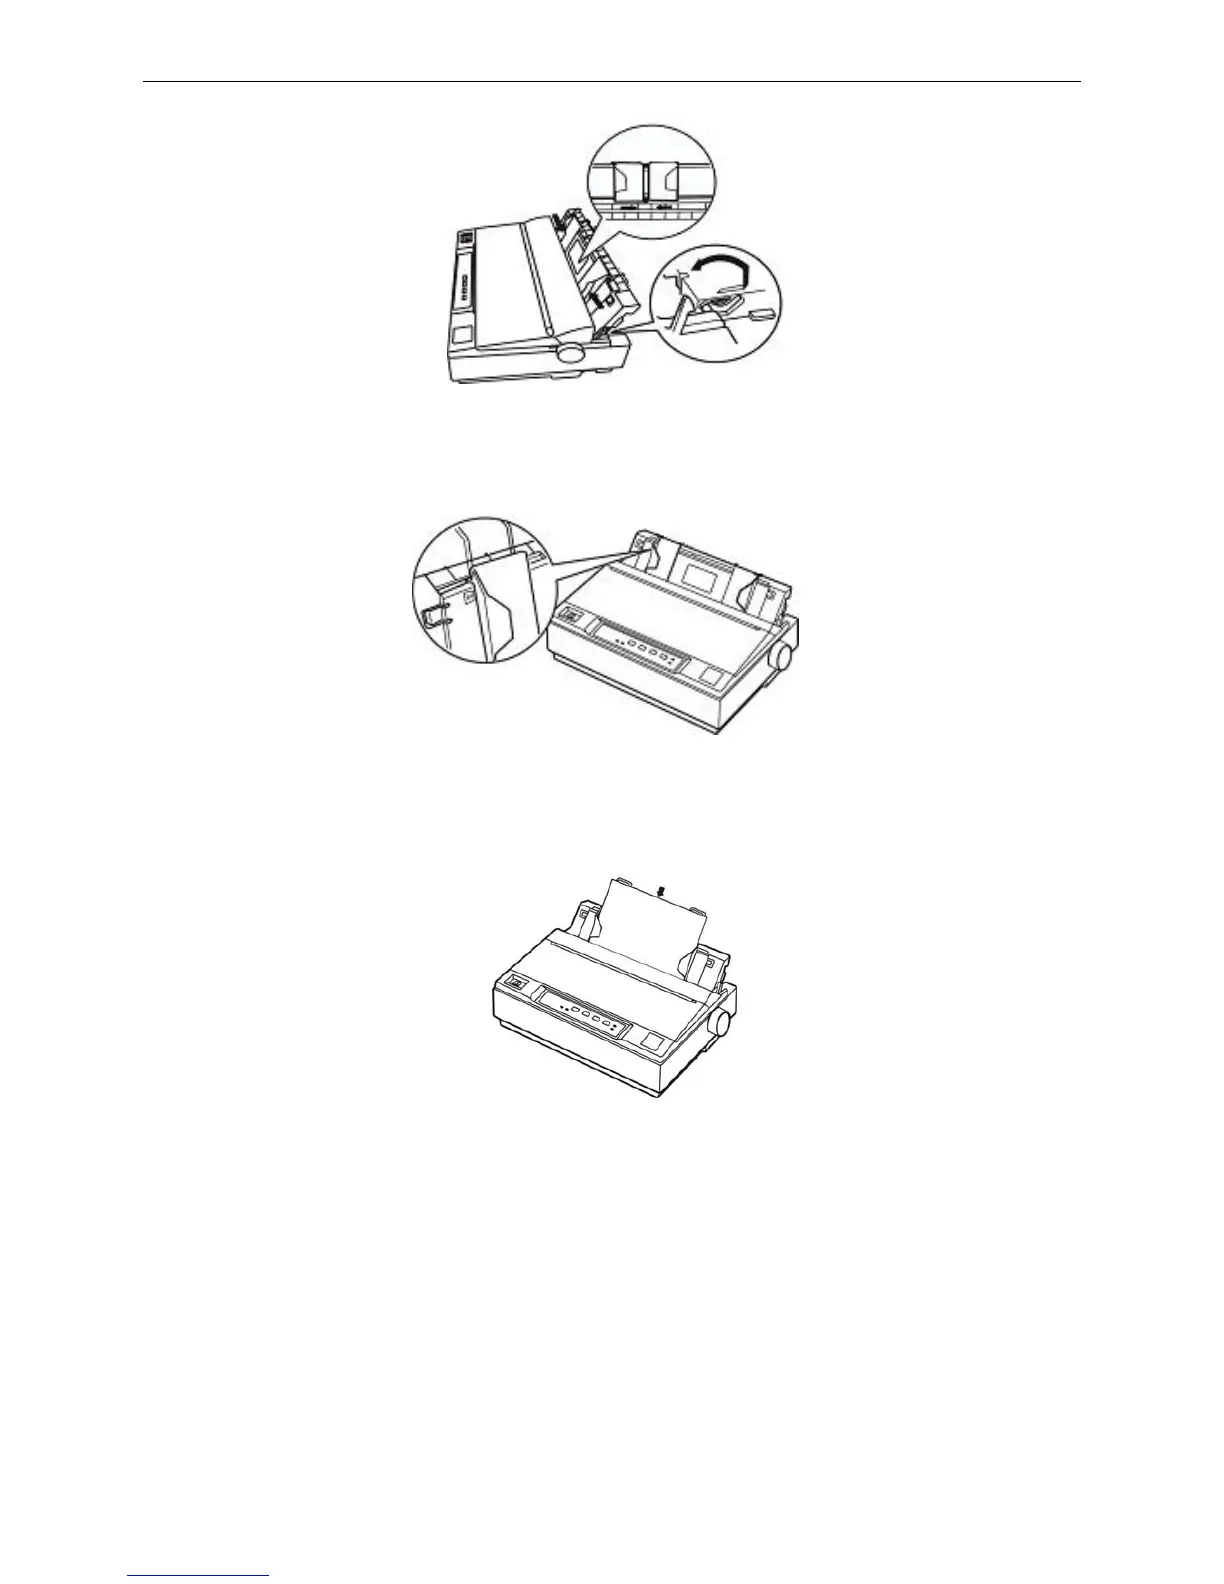
4. Slide the left edge guide until it locks in place at the triangular guide mark. Next, adjust the right edge
guide to match the width of your paper. As shown below.
5. Slide a sheet of paper down firmly between the edge guides until it meets resistance. The printer
loads the sheet and begins printing automatically. As shown below.
6. If necessory, set the top-of-form position as shown in Micro adjust.
Note: Don’t feed the paper with paper feed knob, or it will influence the consistency of paper-in
position.
3.1.2 Printing on Tractor Papers
If you use the tractor paper, you must decide which tractor to be installed. Then you install the tractor in
the corresponding way.
For easy to switch between printing on cut-sheets and tractor paper, or easy to tear off tractor paper
sheet-by-sheet, you should use the tractor in push position.The printer comes with the tractor installed
in this position at the factory settings.
If you want to print on labels, you should use the tractor as a pull tractor.
Figure 3-3 Raise the paper guide upright
Figure 3-4 Adjust the paper guide
Figure 3-5 Insert a cut-sheet