DP321 User's Manual
- 3 -
3. Moderate environmental conditions. Select a cool, dry area and protect your printer from direct
sunlight, excessive heat, moisture, or dust.
4. Appropriate power source. Make sure you use a grounded outlet; do not use an adapter plug. Avoid
electrical outlets controlled by timers or wall switches; an interruption in power can wipe out the
information in your computer or printer memory
If you place the printer on a stand, follow these guidelines:
1. Use a stand that supports at least 9 kg (19 lb).
2. Never use a stand that tilts the printer. Always keep it level.
3. Provide enough clearance below the stand and between the legs of the stand so your tractor paper
flows smoothly.
4. Place cables so they do not interfere with paper feeding; secure them to a leg of the stand if
possible.
1.5 Assembling the Printer
Follow the steps in this section to get your printer up and running.
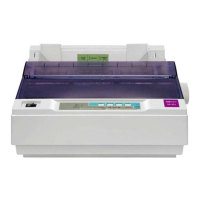
1.5.1 Installing the Paper Feed Knob
1. Insert the paper feed knob into the hole in the printer’s right side. As shown below.
Note: The D shape of knob should be corresponding to the D shape shaft inside the printer
case.
2. Push firmly on the knob until it fits against the printer case.
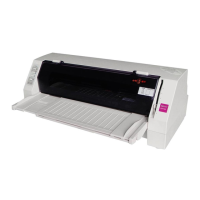
1.5.2 Installing the Ribbon Cartridge
1. Before installing the ribbon cartridge, make sure the printer is turned off.
2. Dismantle the printer cover to the backward position, and then pull up to remove it.
3. Dismantle the tear part. Impact the locked piece both sides of tear part, then pull up the tear part
shown as follows.
Figure 1-6 Install the paper feed knob
Figure 1-7 Dismantle the printer cover
Paper feed knod