
J
Justin JohnsonAug 19, 2025
What to do if Kemppi MasterTig 535ACDC Welding System shows 'Too high mains current'?
- Jjennifer11Aug 19, 2025
If your Kemppi Welding System shows 'Too high mains current', reduce the welding power.
What to do if Kemppi MasterTig 535ACDC Welding System shows 'Too high mains current'?
If your Kemppi Welding System shows 'Too high mains current', reduce the welding power.
How to fix 'Cooler not found' error on Kemppi Welding System?
If your Kemppi Welding System displays 'Cooler not found', check the cooler connections. If the cooler is not in use, ensure that cooling is turned off in the settings menu.
What to do if Kemppi MasterTig 535ACDC shows 'DC-link over-voltage'?
If your Kemppi Welding System shows 'DC-link over-voltage', check the mains voltage.
What to do if Kemppi Welding System shows 'DC-link under-voltage'?
If your Kemppi Welding System shows 'DC-link under-voltage', check the mains voltage and/or the supply cable.
What to do if Kemppi MasterTig 535ACDC displays 'Mains voltage too high or too low'?
If your Kemppi Welding System shows 'Mains voltage too high or too low', check the mains voltage and/or the supply cable.
How to troubleshoot Kemppi MasterTig 535ACDC that does not power up?
If your Kemppi Welding System does not power up, ensure the mains cable is properly plugged in, the power source's mains switch is in the ON position, and the mains power distribution is active. Also, inspect the mains fuse or circuit breaker and verify the earth return cable is connected.
What to do if Kemppi MasterTig 535ACDC Welding System stops working?
If your Kemppi Welding System stops working, it could be due to the torch or power source overheating. Allow them to cool down. Ensure the cooling fans are functioning correctly and the airflow is unobstructed. Also, check all cables to ensure they are securely connected.
How to fix dirty and/or poor weld quality with Kemppi MasterTig 535ACDC Welding System?
For dirty or poor weld quality on your Kemppi Welding System, verify the shielding gas supply hasn't run out and its flow is unobstructed. Ensure the gas type, welding procedure, filler material (type, diameter, and cleanliness), and electrode (size, type, and shape) are correct for the application. Also, confirm the base material is clean and the groove type is appropriate.
Why does the torch overheat on my Kemppi MasterTig 535ACDC?
If the torch on your Kemppi Welding System overheats, ensure the torch body is properly connected. Verify that the welding parameters are within the torch's range, considering the lowest maximum current limit of its components. Check coolant circulation, ensuring it's working normally (observe the warning LED on the power source) and measure the coolant circulation speed to ensure it is at least 0.5 l/min. Use original Kemppi consumables and spare parts, and ensure connectors are clean, undamaged, and properly fastened.
What should I do if my Kemppi Welding System power source is overheated?
If the power source of your Kemppi Welding System is overheated, do not shut it down. Let the fans cool the machine. If the fans are not running, no answer.
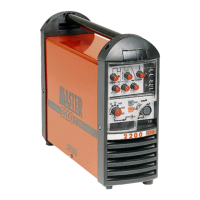
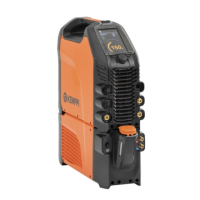
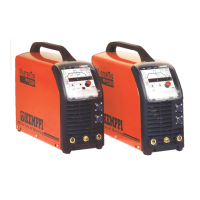
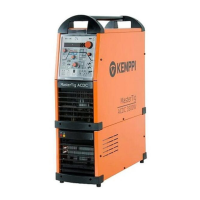
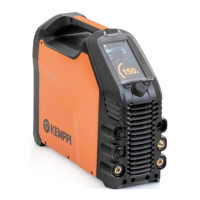
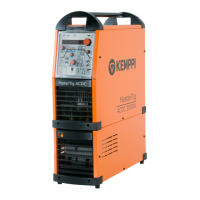
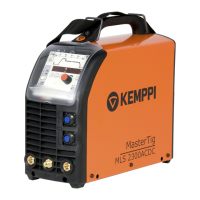
Detailed description of the MasterTig 535ACDC welding equipment and its components.
Explains how to identify the equipment using serial number and QR code.
Instructions for authorized electricians to install the mains cable and plug correctly.
Steps for authorized personnel to install the optional MasterTig Cooler MXL.
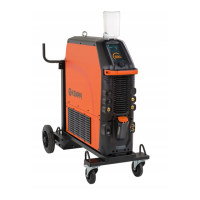
Guide to mounting the welding equipment and optional cooler onto a transport cart.
Instructions for connecting gas-cooled and water-cooled TIG torches to the power source.
Procedures for safely connecting the earth return cable and clamp to the workpiece.
Steps to connect the MMA electrode holder and earth return cable for MMA welding.
Guide to installing wireless and wired remote controls for operation.
Instructions for installing and connecting gas bottles for TIG welding.
Steps to securely mount a gas bottle onto the welding equipment cart.
Detailed instructions for removing and installing the MasterTig control panel.
Safety guidelines and procedures for lifting the welding equipment using a hoist.
Procedures for lifting the welding equipment when it is mounted on a cart.
Steps to turn on the MasterTig welding power source and initiate startup.
Overview of the MTP35X control panel, its controls, and navigation.
Description of the default Home view on the control panel and its displayed information.
Guide to using the Weld Assist utility for simplified welding parameter selection.
Explains how to use memory channels to store and recall welding parameter settings.
Details on adjusting parameters for start and stop sequences in welding.
Guide to adjusting pulse parameters for advanced welding control.
Information on selecting and adjusting current modes like AC, DC, and MIX.
How to access and modify various system settings for the welding machine.
Accessing equipment usage data, software versions, and error logs.
Instructions for changing the screen saver image on the control panel.
Steps to operate the MasterTig Cooler MXL, including filling and circulation.
Usage instructions for hand and foot pedal remote controls for welding adjustments.
General guidance and common issues for diagnosing and resolving welding system problems.
List of error codes, their possible reasons, and proposed actions for the welding system.
Environmental guidelines for the proper disposal of electrical equipment.
Detailed technical specifications for the MasterTig 535ACDC welding power source.
Technical specifications for the optional MasterTig Cooler MXL cooling unit.
General guidance tables for TIG welding parameters (AC/DC) with electrodes and gas.
Explanations of various welding processes and features supported by the machine.
Information on how to order accessories, torches, and remote controls.
| Welding Processes | TIG, MMA |
|---|---|
| AC Frequency | 20 - 250 Hz |
| Power Supply | 3-phase |
| Rated Input Current | 32 A |
| Protection Class | IP23 |
| Input Voltage | 400 V |
| TIG Welding Process | AC/DC |
| Cooling Type | Air |
| Open Circuit Voltage | 70 V |