54
Keyline S.p.A. NINJA Man. cod. B409286FG Copyright by Keyline - Italy
ITALIANO / ENGLISH
MANUTENZIONE MAINTENANCE
14.2.5 Sostituzione fresa
Misure di sicurezza
Prima di effettuare questa operazione assicurarsi
che il cavo di alimentazione sia scollegato dalla rete.
Onde poter svolgere l’operazione si consiglia di rimuovere il gruppo
morsetto.
Attrezzi da utilizzare per la sostituzione della fresa
• 1 chiave inglese d. 27
• 1 asta bloccaggio motore
Come procedere:
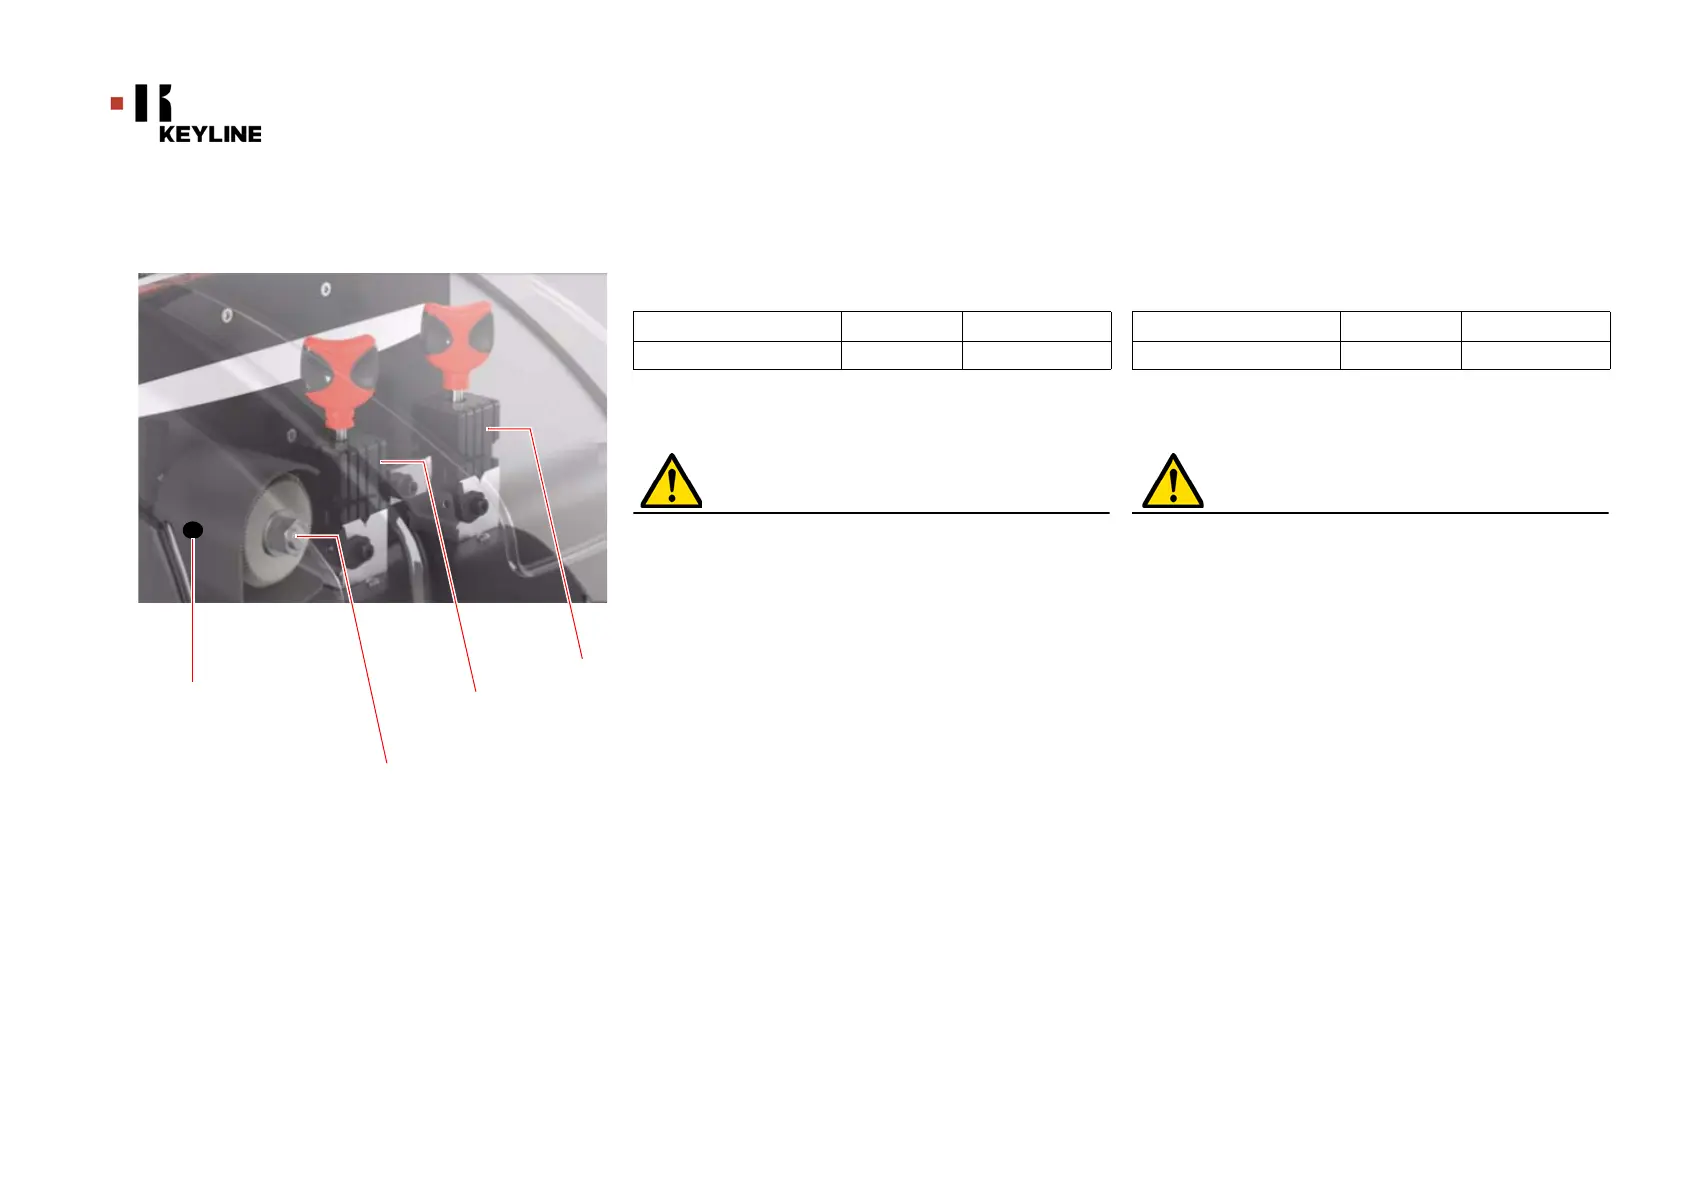
• Rimuovere i morsetti dalla propria sede (1);
• Per rimuovere la fresa installata, bloccare l’albero fresa
inserendo l’asta di bloccaggio nel foro presente sullo
schermo di protezione fresa (2) e svitare il dado di
bloccaggio (3) in senso orario con la chiave da 27 mm.;
• Rimuovere a mano la fresa usurata, pulire accuratamente
l’albero da eventuali trucioli quindi infilare la nuova fresa
nell’albero ed accostarla nella posizione di battuta, avvitare a
mano il dado in senso antiorario, quindi procedere al serraggio
usando rispettivamente asta di bloccaggio e chiave fissa.
• Dopo aver installato il gruppo morsetto si consiglia di rettificare
la corretta taratura.
14.2.5 Replacing the milling cutter
Safety warning
Before carrying out this operation disconnect the
power cable from the mains.
In order to carry out this operation we recommend removing the
clamping unit .
Required tools when replacing the fuses
•1 wrench, d. 27
•1 motor locking rod
Procedure:
• Remove the jaws from their seats (1);
• To remove the installed milling cutter user has to lock the
cutter shaft by inserting the locking rod into the hole of the
milling cutter protective guard (2) and unscrew the locking
nut (3) clockwise by means of the 27 mm. wrench;
• Remove the worn out milling cutter by hand, carefully clean the
shaft to remove any shavings then place the new cutter in the
shaft and position it in the striking position, manually screw on
the nut in an anti-clockwise direction, then continue to tighten
using the locking rod and fixed wrench, respectively.
•After having installed the clamping unit we recommend
adjusting the correct calibration of the bitting depth.
Descrizione Ricambio Codice Periodicità
Fresa Quando necessario
Spare part description Code Frequency
Milling cutter When required