2-2 A-61854 April 2016
Installing the scanner The quick start Installation Guide that is packed with your scanner
provides hardware connection procedures. The Installation DVD also
guides you through this process.
IMPORTANT: If installing on Windows 8.1 or Server 2012, you must use
Advance Option - Static IP Address in the
configuration options between the scanner and the
computer. Do steps 1 and 2 below and then in Step 3 use
this connection option..
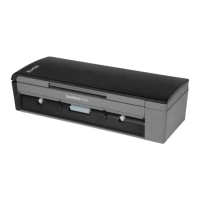
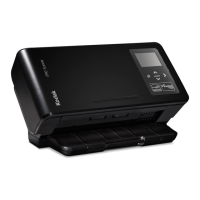
1. Install the Kodak Driver Software (Windows operating systems) by
inserting the Kodak ScanMate i1150WN Scanner and the Kodak
i1190WN Scanner Installation DVD in the disk drive. The installation
program starts automatically.
NOTE: If the DVD does not start automatically, open the My
Computer icon on your desktop. Double-click the icon
indicating your disk drive, then double-click on setup.exe.
2. Follow the prompts that are displayed.
3. You will be prompted to select which communication option you
want to use. For an explanation of the different options, see the
section entitled, “Connection options between the scanner and the
computer”
NOTE: To setup the scanner on a Wireless Network or to make
changes to the Wired Network you will need to access the
i1150WN/i1190WN Scanner Setup website.
The default scanner settings will work for Wireless Directly
(ad hoc) and most Wired Networks.
4. When the software driver installation is complete and you have
selected your configuration option, follow the on-screen hardware
procedures, then turn the scanner on.
 Loading...