A-61854 April 2016 2-7
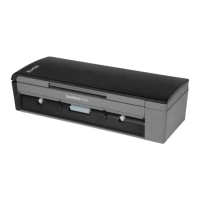
Accessing the
i1150WN/i1190WN
Scanner Setup
website
Out of the box, there are two methods to navigate to the website:
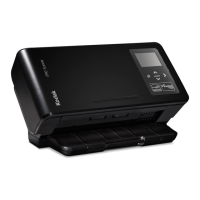
• Method 1 — connect the scanner to your network with an Ethernet
cable (this cable is not provided by Kodak Alaris). If you use this
option, attach the Ethernet cable to the Ethernet port, located on the
back of the scanner and plug the other end of the Ethernet cable to
any active network port.
• Method 2 — use a PC with a wireless interface and connect it to your
scanner’s SSID wirelessly via the scanner’s Wireless Directly (ad
hoc) connection (e.g., SSID = i1190wn-“8 digit serial number” or
i1150wn-“8 digit serial number”). In this mode the scanner provides a
DHCP server which provides addresses to any PC that is going to
connect to the scanner. It sets it's own IP address at 10.0.0.1.
Regardless of how the scanner is being configured on the network, the
Wireless or Wired name or IP address of the scanner is required. To
locate this information do the following:
1. Verify that the scanner is powered on.
2. Press the i button on the Operator Control Panel of the scanner until
the Information screen is displayed. Use the down arrow to navigate
to the SSID and Wireless / Wired Address information. You will need
this information in Steps 3 and 4 below.
NOTE: Information and procedures for using the “i” button on the
Operator Control Panel are described in the section
entitled, “Using the Network Info / Setup icon (i) on the
scanner” later in this chapter.
 Loading...