3.2 Operation of DR Detector
71
Chapter 3
HINT
•••••••••••••••••••••••••••••••••••••
• The blue label or blue lines also helps you identify the
top-bottom orientation of the DR Detector.
• To carry out exposures in portrait orientation, turn the
DR Detector so that its blue label or blue lines comes
to the bottom position.
Blue Label
Blue lines
•••••••••••••••••••••••••••••••••••••••••••••••••••••
3.2.6 Precautions for exposure
During exposure give adequate attention to the follow-
ing items.
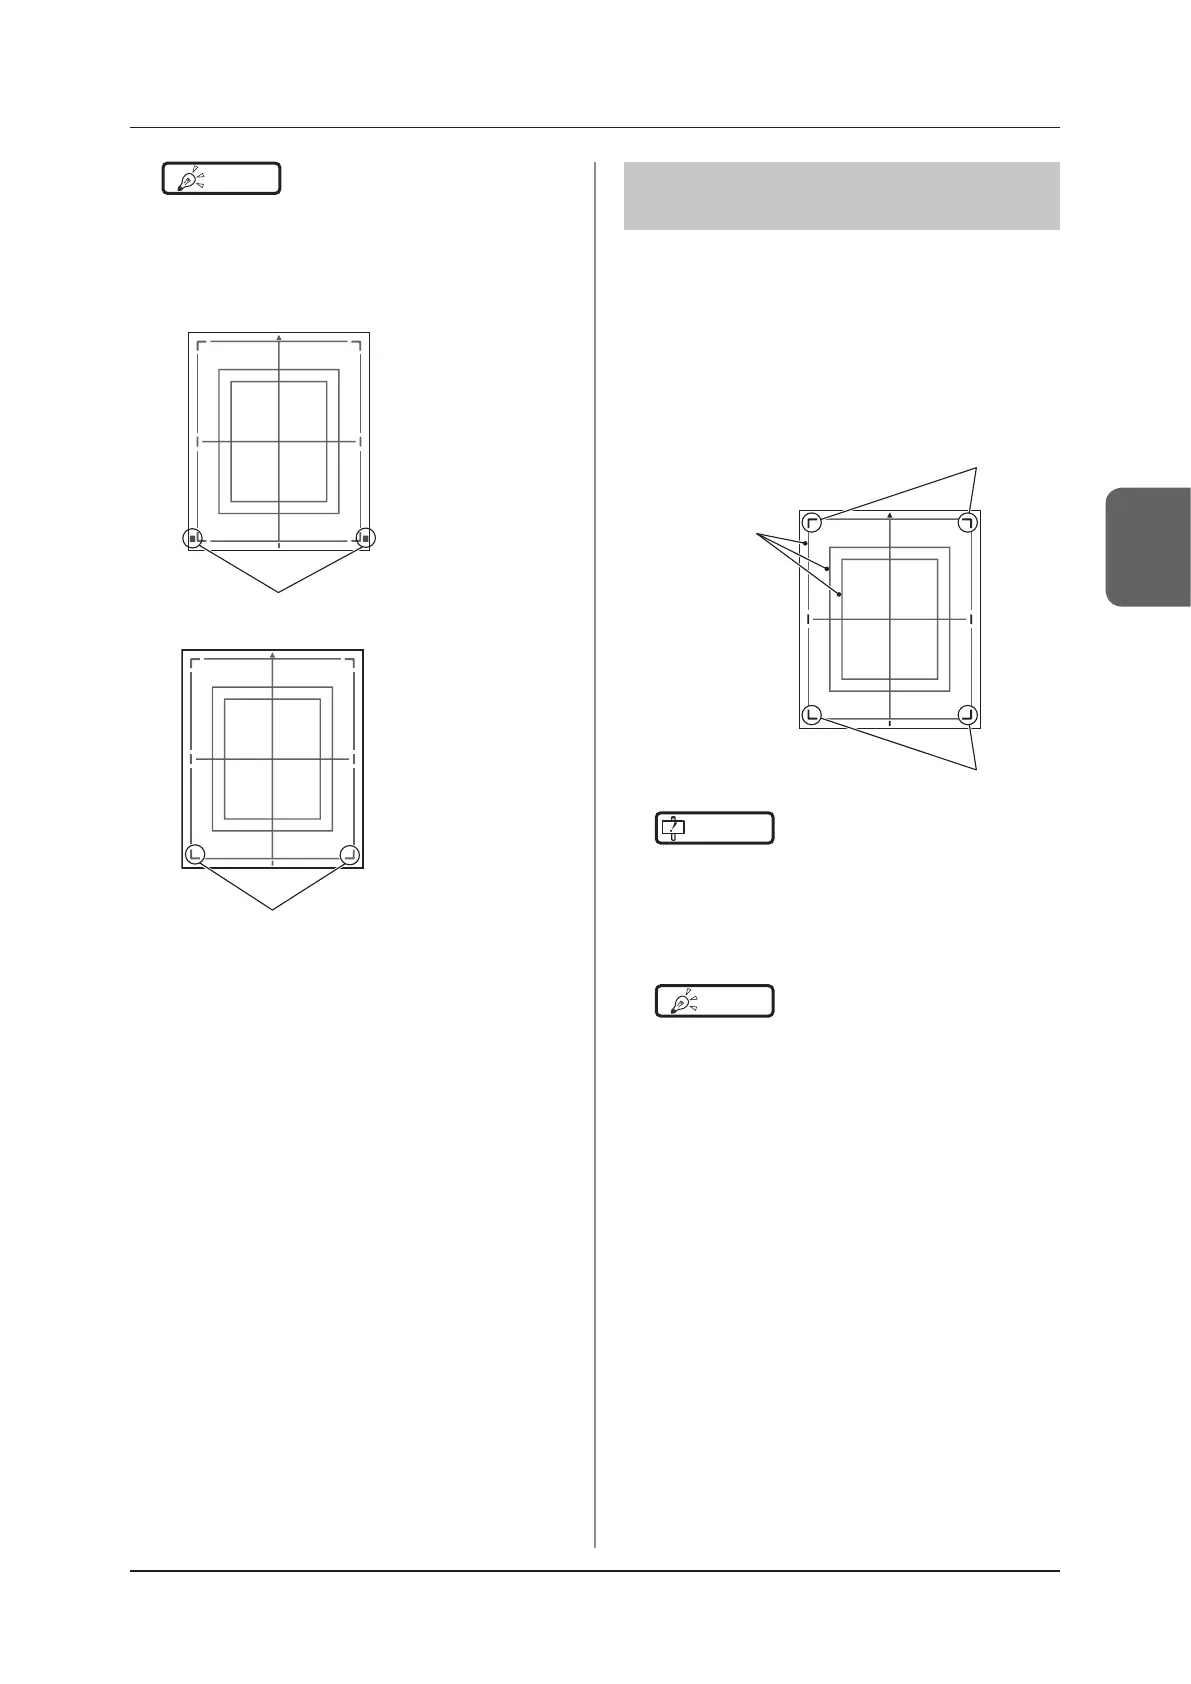
Exposure area
• The size lines of DR Detector indicate the expo-
sure size.
• During exposure, place the exposure body part
within the white lines on the four corners.
White lines
White lines or Blue lines
Size lines
IMPORTANT
•••••••••••••••••••••••••••••••••••••
• If the irradiation eld is larger than DR Detector when
you take an image, an artifact may occur due to the X-
ray backscatter eect. Adjust the irradiation led to t
within the imaging range.
•••••••••••••••••••••••••••••••••••••••••••••••••••••
HINT
•••••••••••••••••••••••••••••••••••••
• As for AeroDR 3 1417HD, AeroDR 3 1717HD and
AeroDR 3 1012HQ, the line in the bottom is blue.
•••••••••••••••••••••••••••••••••••••••••••••••••••••
 Loading...